
Apple’s latest desktop operating system, OS X Yosemite, is available today. In this post, we’ll take you through the steps required to protect your data by backing it up, upgrading the OS, and getting started with the latest version of OS X.
Before you get started, you’ll want to make sure you have everything you need. To backup your data, you’ll need an external hard drive or a Time Capsule with at least the same amount of storage as your hard drive. You’ll also need to make sure your Mac is capable of running Yosemite (we’ll show you how below), and you’ll want to make sure you have an iTunes account to purchase the update.
Determining if you can upgrade
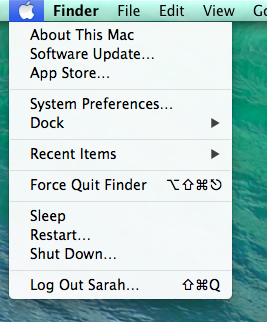
Before installing the update, you need to make sure that your machine is compatible with Yosemite. Most of the information we need to determine this is found on the “About This Mac” screen. To access it, click on the Apple icon on the upper left hand corner of your screen, then click on “About This Mac.”
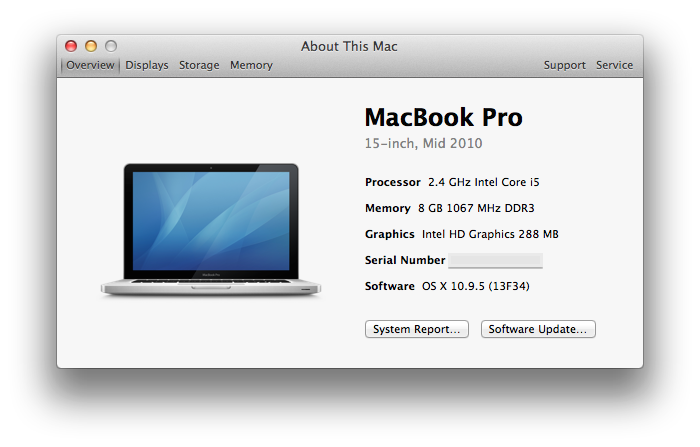
This screen will allow you to see which operating system you are running, check to see if your software is up to date, tell you how much memory your machine has, and let you know what model you have.

Because Mavericks is downloaded through the Mac App Store, you’ll need to make sure the version number listed on the “About This Mac” screen is 10.6.8 or higher. If you do not have 10.6 (also known as Snow Leopard) you can purchase it online. Clicking on the “Software Update” button will check to see if there any updates available for your machine. It is recommended to make sure your software is up to date before installing an operating system. You also need to have a minimum of 2 GB of memory.
Here is a list of machines that are compatible with OS X Yosemite:
- iMac (mid 2007 or newer)
- MacBook (Late 2008 Aluminum, or early 2009 or newer)
- MacBook Air (late 2008 or newer)
- MacBook Pro (mid/late 2007 or newer)
- Mac Mini (Early 2008 or newer)
- Mac Pro (Early 2008 or newer)
- Xserve (early 2009)
If you are not sure what year you purchased your machine, you can find out from the “About this Mac” page by clicking on the “More Info…” button.
Even if your machine is compatible with Yosemite, realize that not all features will work. Handoff and Instant Hotspot will work with the 2012 or newer iMac, MacBook Air, MacBook Pro, Mac Mini and the Late 2013 Mac Pro with an iOS device that has a Lightning connector and is running iOS 8.
Backing up your data
If your machine is supports Yosemite, it is recommended that you have a backup of your data before updating.
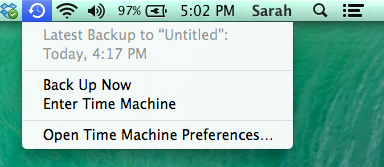
If you are already using Time Machine, it is really easy to double check to see when your data was last backed up and to force Time Machine to do another backup if needed. Just click the Time Machine icon (the one that looks like a clock) to see when your last backup was completed. If you need to do another backup, just click on “Back Up Now.”
If you are not backing up using Time Machine, let’s discuss the different methods of backing up your Mac using Time Machine. You have two different options: using a Time Capsule, or using a third party external hard-drive.
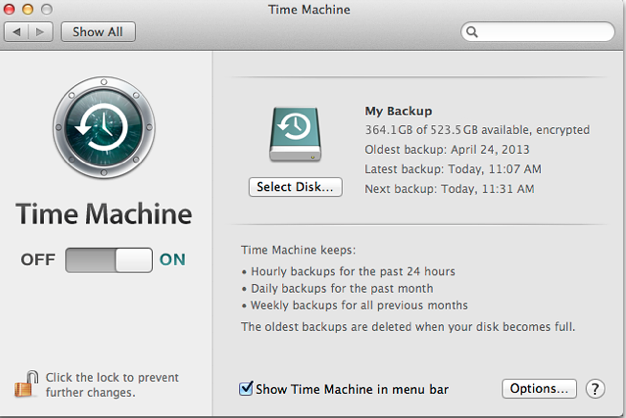
1. Backing up to Time Capsule. To set up your AirPort Time Capsule for backups, open up System Preferences and then click on “Time Machine.” Then click “Select Disk” and select your Time Capsule from the list that appears.
2. Backing up to external hard-drive. When you plug in any external hard drive for the first time, a pop-up will appear asking if you would like to use it for Time Machine.
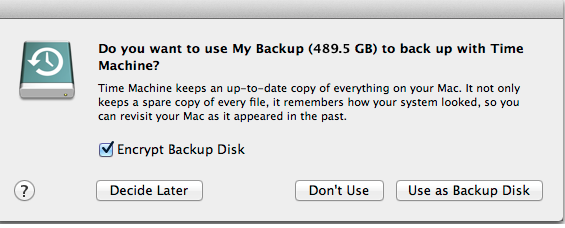
Checking encrypt backup data will allow you to encrypt the Time Machine backup using FileFault 2. It is up to you if you want to encrypt the backup. Doing so will give you an extra layer of protection by requiring a password to access the backup later, but encrypting the data can noticeably slow down the backup process.
Clicking on “Use as Backup Disk” will select the external hard drive use with Time Machine. Since the initial backup could take several hours, I would recommend doing it overnight so that you do not interrupt the process. After the initial backup, Time Machine makes hourly backups of only the files that were changed as long as the drive is connected. If the drive isn’t connected when it’s time for a backup, Time Machine will simply wait until the drive is connected again and continue as normal.
In addition to a Time Machine backup, or instead of a Time Machine backup you can use online backup services, although this can be much slower than using a local disk since it has to upload your data to the cloud and is not natively supported by OS X.
Installing Yosemite
Once your machine is all backed up, you are ready to download Yosemite from the App Store. The download is free and takes about an hour to finish, depending on your Internet speed. Once it finishes downloading, the installer will open automatically and you will be prompted to begin. To install, press the “Continue” button.

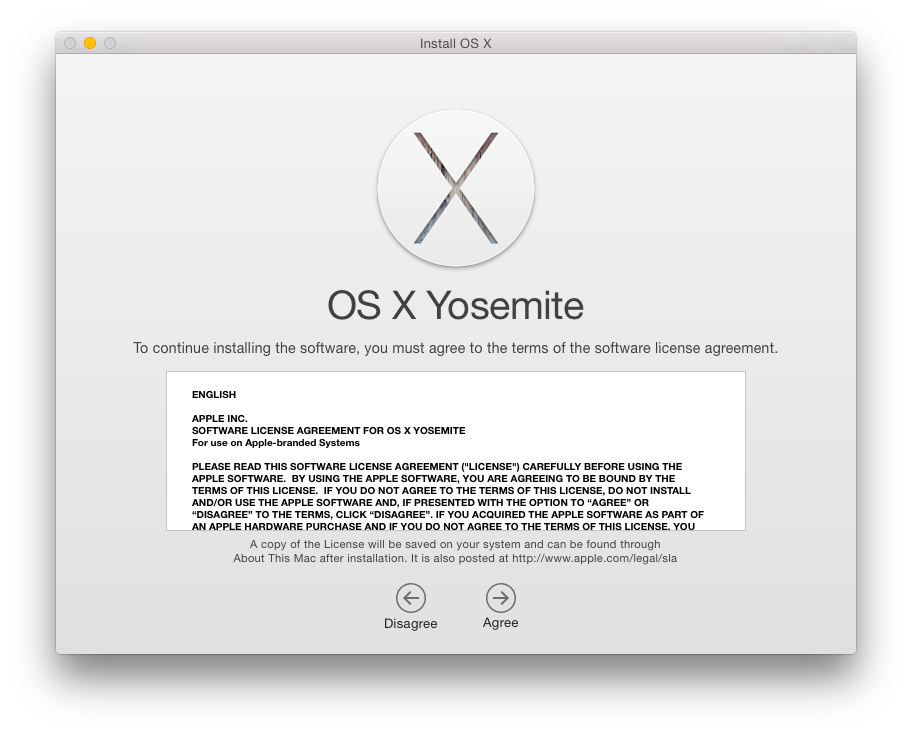
The first part of the installation process just involves agreeing to Apple’s terms and conditions. To continue, press the “Agree” button. If you decide later that you want to read (or re-read) all of the terms and conditions, you can find them on Apple’s website.
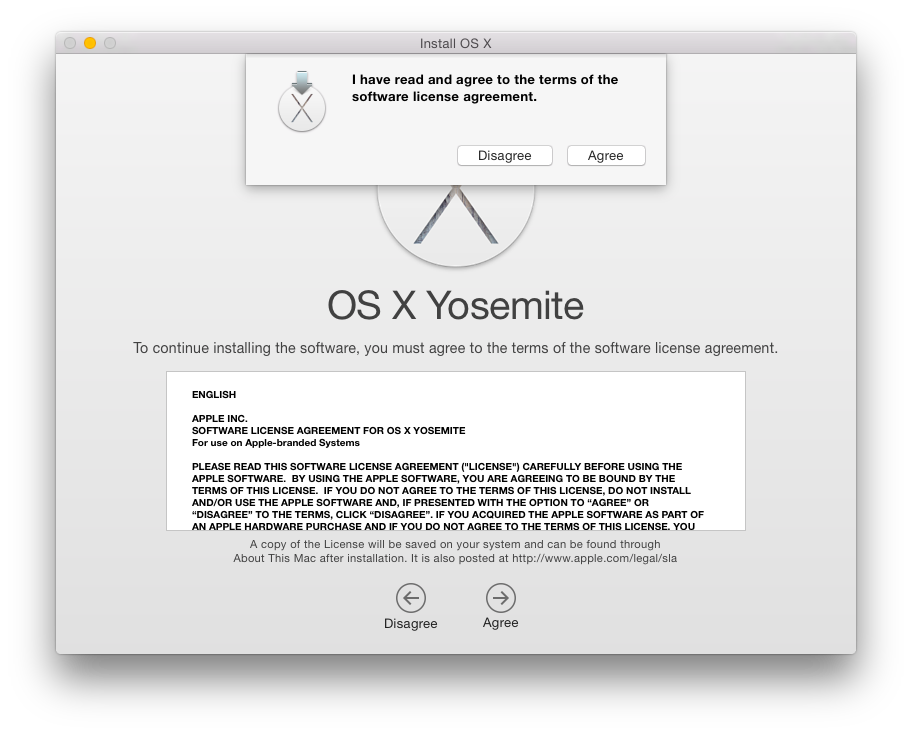
You’ll need to confirm once again that you read the terms and conditions.
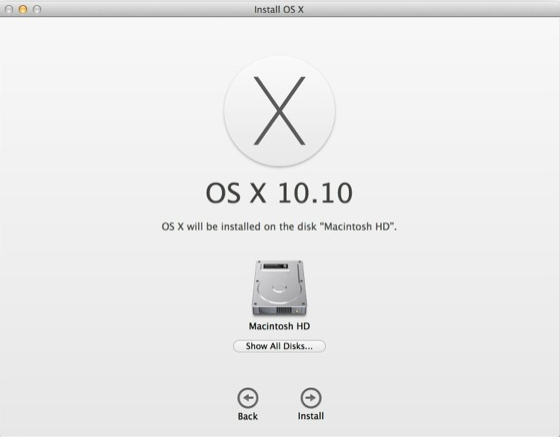
Next you’ll need to choose which drive you want to install Yosemite on. For most people this should be your internal hard drive, and is often the only choice unless you have a backup drive or other external storage plugged in. For advanced users who either partition their hard drive, or have multiple hard drives in their machine, choose the installation drive that best meets your needs.
In order to continue installing you do need to enter in your administrator password for the computer. Usually this password is different from your Apple ID. This password is used when you log in to your computer, and is sometimes required for settings changes. Not all users on the computer are administrators so it is important to make sure you enter in the administrator’s information. If you have more than one account on your machine, the administrator is usually the first account that was setup.
After entering in the administrator account information, OS X Yosemite prepares to install.

After a few minutes, your computer will automatically reboot to continue the installation process. It now looks identical to how iOS devices reboot.

The computer will boot to a black screen with a gray box showing you the current installation progress. It usually gives an initial install time of thirty minutes to install depending on the speed of your machine.
If the progress bar seems to get stuck at “Less than a minute remaining,” don’t worry. This message is almost always wrong and takes much longer than it says. Don’t try to reboot your computer during this step.
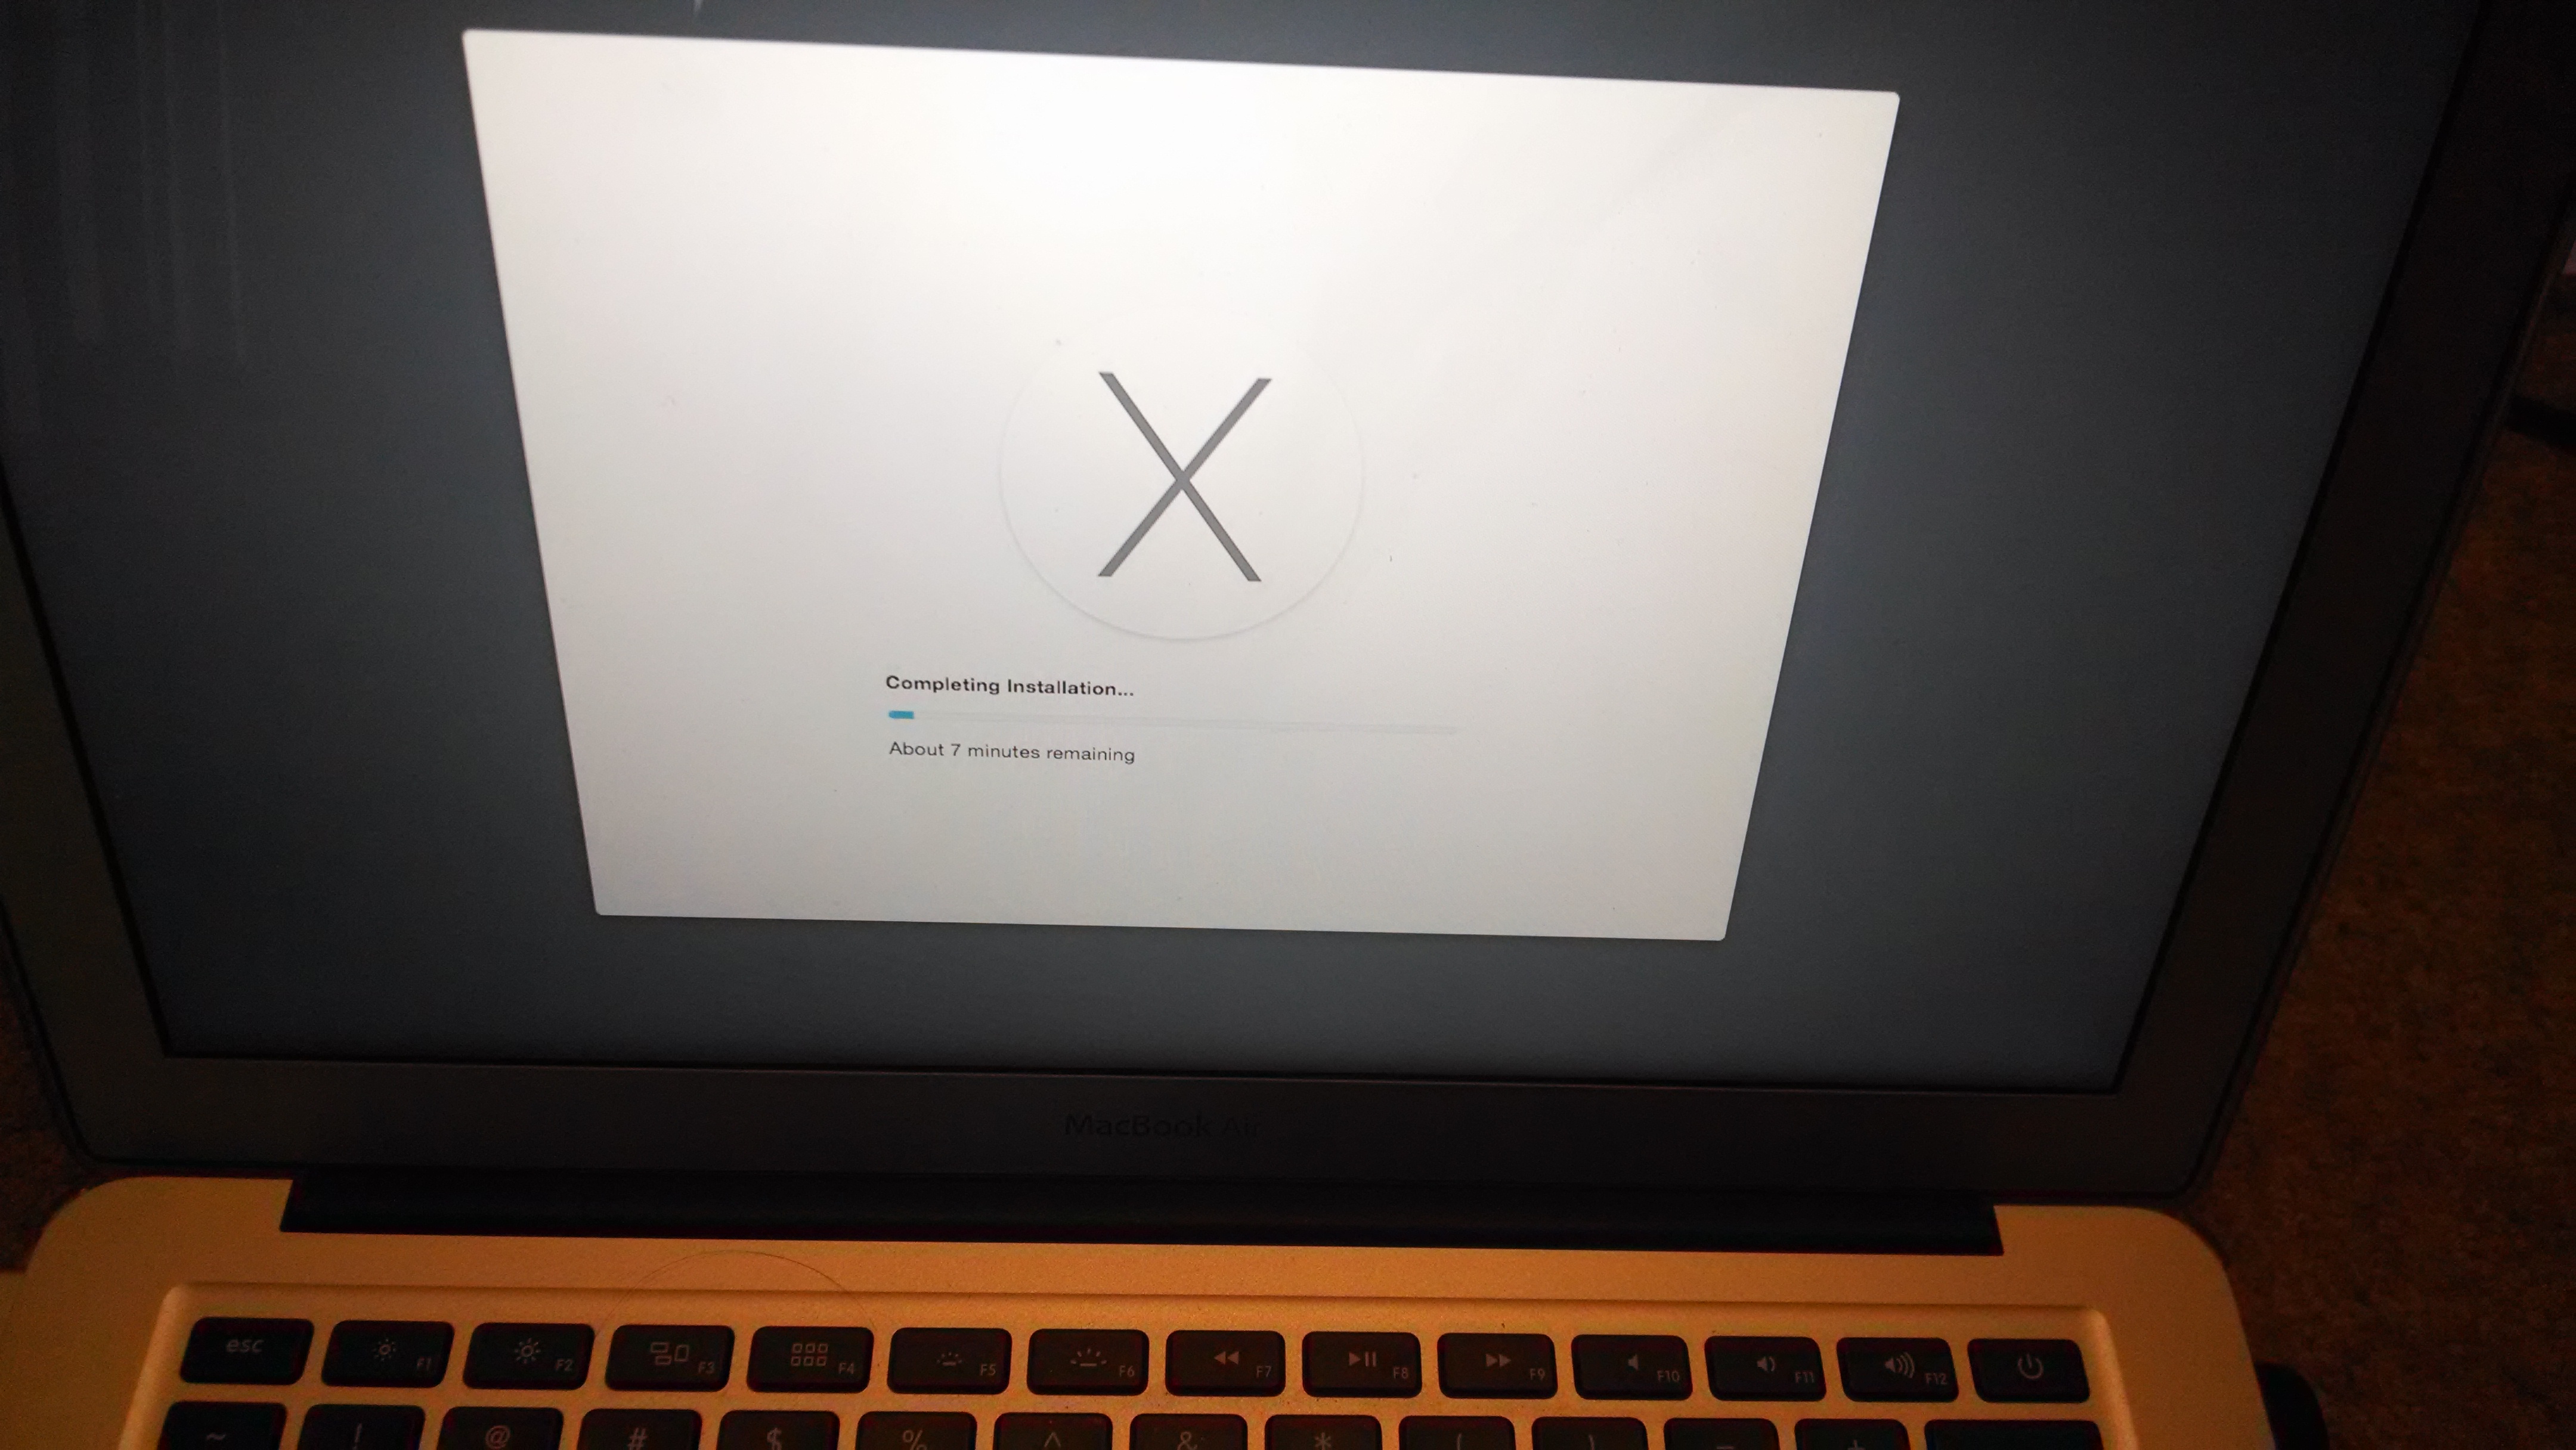
It will then restart itself and do another installation that takes about seven minutes. Even though the installation is complete, there are a few more things the installer has to do before you can resume using your Mac. This process takes a few minutes, but goes much faster than the previous step
When the installation is finished, you’ll be presented with a message that the installation succeeded. Your computer will reboot one last time. You are now running OS X Yosemite. Once the reboot finishes, there are a few additional steps you’ll need to complete to get back to using your Mac.
The setup process begins by asking for you to sign in with your Apple ID. This will allow you to setup iCloud, iTunes, iBooks, App Store and Find My Mac.

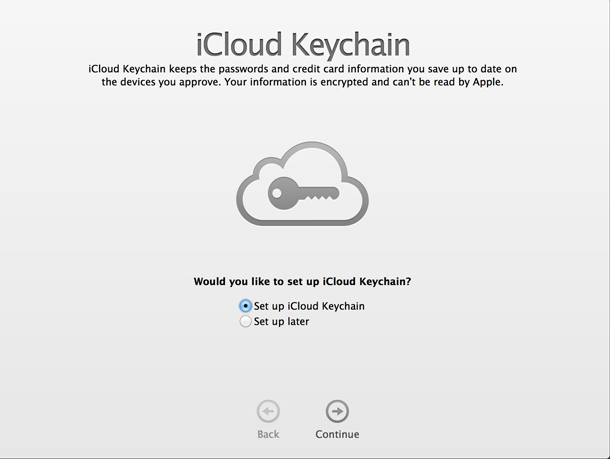
Then it will ask you if you want to set up iCloud Keychain on your Mac. iCloud Keychain would allow you to store passwords and credit cards in the cloud and it will sync across your devices.
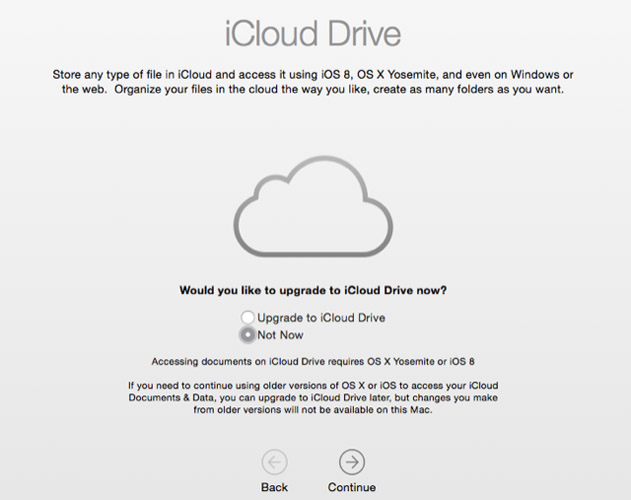
It will then ask you about setting up iCloud Drive. iCloud Drive will allow you to access any type of file that you want to store in there, such as iWork documents. If you have iOS devices that are running iOS 8 you can set up iCloud Drive. If you are not on iOS 8 here is how to set it up. If your iOS devices are not compatible with iOS 8, then do not set up iCloud Drive.
It does detect if there is any old incompatible software on your machine. If you have any incompatible software it alerts you that it has been moved to an “Incompatible Software” folder.
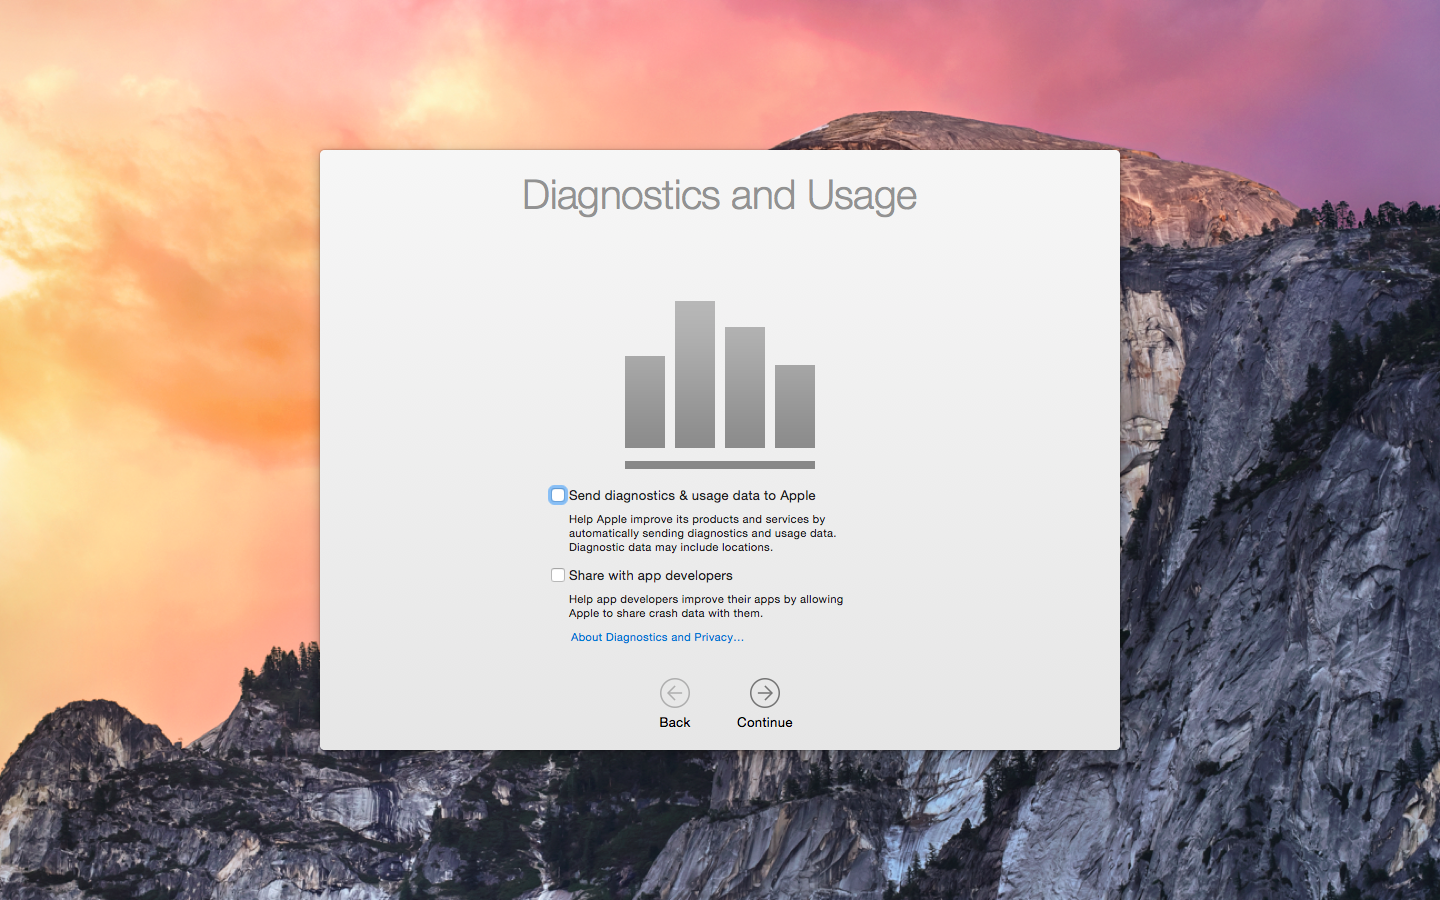
Just like with iOS 8, it asks if you want to help Apple and app developers improve their software by automatically sending diagnostic and usages reports.
To start using the machine click the “Start Using Your Mac” button. At this point, depending on which version of OS X you upgraded from, you might need to complete a few extra steps, such as logging into (or setting up) an iCloud account. These don’t take very long and they’re very straightforward.
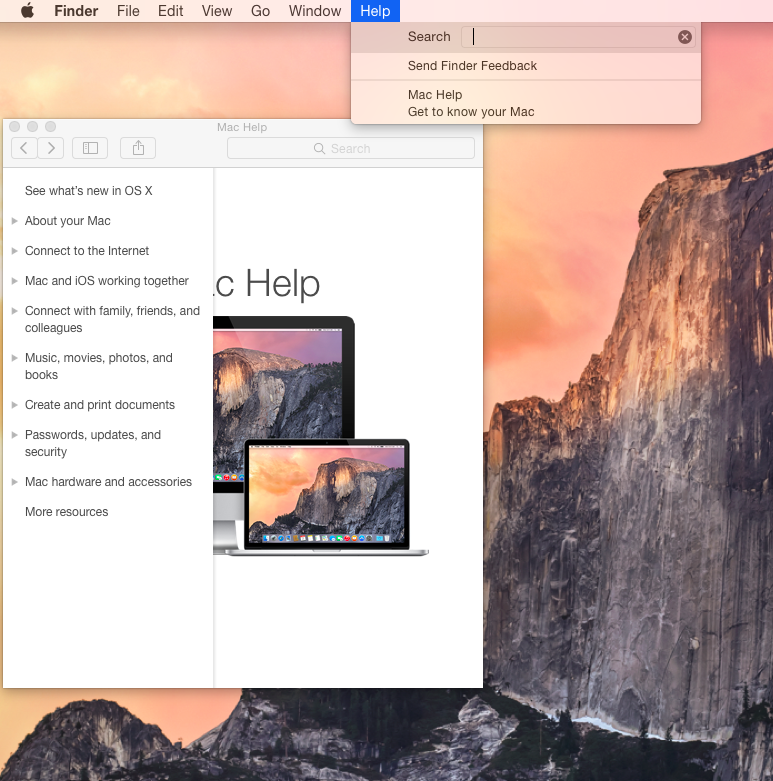
Now you have OS X Yosemite installed on your machine you can go to Get to know your Mac, which brings you to a page on Apple’s site that details the changes in Yosemite. The second option, “Mac Help,” brings you to OS X Yosemite user guide.
Congratulations! You are now setup and running on OS X Yosemite. Over the next few days we will be publishing several how-to articles to help you get the most out of your upgraded Mac. Keep checking back for more helpful tips and tricks from 9to5Mac.
FTC: We use income earning auto affiliate links. More.


Yosemite isn’t available yet. Apple store link to App store doesn’t work.
Disregard Apple corrected the issue.
how do i shift from a public beta to the version released today. I don’t see an update on my App Store?
How do I install the final Yosemite version as a user of the public beta?
How can I find out if a particular software I use is compatible before I download Yosemite? Specifically, Contribute made by Adobe. jc@his.com
Thanks for the clear instructions. However, your conclusion makes me nervous: “Congratulations! You are not setup and running on OS X Yosemite.” After all that!? ;-)
Do backups need an external hard drive?
yes
Okay. Just wondering…
The black boot screen is exclusive to Macs introduced in the last 2 years though. All other Macs still get the gray screen.
If I don’t back up my Mac before upgrading to Yosemite, what will happen to my installed software? Will that still work if compatible with Yosemite? Thank you.
Downloading……
I’m getting stuck at the iOS style upgrade screen together with a spinning beach ball. I’m using clover on the EFI partition and tried to install via the app store…
I have 4 machines all doing that same thing. They have been on the loader screen for over an hour. I did a search and didn’t find anyone else complaining about this. Did yours ever complete? These machines are all Mac Airs circa 2011-2012
did you ever resolve this problem I am having the same issue but with a 2011 IMac
I finally resolved my issue by uninstalling the Mcafee Antivirus software. I read a thread that helped someone and all 4 of my machines had it installed. I booted into safe mode, ran the uninstaller and then downloaded the latest installer from the web.
Any idea how long it will remain on ‘less than one minute remaining’ ?
Sarah, you very quick hand.
my old macbook 2008 late had successfully upgraded from Mavericks to Yosemite :)
one thing its iCloud drive keeps setting up (loading spinning status)
If you seem to be stuck at a position, try cmd+L. This will bring up the installation log after a short waiting time (1 min on my computer) with beachball. Watching the log should give you some peace waiting for Yosemite moving hundrets of files.
I haven’t downloaded yet, but I assume the same vanishing installer* will present itself for those with multiple machines to upgrade. So before running the installer, locate it and make a backup to copy to other Macs. Otherwise you will need to download the new OS to each computer.
*Basically the download completes with the installer window open. Once the software is installed, the installer is deleted.
where is our sense of adventure? i didn’t back-up . lets see how its going to be :D
What will happen to my time machine now that I have a new software model? Do I need to redownload all 350Gb’s? Or does it just update the software somehow?
I’m currently undergoing the Yosemite installation, but have been stuck on the black screen with the white apple logo and white progress bar for the past 6 hours. The image of this black screen is identical to the one posted a few images above.
Pressing command L doesn’t display the log. Any suggestions?
help
You might want to provide a warning about external hard drive issues. I backed up my mac on one Seagate external hard drive and copied docs and photos on another. Both magically transformed into “read-only” upon connection to the Yosemite-driven mac. Now I need to get a new external hard drive that will be compatible & I need to find a fast way to transfer 3+ TB of data to it. Any suggestions?
crashed my mac won’t install at all cant recover anything
Installed Yosemite and all Gmail files disappeared. Anyone have this problem? Do have time machine.
I followed all the above steps–have a 2011 3.1 Ghz Intel Core iMac. Downloaded the upgrade. Several times tried to install on restart and each time all goes well until the installer gets to the point where it says 2 minutes left and then basically freezes. Apple support said it is a “known issue” and just to let it go on maybe overnight. Still no success. Is there a way to perhaps uninstall the download and start again?
Really a nice post. everything is elaborated in step by step manner with proper live screenshots to help newbie Mac users like me. I followed the entire post to install Yosemite except one thing. I used third party software Stellar Drive Clone for having backup of my Macbook Pro. I don’t have much knowledge of using Time Machine. So, being on a safer side and to take the advantage of this latest version, I did that and finally working with this nice OS X version.
What if something goes wrong? How do you get back to the data on the time machine if your OS10.6.8 has been wiped?
For the love of god. Don’t do it.