Final Cut Pro X features a decent built-in stabilization system that can easily be enabled with just a click in the Inspector. However, if you’re looking for a much more robust and customizable stabilization system, look no further than Pixel Film Studios’ FCPX Stabilizer 2.0. For a limited time, you can get 30% off by using code 9to5pixel.
In this hands-on video, we showcase how this plugin can not only perform simple stabilizations, but is capable of breathing new life into otherwise mundane footage.
Once FCPX Stabilizer 2.0 is installed, you’ll find it in the Final Cut Pro X effects panel. From there, it’s just a matter of dragging the effect to a clip to get started.
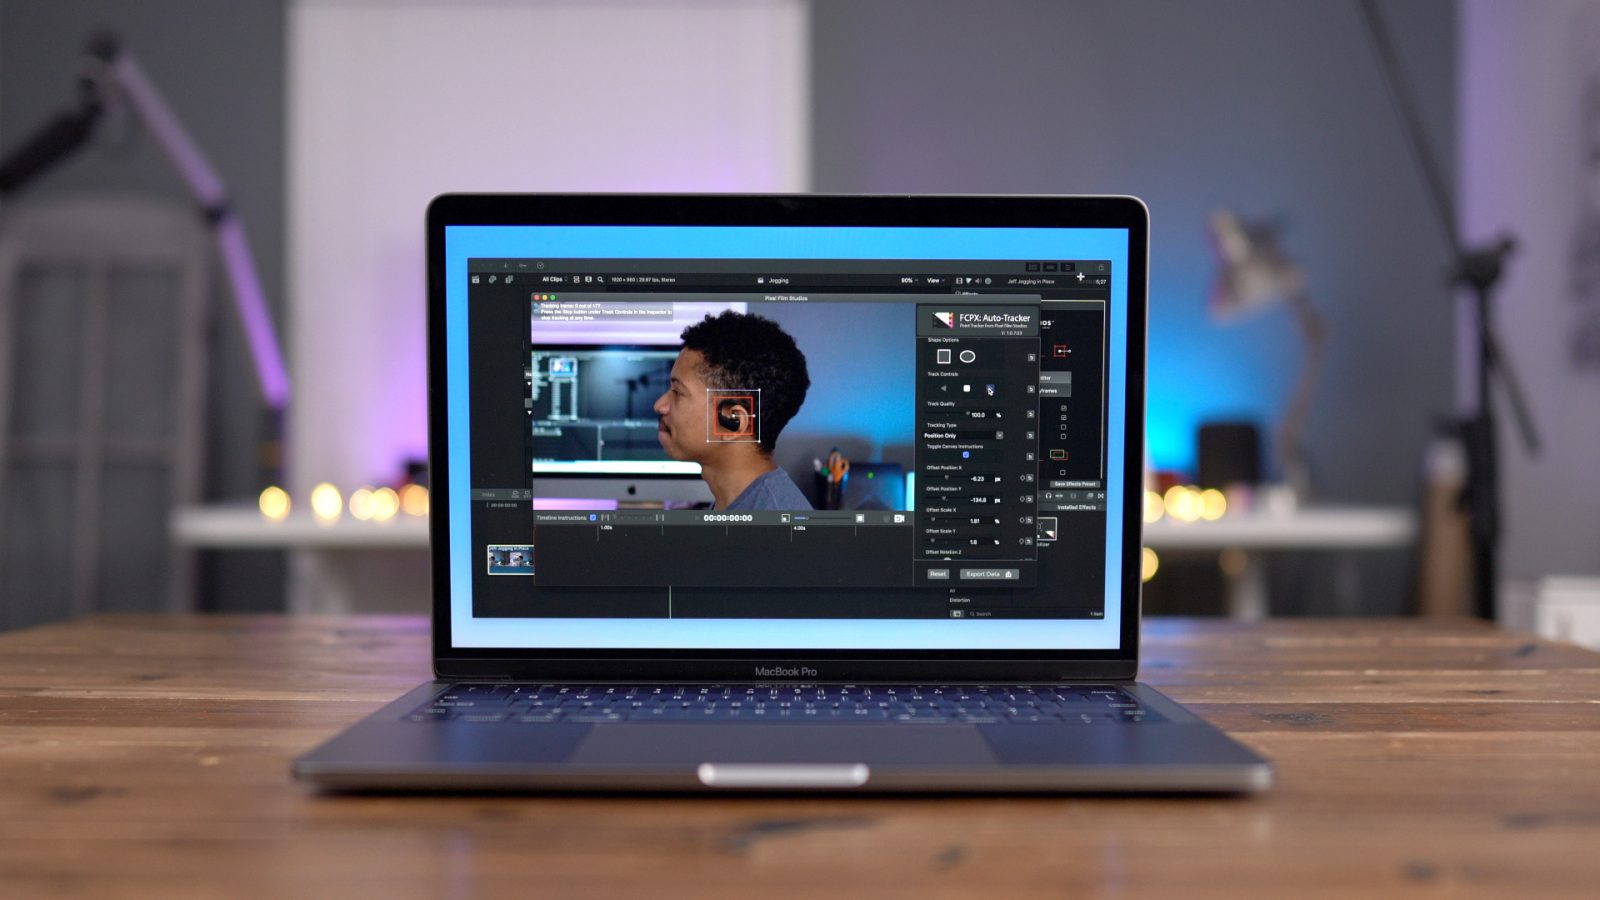
After adding the effect to your clip of choice, you’ll find the FCPX Stabilizer settings in the Inspector. By clicking the Track Editor button, you can track objects via position, scale, or rotation values. From there it’s just a matter of dragging the tracking shape to adjust a bounding box over the desired object in the video that you wish to track. In my video walkthrough example below, I decided to track my PowerBeats Pro wireless Bluetooth headphones.
FCPX Stabilizer 2.0 video walkthrough
Subscribe to 9to5Mac on YouTube for more videos
Once you’ve identified the object that you wish to track, simply press the Track Forward button to commence automatic key frame generation. Remember that you’ll need to move the playhead to the beginning of the timeline in order to track from beginning to end. After tracking has completed, you’ll notice all of the needed keyframes in the timeline editor interface.
![]()
Automatic keyframe generation to track objects
Users have the option of editing, adding, or deleting keyframes manually as well, as I demonstrate near the end of the video walkthrough above. In some cases it may be necessary to edit keyframes manually, for instance, if the view of the tracked item is temporarily obscured. The good news is that it’s super-easy to use both automatic and manual tracking within the same clip.
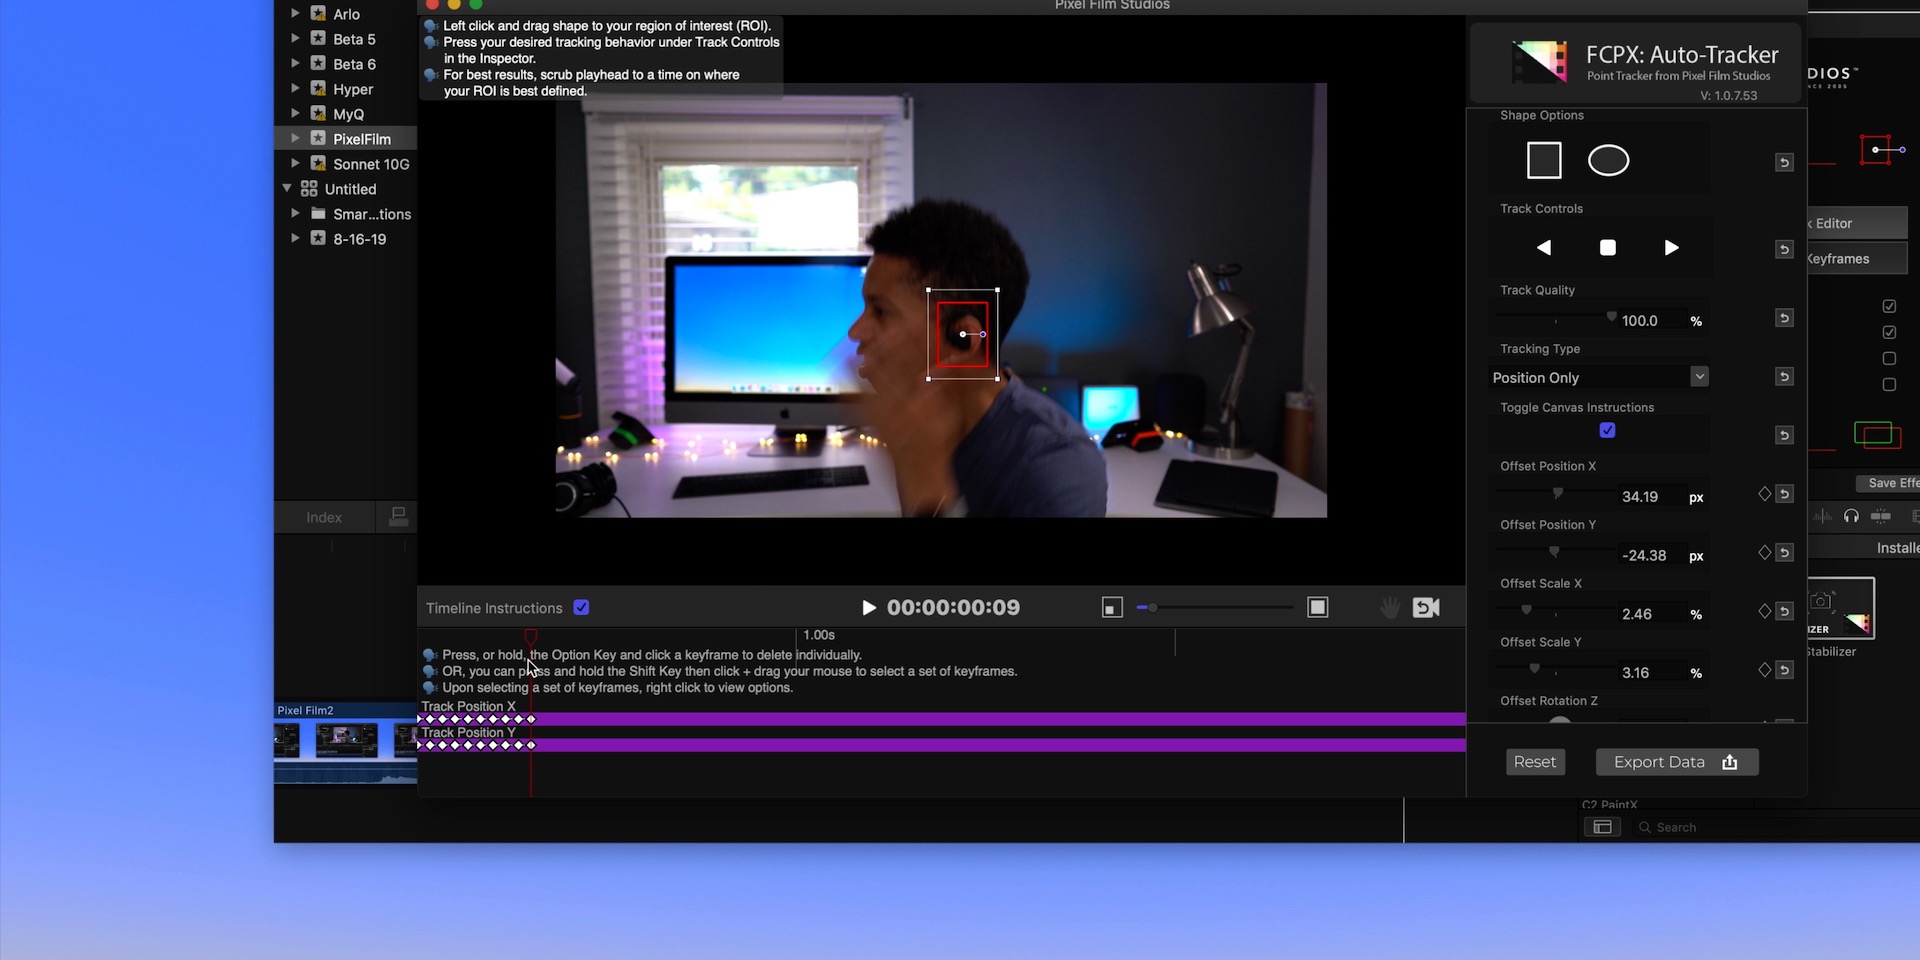
You can manually edit keyframes as well
After the keyframes have been set, you’ll need to click the Export Data button in the bottom right-hand corner of the interface to export the keyframe data back to the main project timeline. You can thereafter perform any additional adjustments or add additional effects just like you’d normally do when editing videos within Final Cut Pro X.
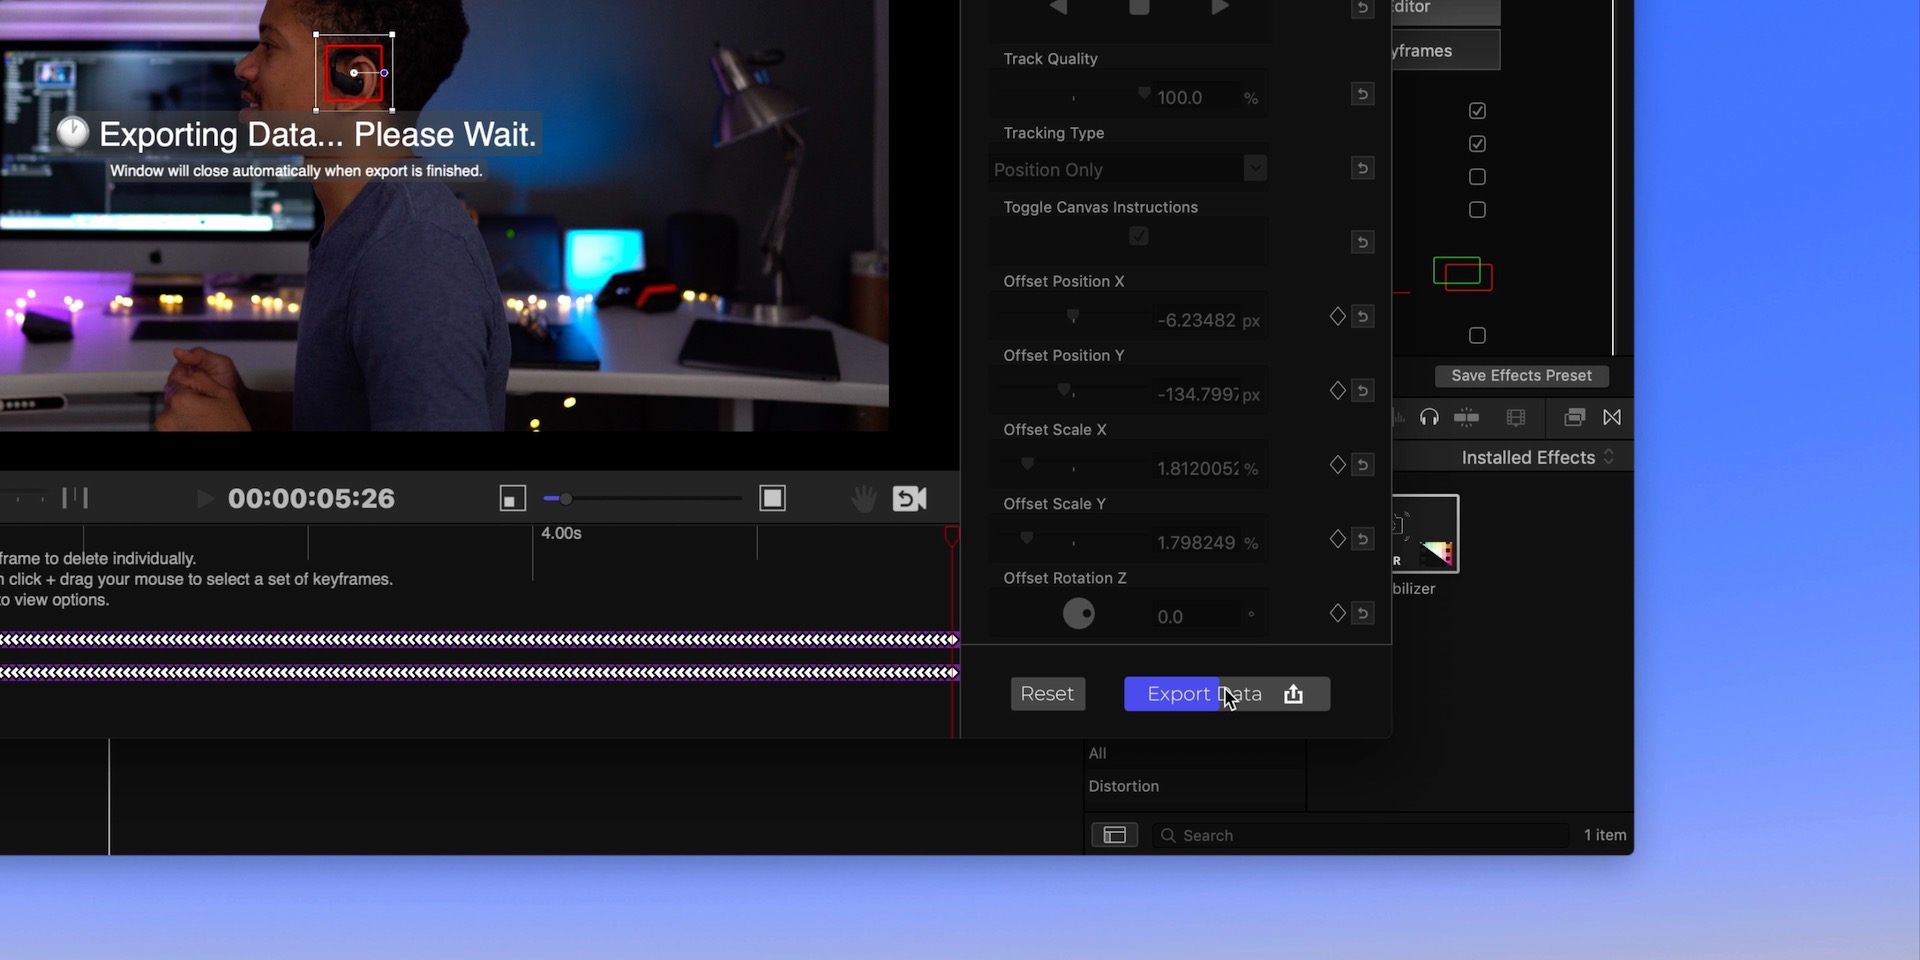
Exporting tracking data back to the main project timeline
Like most stabilization plugins, FCPX Stabilizer 2.0 zooms in to footage to compensate for camera movements. Cropped areas of the frame are automatically mirrored to fill in the missing area, but you also have the option of utilizing the built-in stabilization controls, which feature offset scale, position, and rotation values to adjust the clips to show just the area of the frame that you want to be shown.
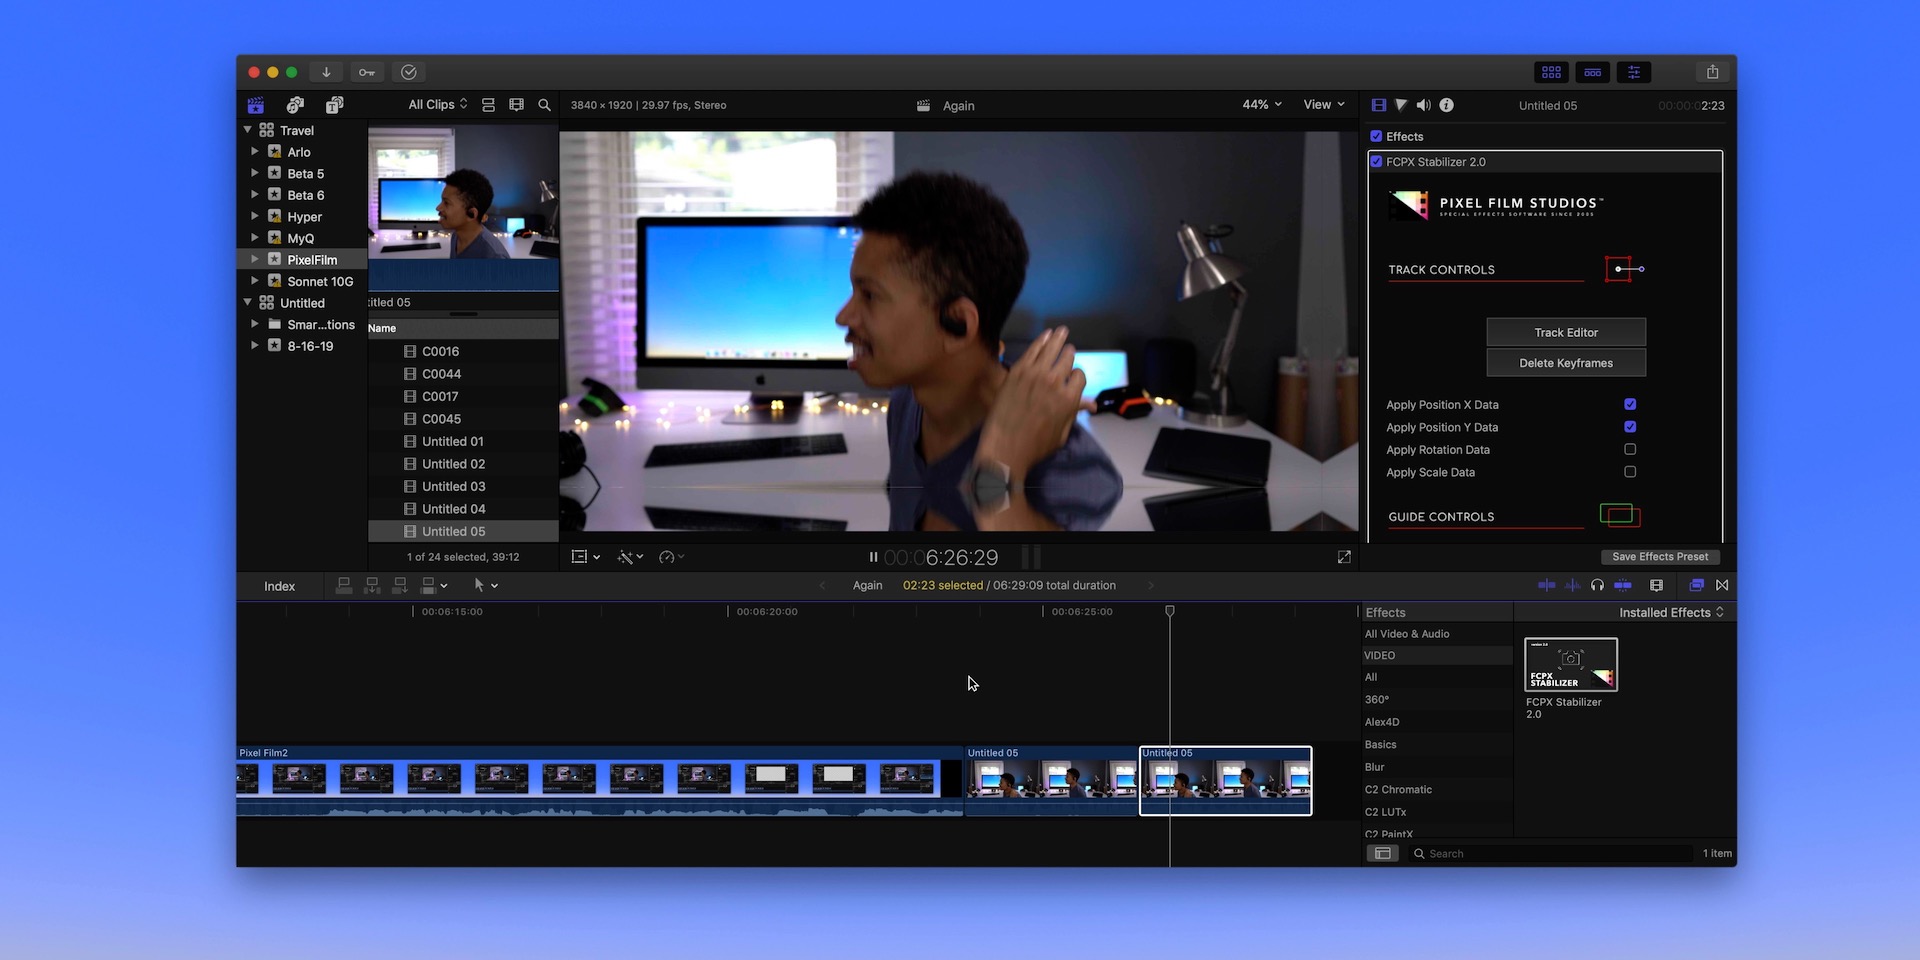
Use the built-in offset controls to adjust scale, position, and rotation
Obviously this is a sponsored post, but like I noted in the video, I was extremely impressed with FCPX Stabilizer 2.0. It’s a plugin that I will be keeping in my editing repertoire going forward, because it can help turn run-of-the-mill mundane-looking footage into something a little more exciting. For more Final Cut Pro X coverage, be sure to check out our Final Cut Friday series of videos.
What do you think? Sound off down below in the comments with your thoughts, and head over to Pixel Film Studios to get FCPX Stabilizer 2.0 for 30% off for a limited time. Just use promo code 9to5pixel during checkout. Special thanks to Pixel Film Studios for sponsoring 9to5Mac on YouTube.
FTC: We use income earning auto affiliate links. More.


Comments