
After launching in 2015 with free unlimited storage and marketing the service around that key feature, Google Photos has become a popular option even for Apple users. However, that’s changing as the company announced last fall that the free unlimited storage is ending on June 1. Read on for how to export Google Photos to iCloud Photos.
Instead of free unlimited storage, a 15GB limit will apply to photos and videos added from June 1, 2021. So your content that’s been previously added will remain safe. However, this will probably make some Apple users reconsider their photo strategy and take a look at the Apple One bundles.
As Google Photos transitions to the new 15GB limit, Amazon remains one of the last to offer free unlimited photo storage (for Prime members, but limits videos to 5GB on the free tier).
As for paid plans, Google One storage runs $2/month for 100GB, $3/month for 200GB, $10/month for 2TB. There are also yearly payment options at $20/$30/$100 to save some cash.
But if you’re invested in the Apple ecosystem, upgrading your iCloud storage may be a better option. Prices for iCloud storage on its own are $1/month for 50GB, $3/month for 200GB, and $10/month for 2TB.
However, you might be better off looking at the Apple One bundles that include iCloud storage to save money if you use other services like Apple Music, Apple Arcade, News+, TV+, etc.
How to export Google Photos to iCloud Photos
How to download your Google Photos library
Option 1 – download all your Google Photos in one shot
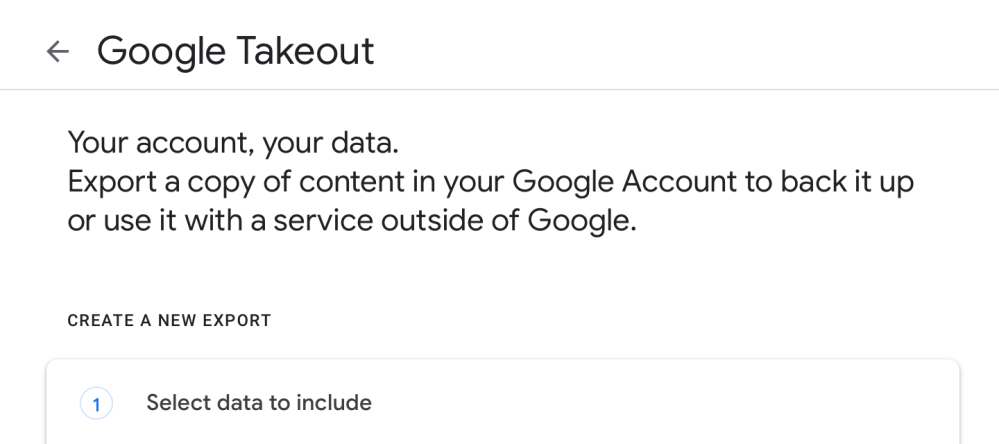
- You can head to takeout.google.com to download a full copy of your Google Photos library
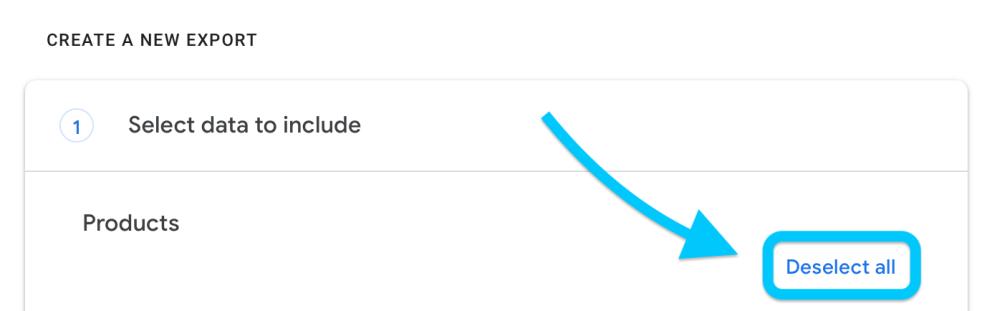
- To just export photos/videos click “Deselect all” on the right-hand side
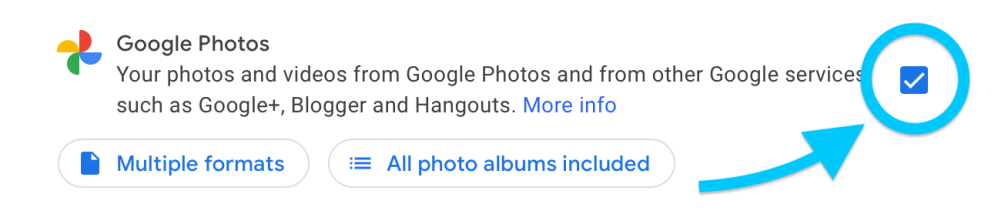
- Scroll or swipe down, check the box next to Google Photos
- Go to the very bottom and choose “Next step”
- Choose your preferences for the export including frequency, file type, and size
- Click or tap “Create export”
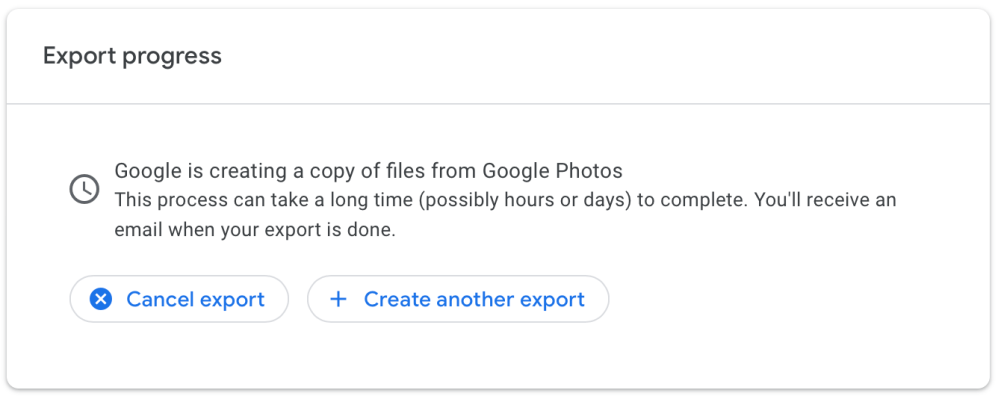
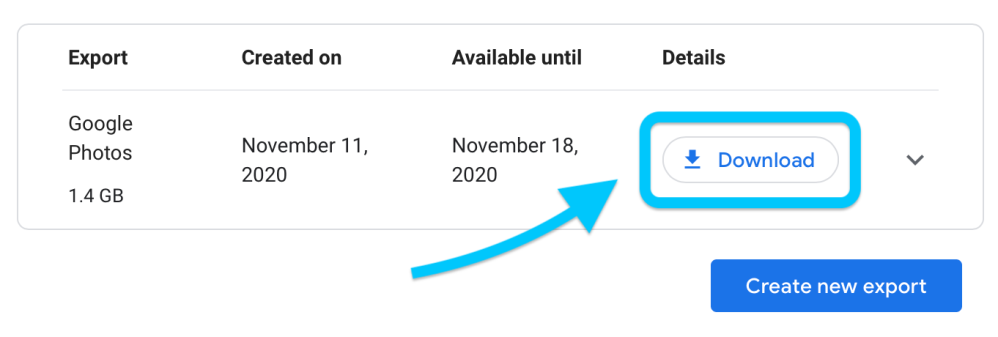
- You’ll see an “Export progress” message when the request has been submitted (note the process can take “hours or days” depending on the size of your library), look for an email from Google to know when it’s ready
- You can also leave the page open and you’ll see a “Download” button when the export is ready
Here’s how this looks:
Option 2 – best for downloading specific Google Photos content
Alternatively, you can head to photos.google.com on any computer or the Google Photos app on your iPhone, iPad, or another device to download photos and videos. This option is handy if you want to export limited photos/videos.
Mac/PC on the web
- On the web, head to photos.google.com and log in if you’re not already
- Hover over photos and click the circular check icon in the top-left corner of images
- You can select all by selecting the top left photos in your library and while holding shift scroll/swipe to the bottom of your library and selecting the last image/video
- Now you can use the keyboard shortcut shift+D to download them, or use the vertical 3 dot icon in the top-right corner and choose “Download”
On the Google Photos iOS app
- Open the Google Photos app on your iPhone or iPad
- Long-press on a photo to select it
- You can long-press then drag to select lots of photos/videos or use the circle icon to select content by date range
- Tap the share icon at the top (square with up arrow)
- Choose “Share to…” at the bottom
- Now you can AirDrop your photos/videos or send them to your email
How to import to iCloud Photos
Now that you’ve got the photos/videos you want exported from Google, here’s how to get them into iCloud Photos.
On Mac
- Open the Photos app on your Mac
- You can drag and drop either there Takeout full download from Google Photos or a folder of folders you’ve manually downloaded from photos.google.com or the app
- Click Photos in the menu bar at the top of your screen
- Now choose Preference > iCloud > Make sure the iCloud Photos box is checked so everything will sync with your iPhone and iPad (that can be checked by heading to Settings > Photos > iCloud Photos on those devices)
Another option depending on how many photos/videos you have would be to AirDrop them from your Mac to your iPhone or iPad that has iCloud Photos turned on. From your Mac, select the photos > right-click > Share > AirDrop.
On the web
- On the web, head to icloud.com and log in
- Choose Photos
- Click the cloud icon with up arrow to upload photos
- With the way the Google Photos Takeout export works, you can’t import everything from the download (it separates all photos/videos by date into different folders) so you’ll either need to manually move things around to import via icloud.com or it may be best to use the Photos app option above

Read more 9to5Mac tutorials:
- New tvOS 14.5 color balancing feature works with older Apple TV models, here’s how to use it
- Here’s how iPhone battery recalibration works in iOS 14.5
- Here’s how the new M1 iMac compares to the Intel iMacs
- iPhone: How to improve Face ID with a mask, including new Apple Watch Unlock feature
FTC: We use income earning auto affiliate links. More.


Comments