
Parallels recently released a technical preview of Parallels 16 that’s compatible with M1 Macs, and it works surprisingly well. The Apple Silicon version of Parallels is specifically designed for ARM-based operating systems, so it won’t work with the x86 version of Windows 10, but instead requires the ARM version of Windows. In this video tutorial, we show you how to run Windows for ARM on M1 Macs using Parallels.
Details to keep in mind
This is a technical preview on both sides of the fence — both from Parallels’ perspective and Microsoft’s. In other words, there’s going to be bugs, and some things just won’t work. For example, arm32 apps outright crash upon launch, and it’s also not possible to suspend the VM. In order to quit your session, you’ll need to shut down windows.
This tutorial is for M1 Macs — the MacBook Air, MacBook Pro, and Mac mini — featuring Apple Silicon. It is only designed to work with arm-based virtual machine setups. You can learn more about M1 Macs in my hands-on video exploring the ins and out of Apple’s exciting new hardware.
Upon installation, Parallels provides additional details about running arm-based VMs using its Technical Preview:

Download and install required software
Step 1: Download and install Parallels Desktop 16 for M1 Mac Technical Preview. Parallels will provide an activation key below the download link.
Step 2: Sign up for the Windows Insider Program, and Download the Windows 10 Client ARM64 Insider Preview
Step 3: Open Parallels and drag the Windows10_InsiderPreview_Client_ARM64_en-us file to the Installation Assistant and click Create.
Video: run Windows for ARM on M1 Macs
Subscribe to 9to5mac on YouTube for more videos
Step 4: Parallels 16 will create a new Windows 10 for ARM virtual machine instance. You’ll need to login to Parallels with a user account, and provide the activation key that was issued during step 1.
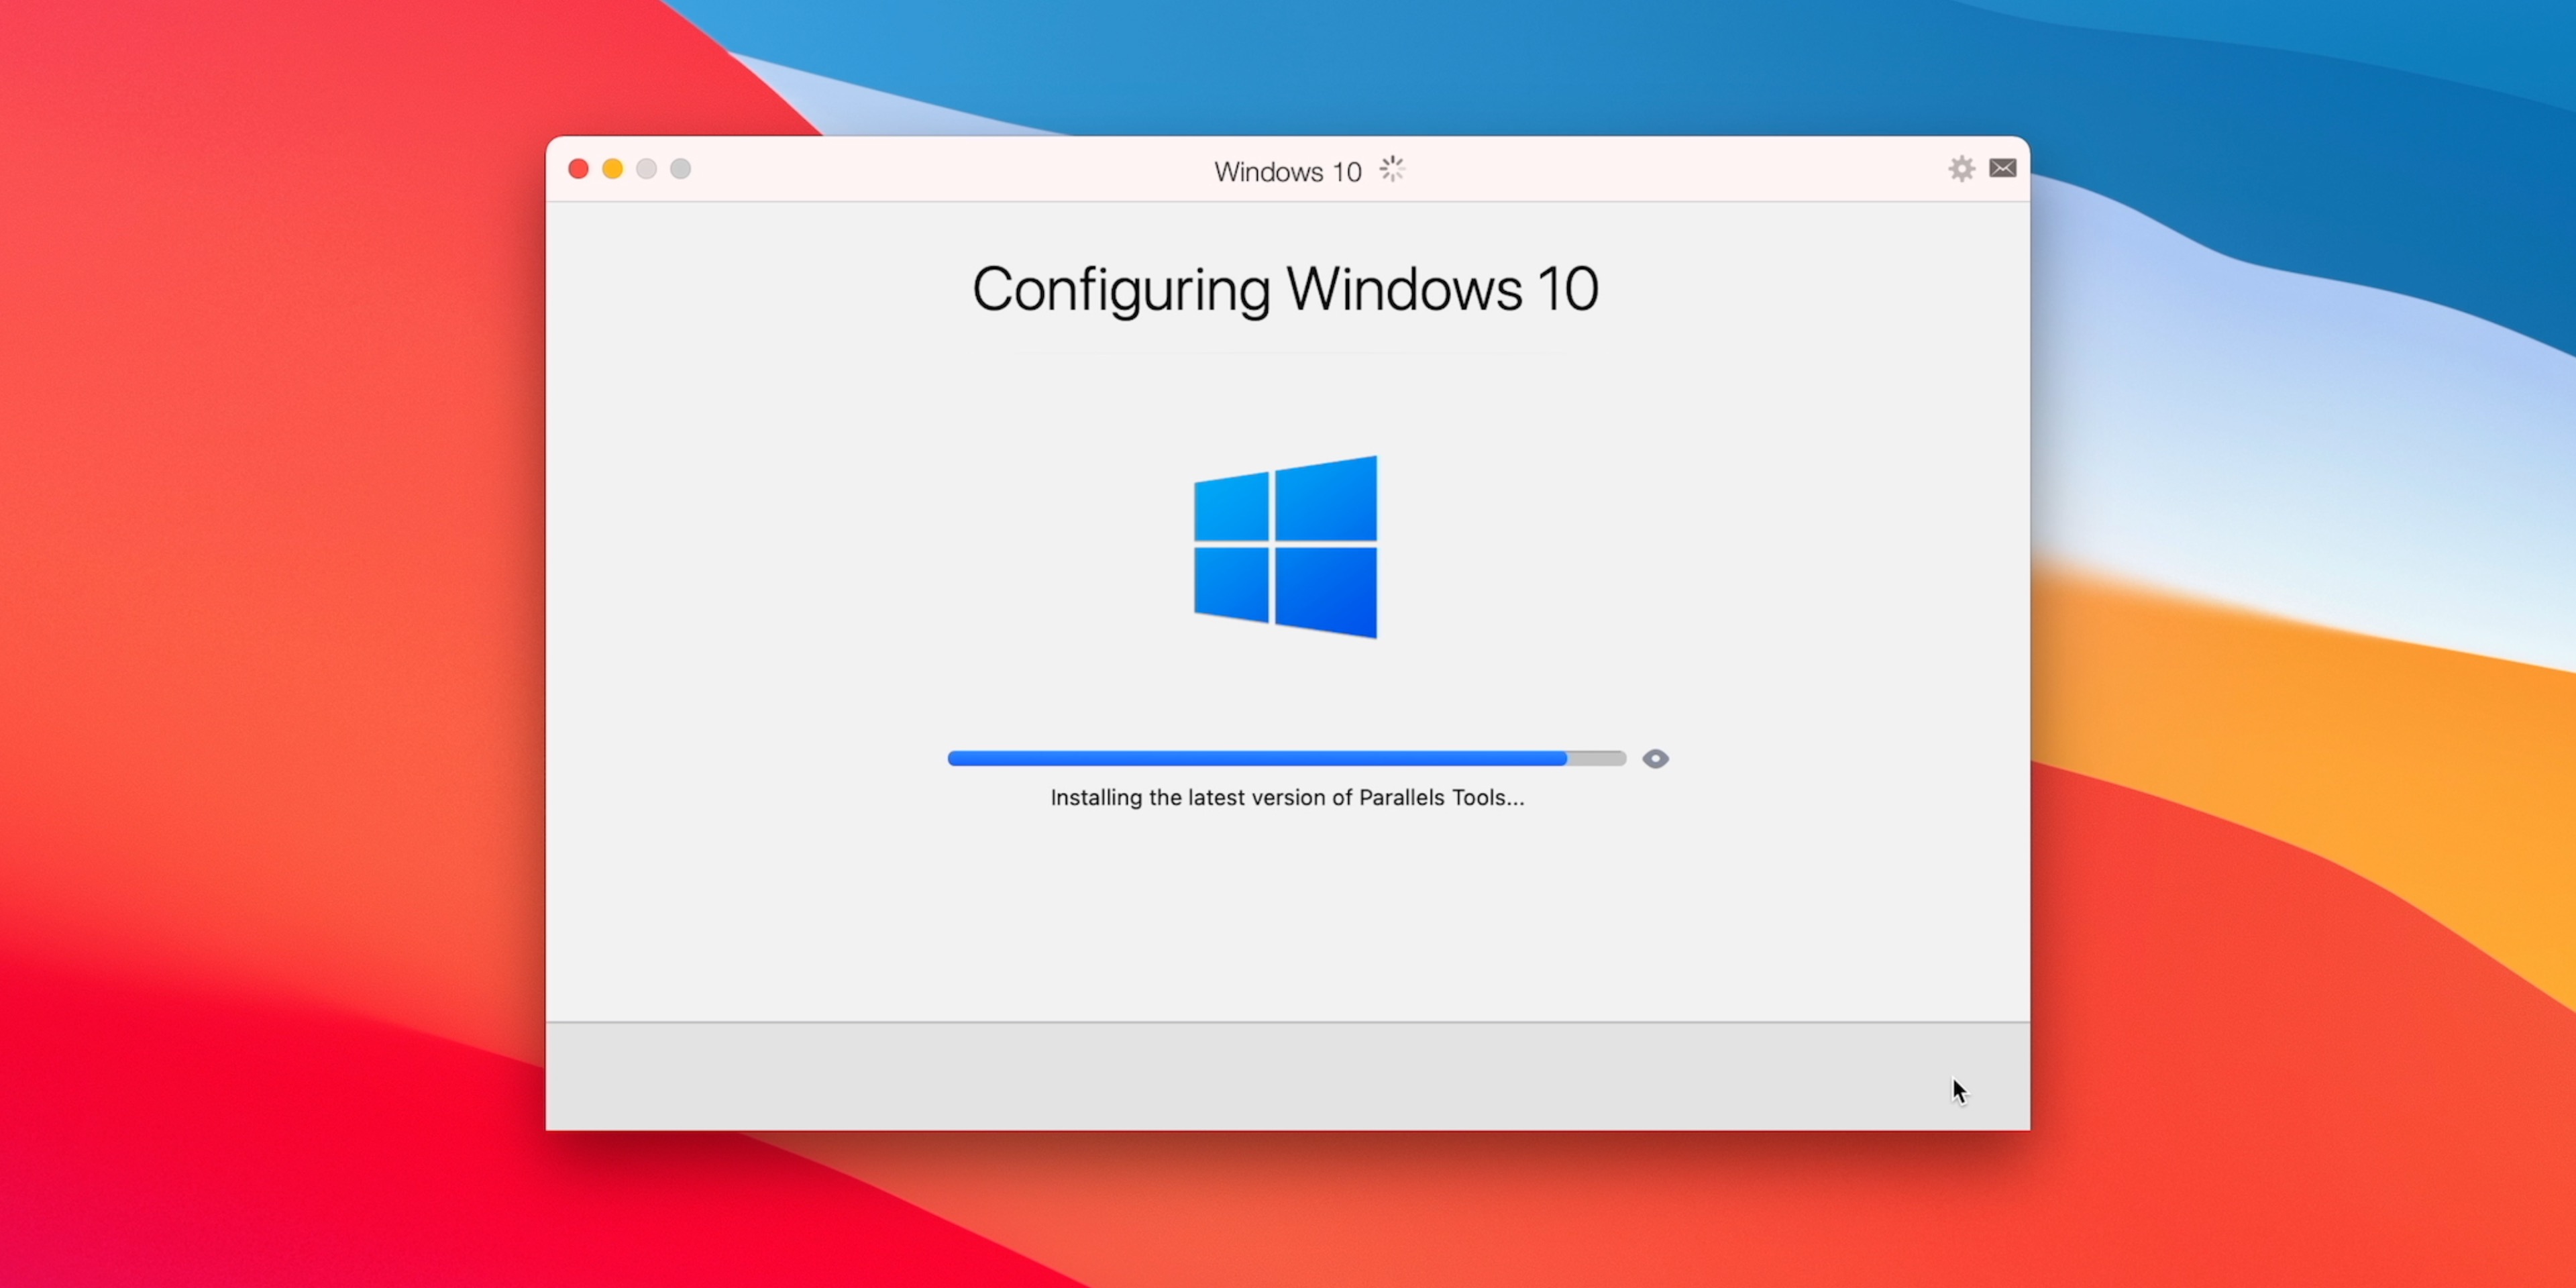
Step 5: Once logged in and activated, Parallels 16 will configure the Windows 10 virtual machine, install Parallels Tools, and complete the Windows 10 for ARM installation.


Disable Time Sync
In this early build of Parallels for M1 Macs, you’ll need to disable Time Sync or else you’ll run the risk of having an unresponsive Windows VM. To disable Time Sync, click Actions in the Parallels menu bar and select Config. Click the Options tab, and select More Options. In the drop down box next to Time Sync, select Do not sync, and close out of the configuration window.
Enable x64 emulation support
Step 1: In the Windows search bar, search for ‘Insider’ and click on Windows Insider Program settings.
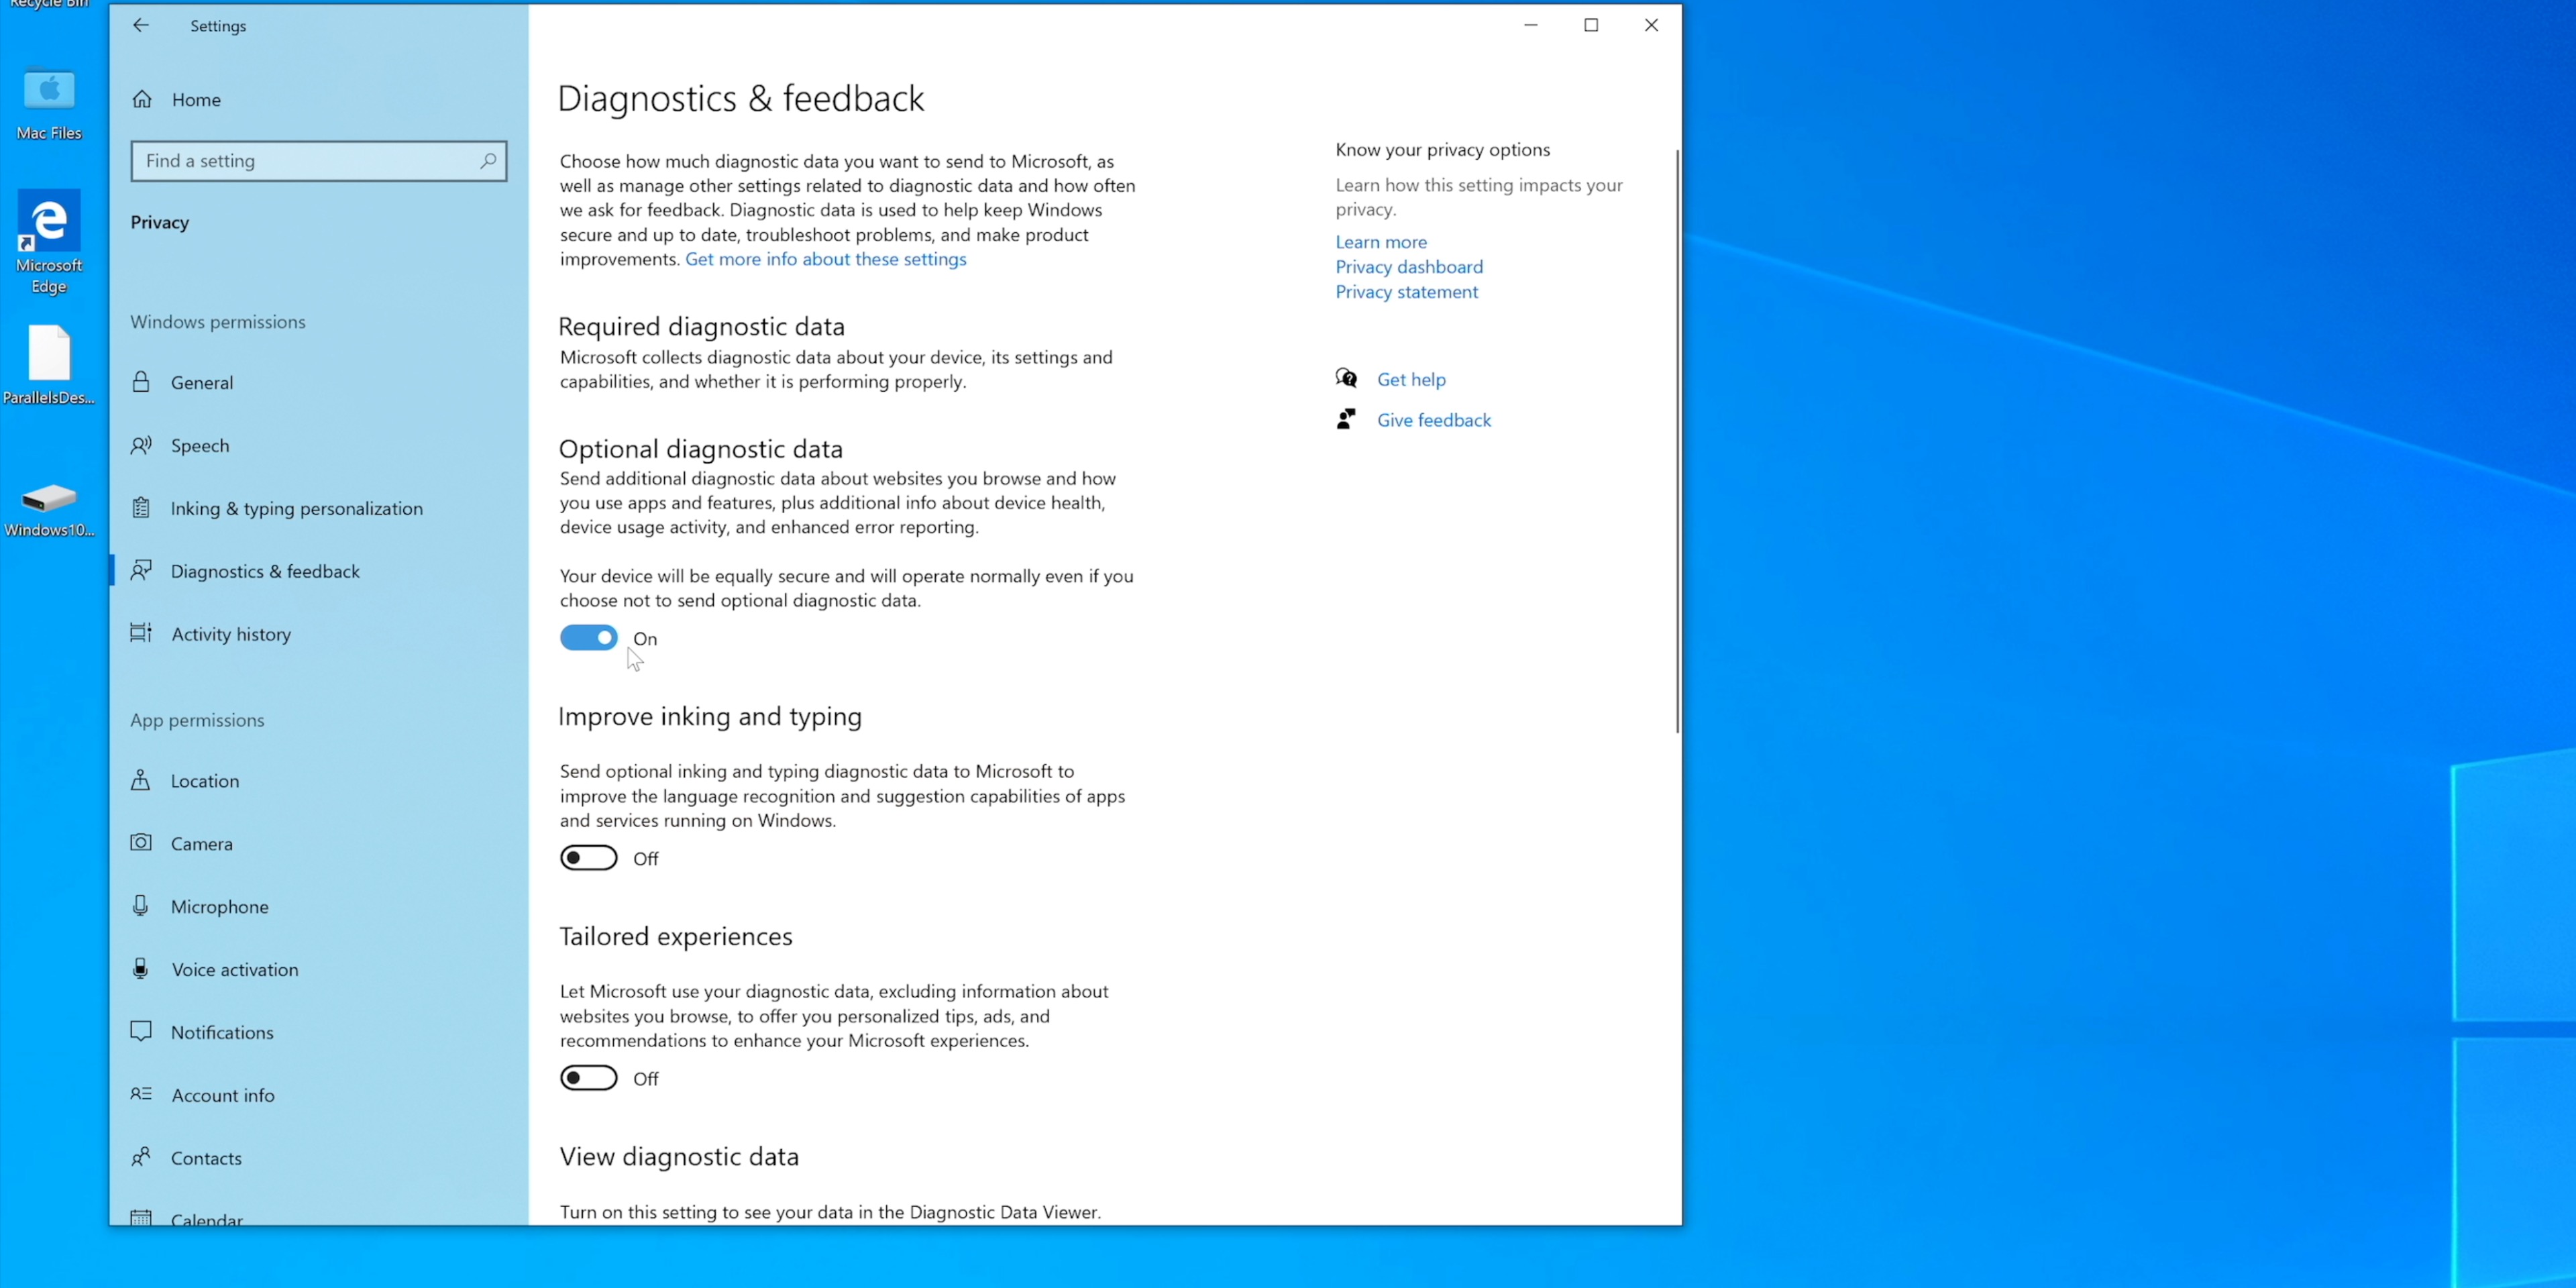
Step 2: Click the Go to Diagnostics & Feedback settings link and turn on optional diagnostic data.
Step 3: Click Link a Windows Insider account, and log in with your Windows account.
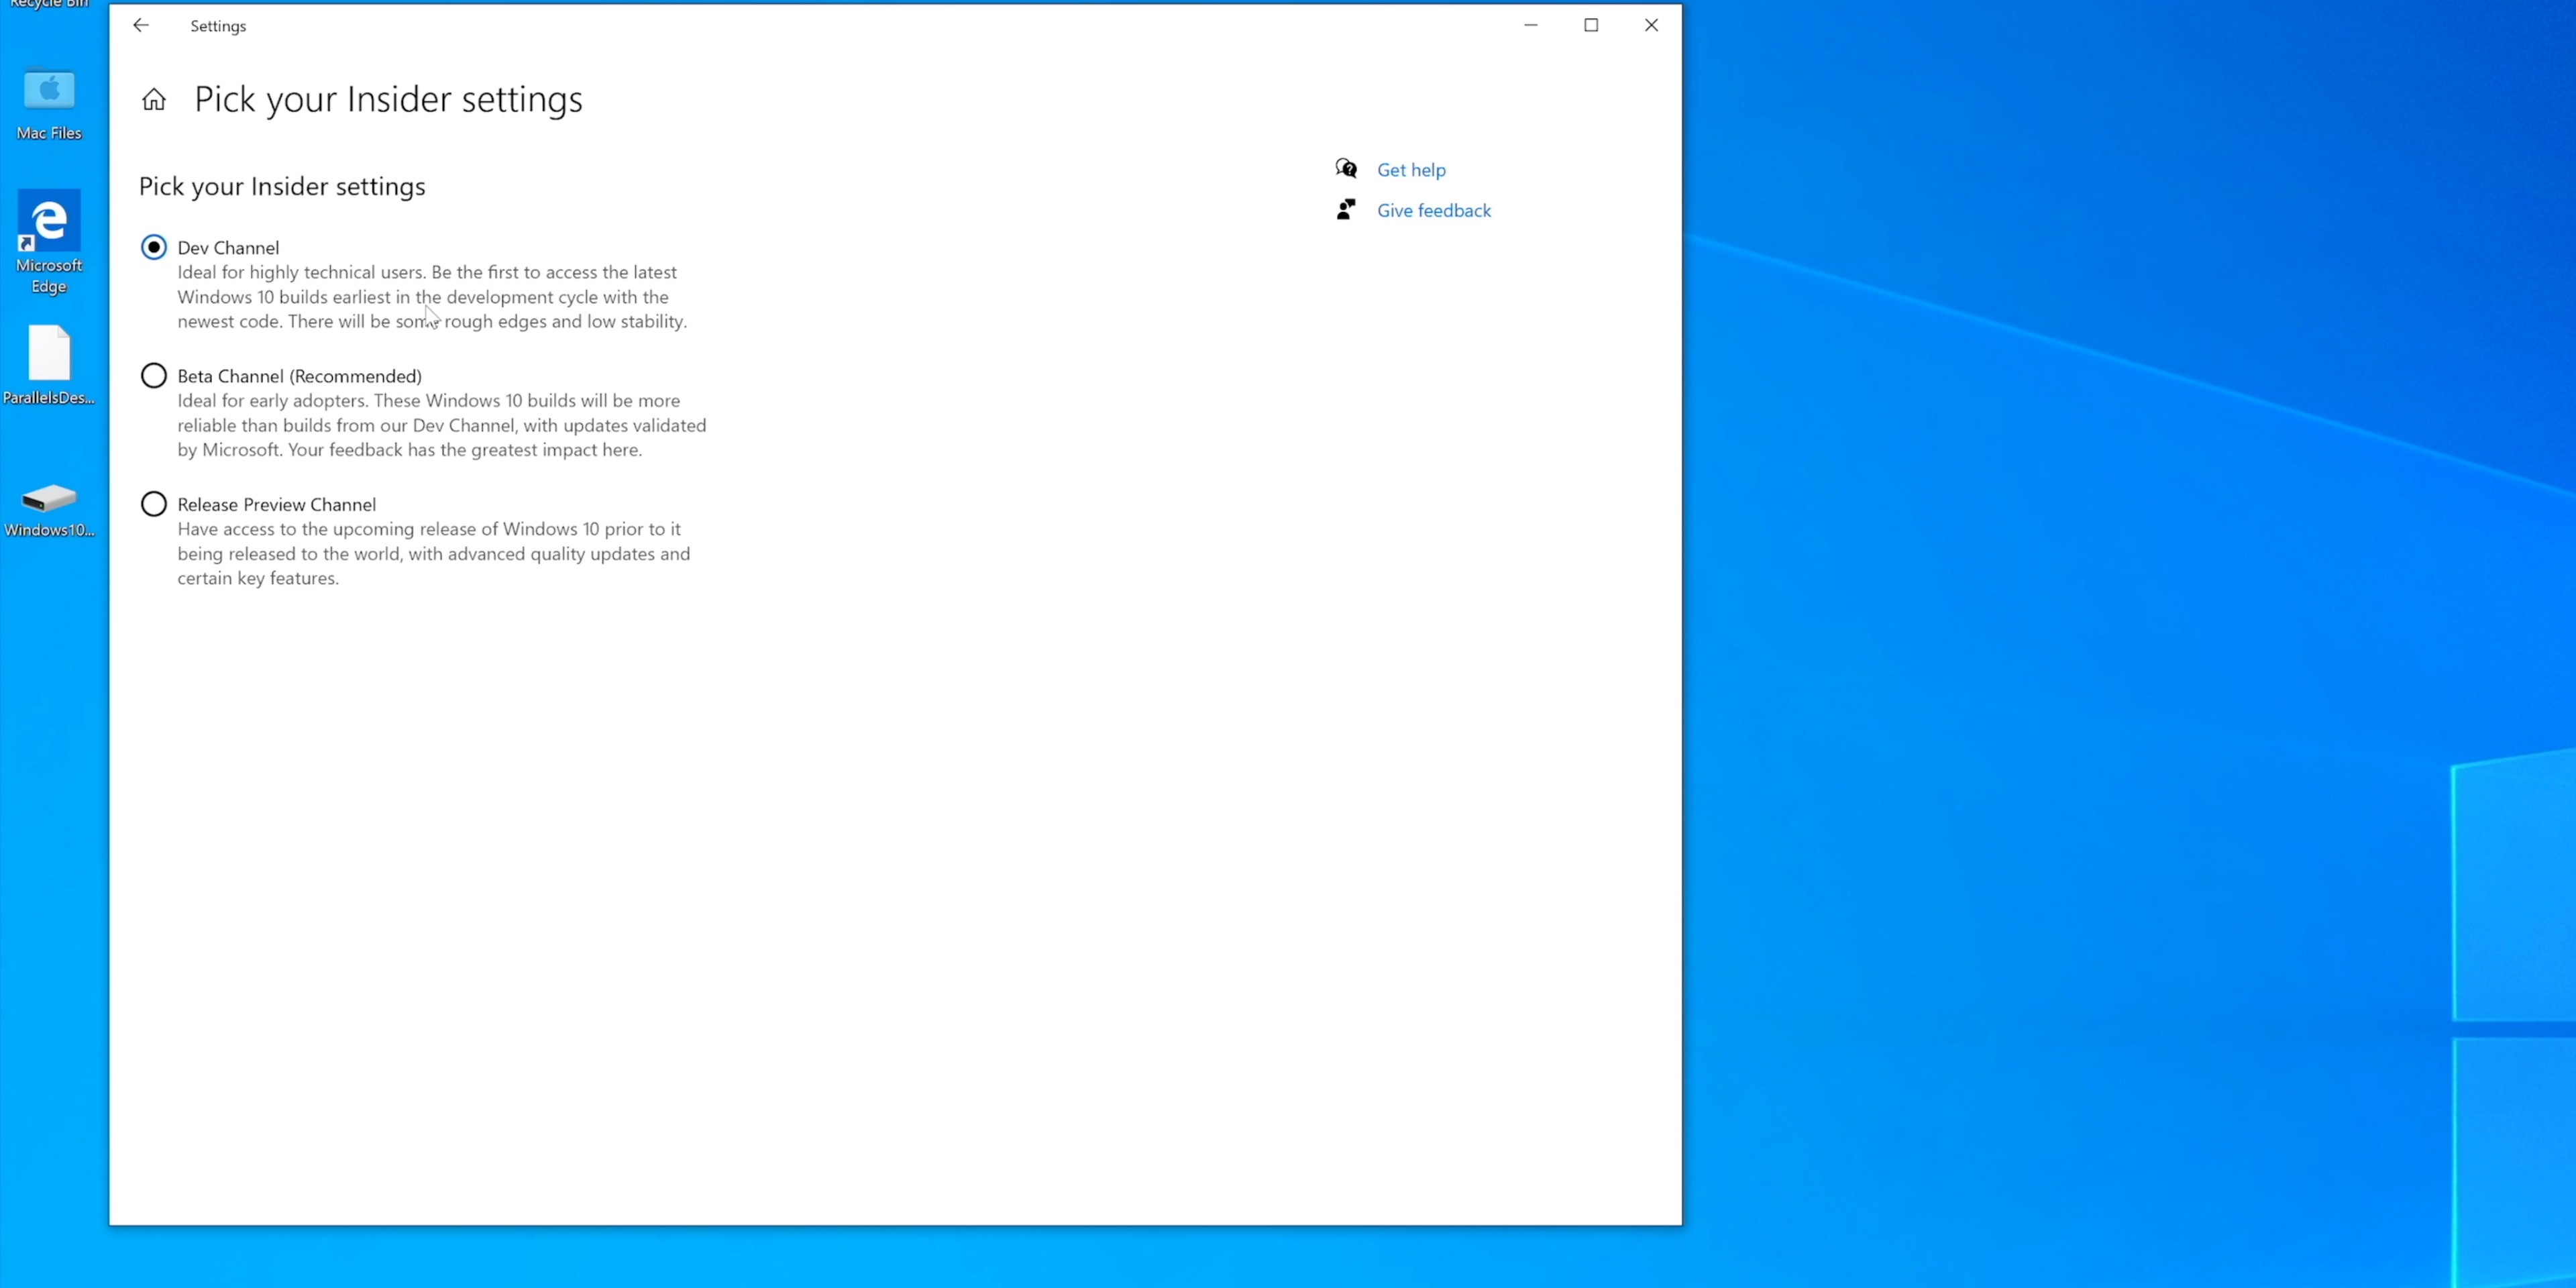
Step 4: Once logged in, click Beta Channel (Recommended) under insider settings, and select Dev Channel to gain access to the most recent updates.
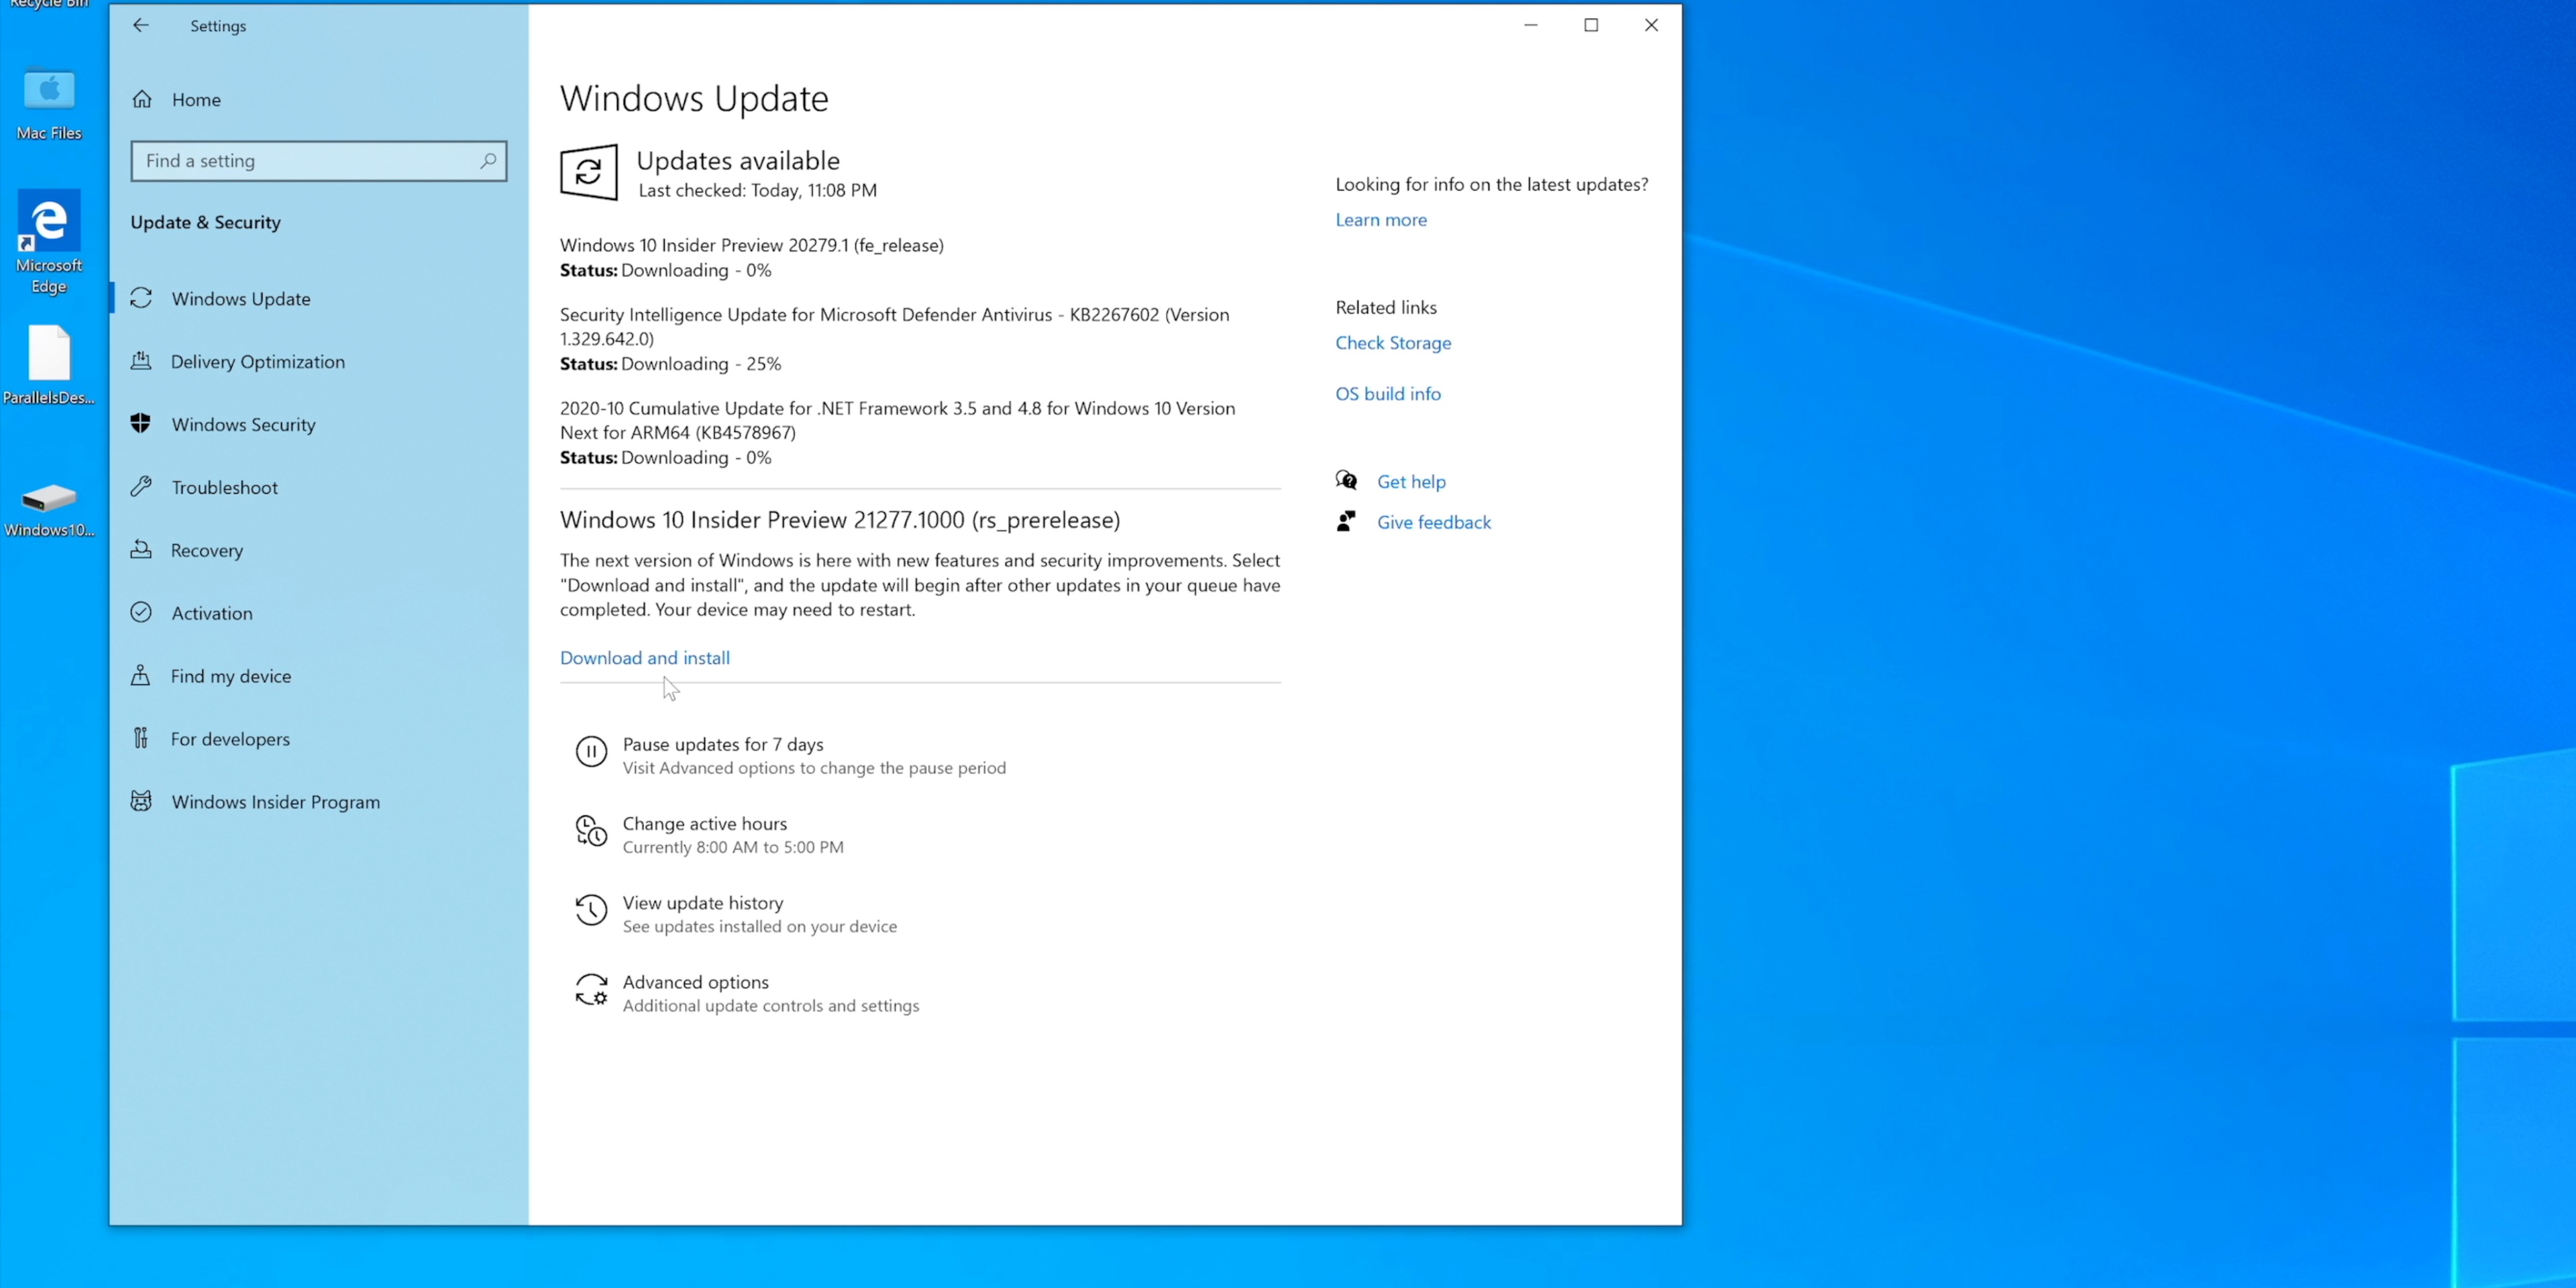
Step 5: Click the Home button to go back to the main Windows Settings page, and click Update & Security.
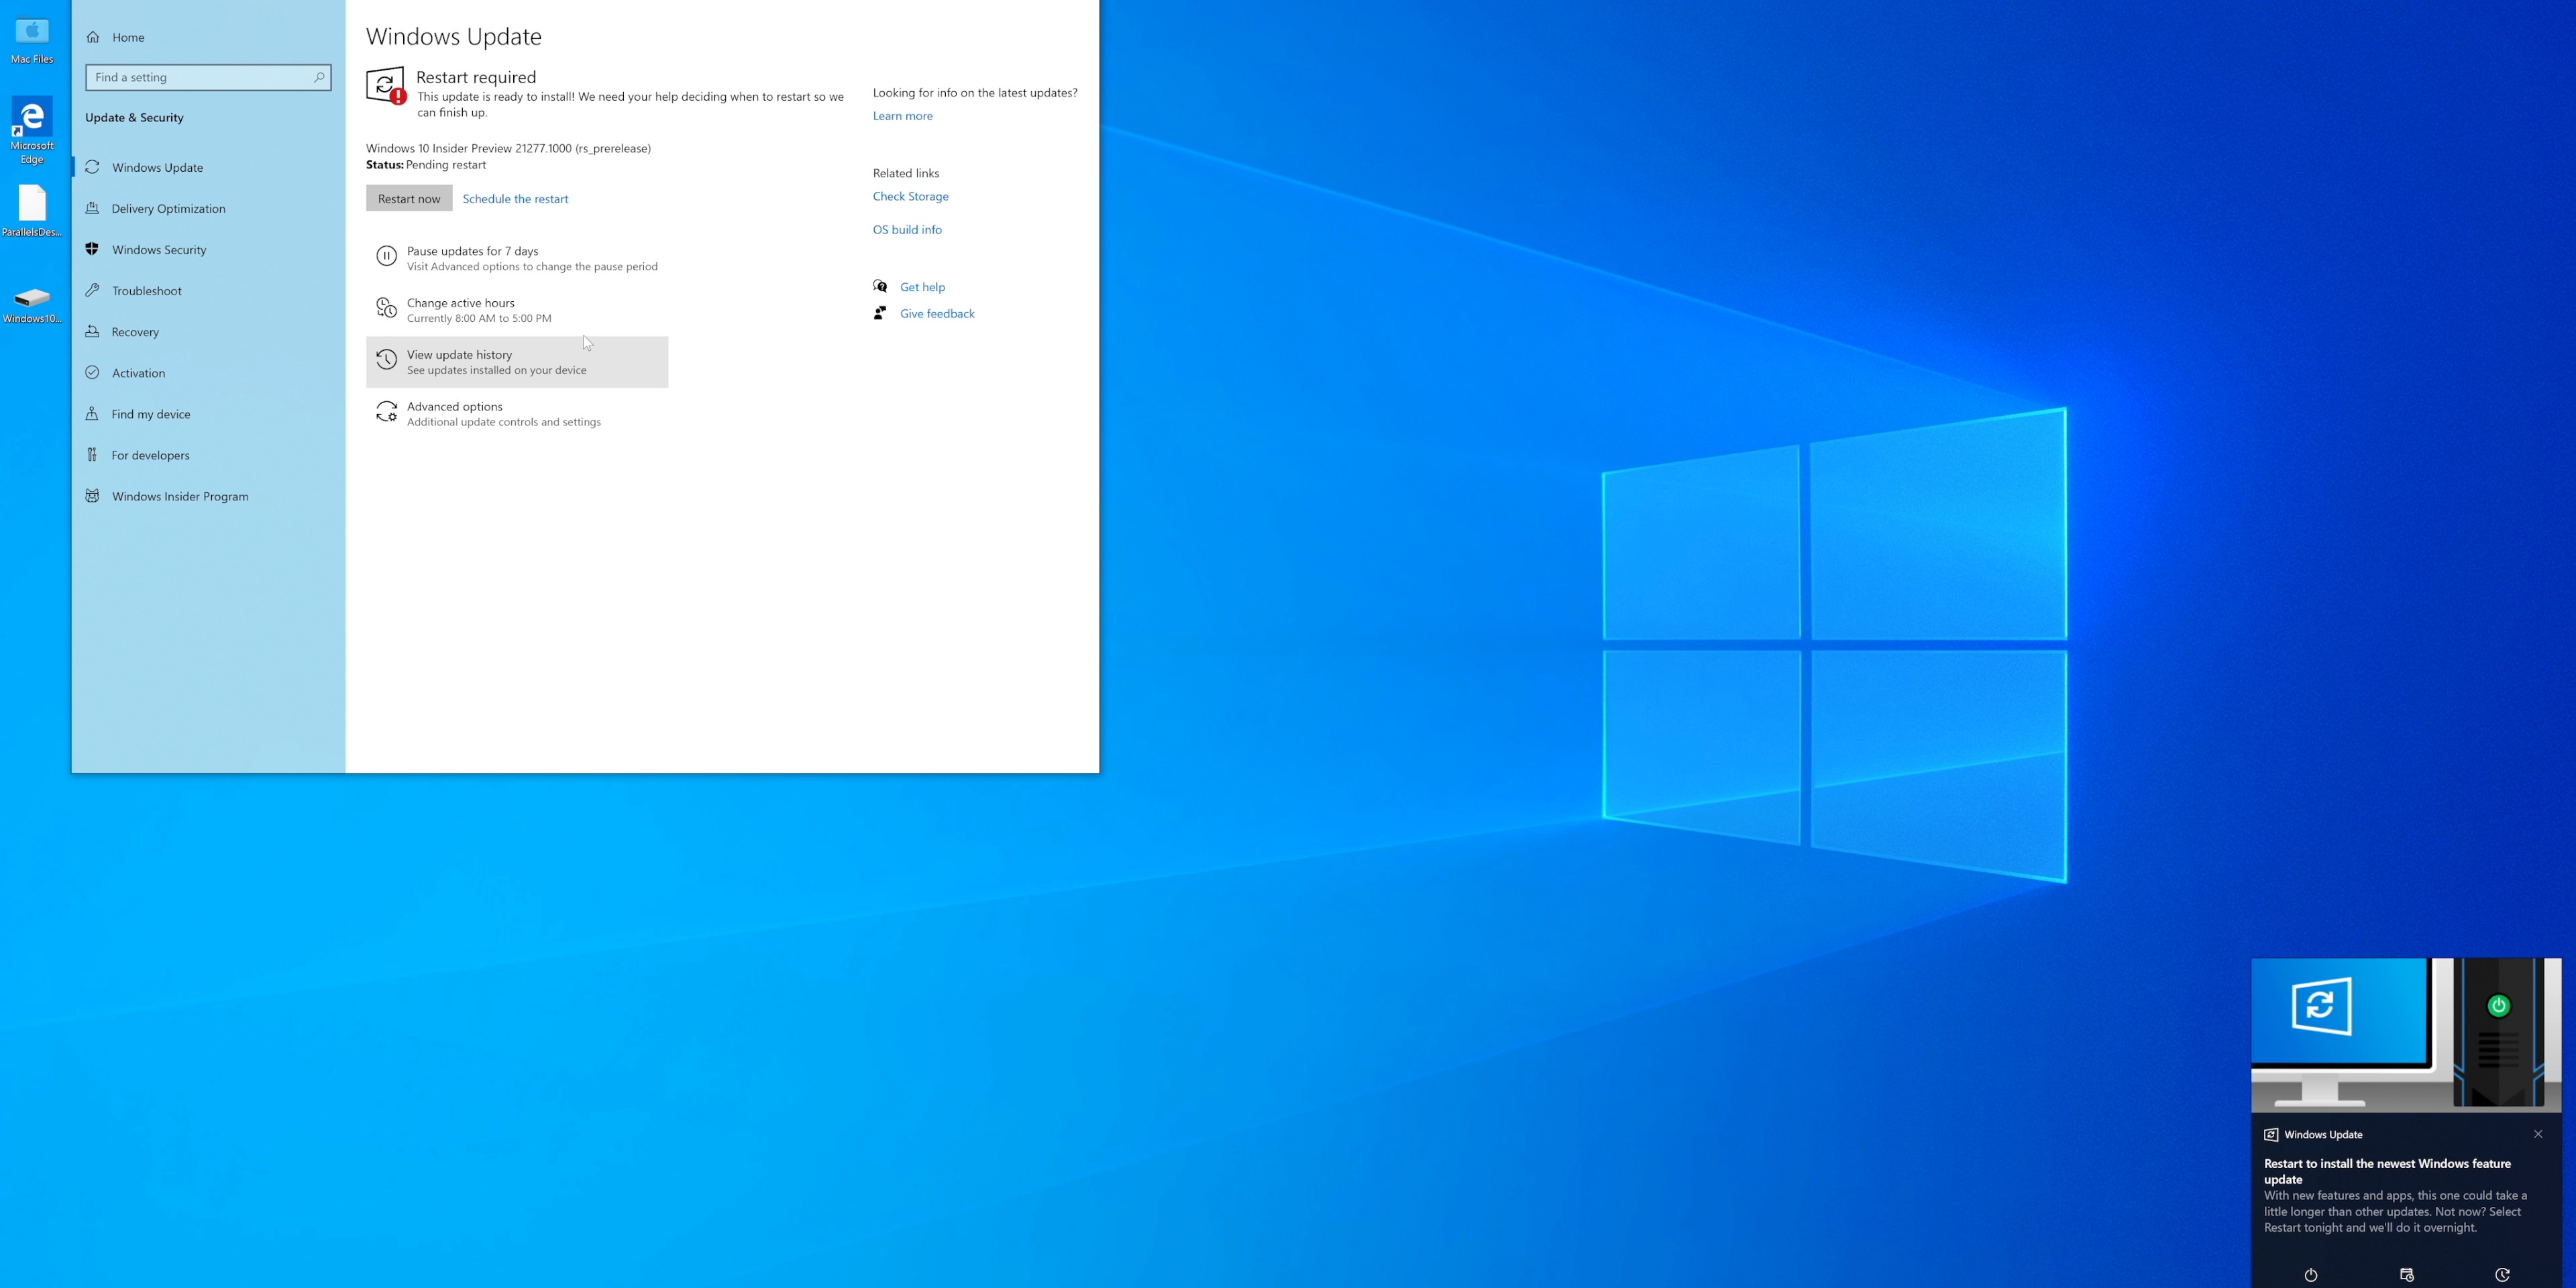
Step 6: Click check for updates under Windows Update, and you should see the latest Windows 10 Insider Preview development build appear. Click the download and install button beneath the build description to install the latest developer build. Windows will take some time to complete the download and installation, so remain patient. Once all updates are installed and your machine reboots, Parallels Tools will be reinstalled and you’ll need to reboot once more.
To learn more about the recent addition of x64 support in Windows 10 on ARM, see Microsoft’s blog post here.
Bump up the core allocation
For better performance, I suggest bumping the core allocation to four from the default two. Since all M1 Macs feature 8-core CPUs, your macOS installation will retain access to the remaining four cores. To bump up core allocation, shut down Windows, click Action in the menu bar, and select Config.
Under Hardware → CPU and Memory, use the drop down box next to Processors to change it from 2 to 4. Close the configuration window and restart the virtual machine.
9to5Mac’s take
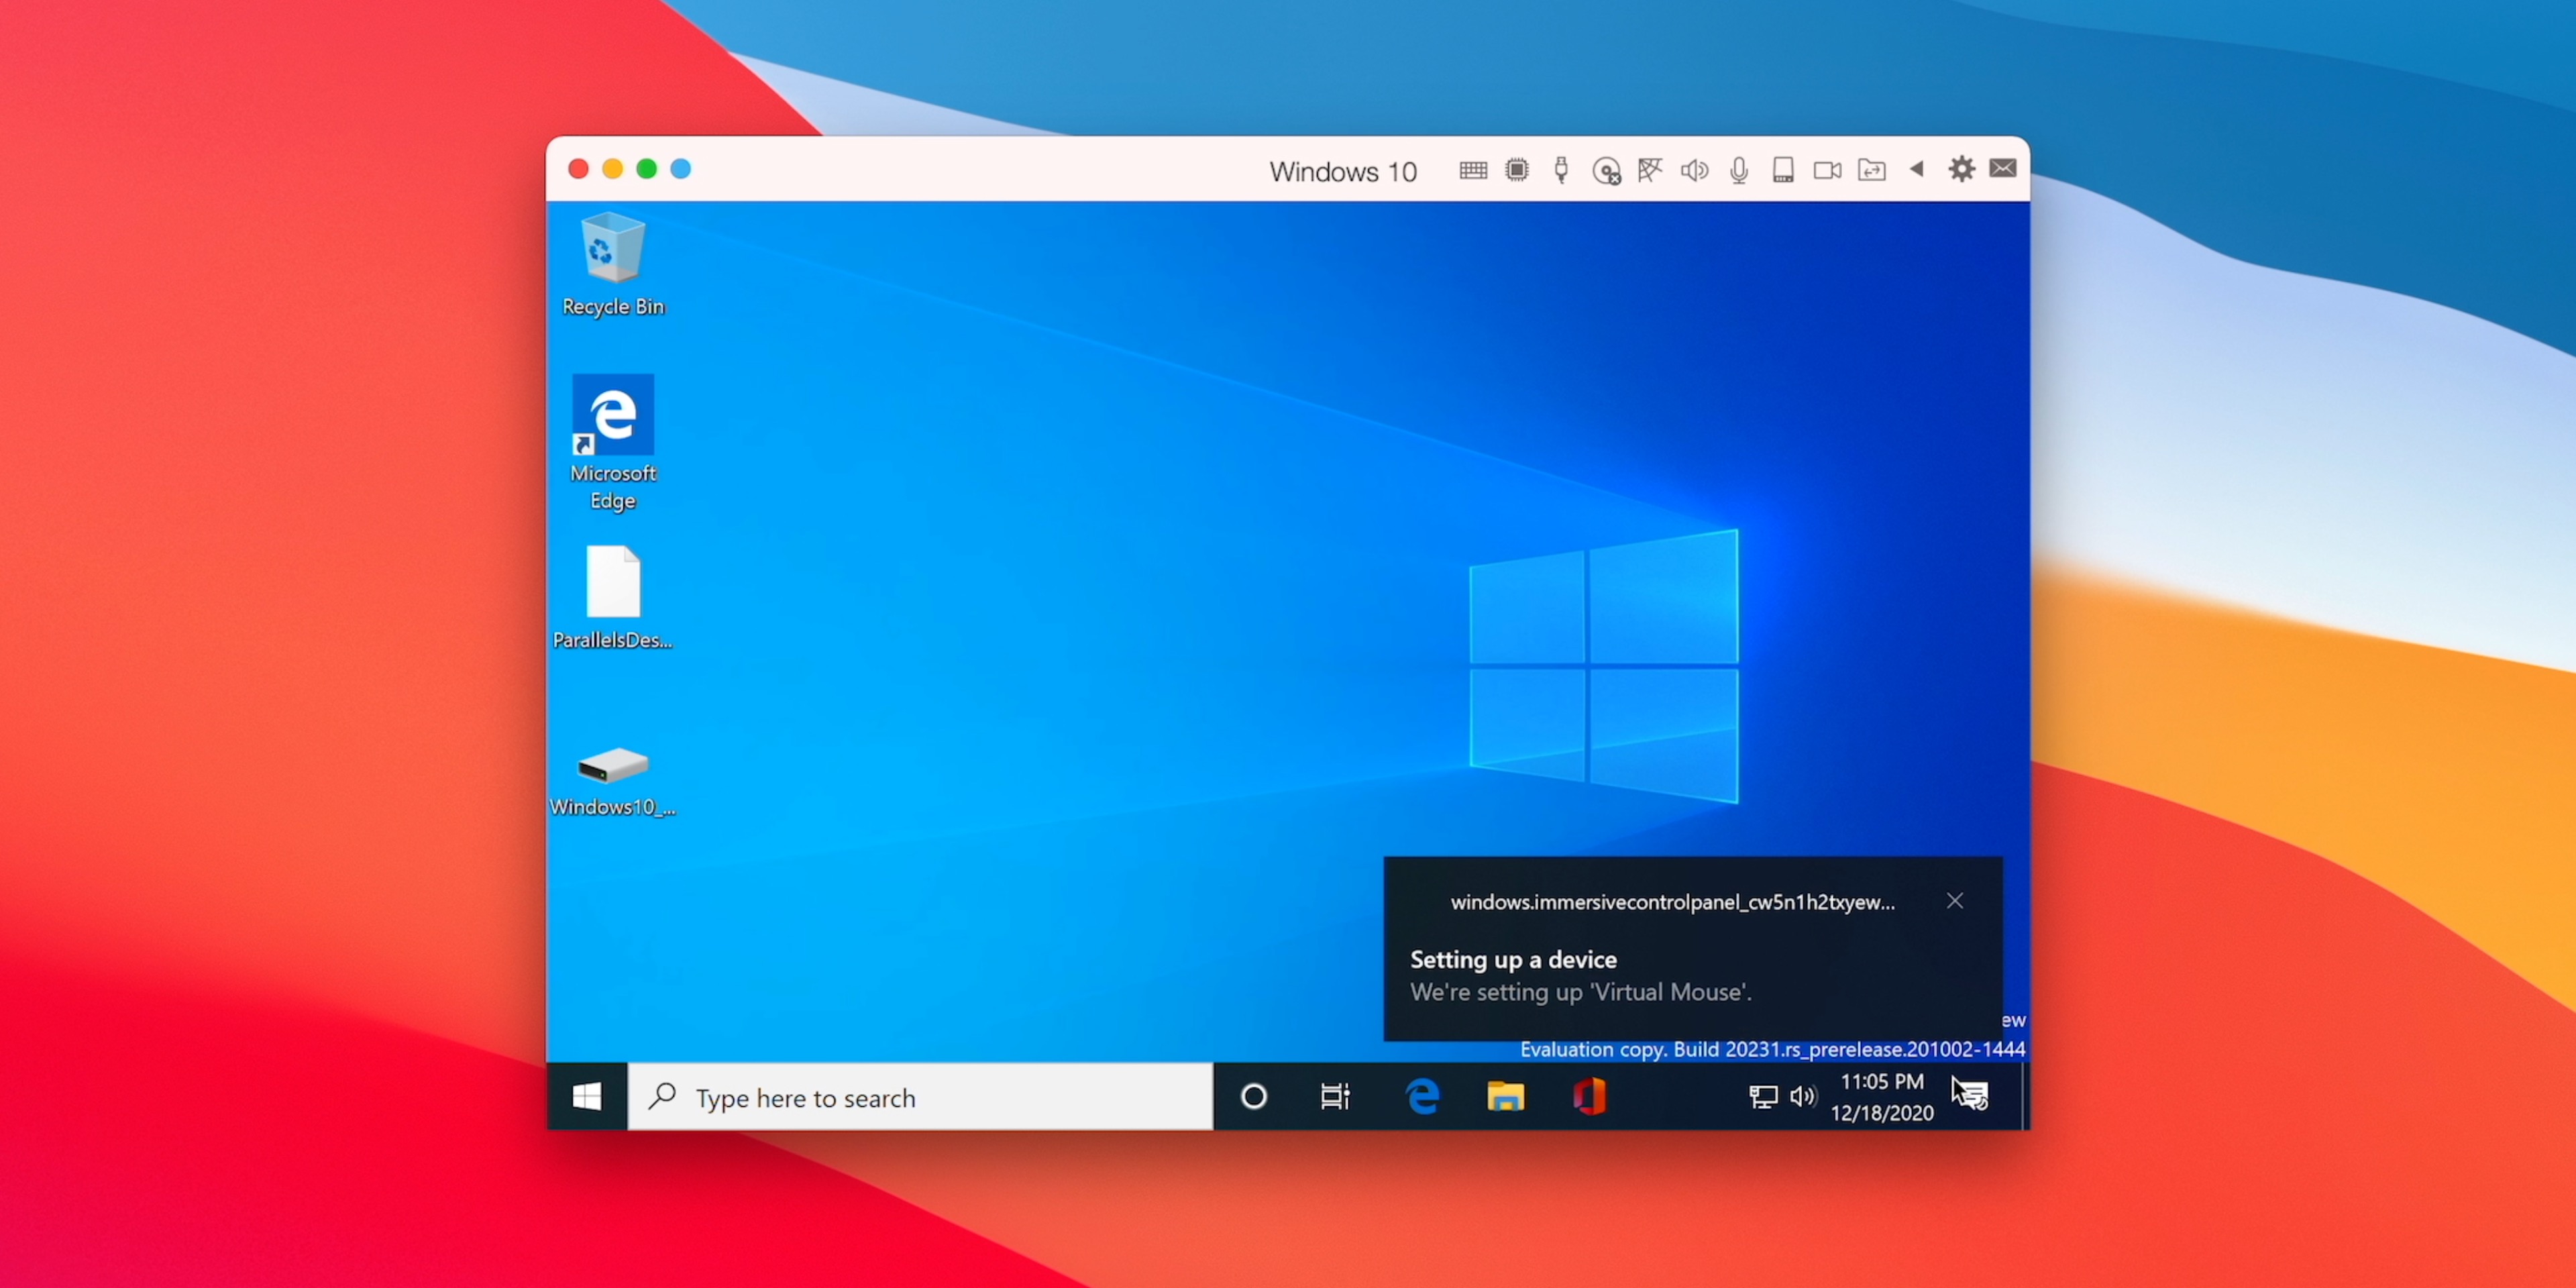
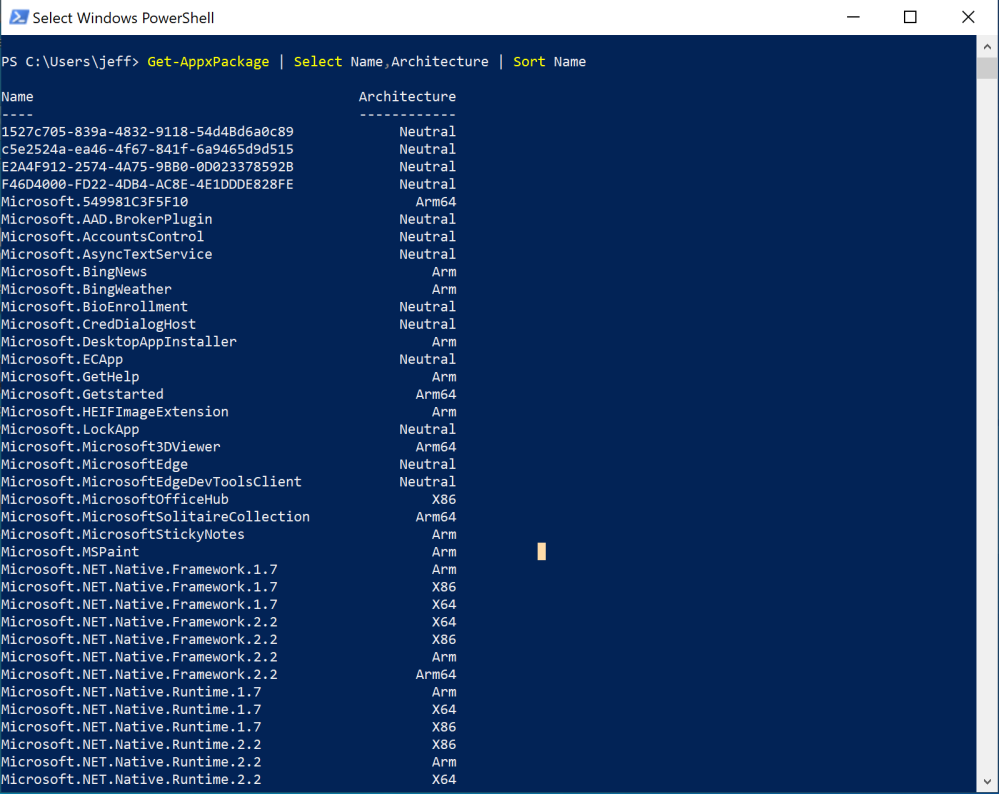
Once at your desktop, you can run arm64 apps and emulated x86/x64 apps. Unfortunately, arm32 apps, like the built-in Skype and Windows Store apps, do not yet work, and launching these apps will result in them crashing. Microsoft Edge (a neutral app, similar to a universal app on Mac) and other native arm64 applications work fairly well.
You can learn more about the app architecture on your installation by using the following PowerShell command: Get-AppxPackage | Select Name,Architecture | Sort Name


I downloaded Steam and tried Rocket League, just to see how it would perform. While the gaming experience was far from perfect and definitely wasn’t running at 60fps, it was at least playable. I could also watch 4K videos on YouTube via edge, edit photos using Affinity Photo, and more.
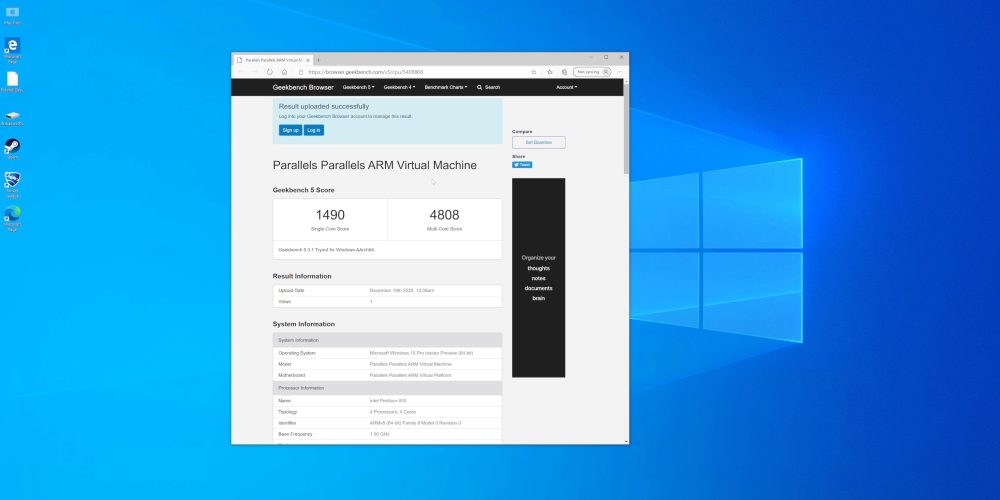
Overall, I was impressed by the stability, smoothness in animations, and performance this early in the game. Geekbench scores were relatively impressive considering that I was working with half of the system’s resources when allocating four cores to the VM.
Windows running on Apple Silicon via Parallels is by no means perfect, but it’s much better than I thought it would be at this juncture. If there’s a certain Windows app that you’d like to run — one that’s not mission-critical — you should give it a go; you might be surprised by the results.
What do you think? Would you consider running a Windows VM on your M1 Mac?
FTC: We use income earning auto affiliate links. More.


Comments