If you just got a new Mac or reinstalled macOS, these 30+ Mac tips for new setups can help increase productivity and better your workflow. Watch our detailed hands-on video walkthrough as we demonstrate and explain each of my favorite Mac tips step-by-step, and be sure to subscribe to 9to5Mac on YouTube for more videos.
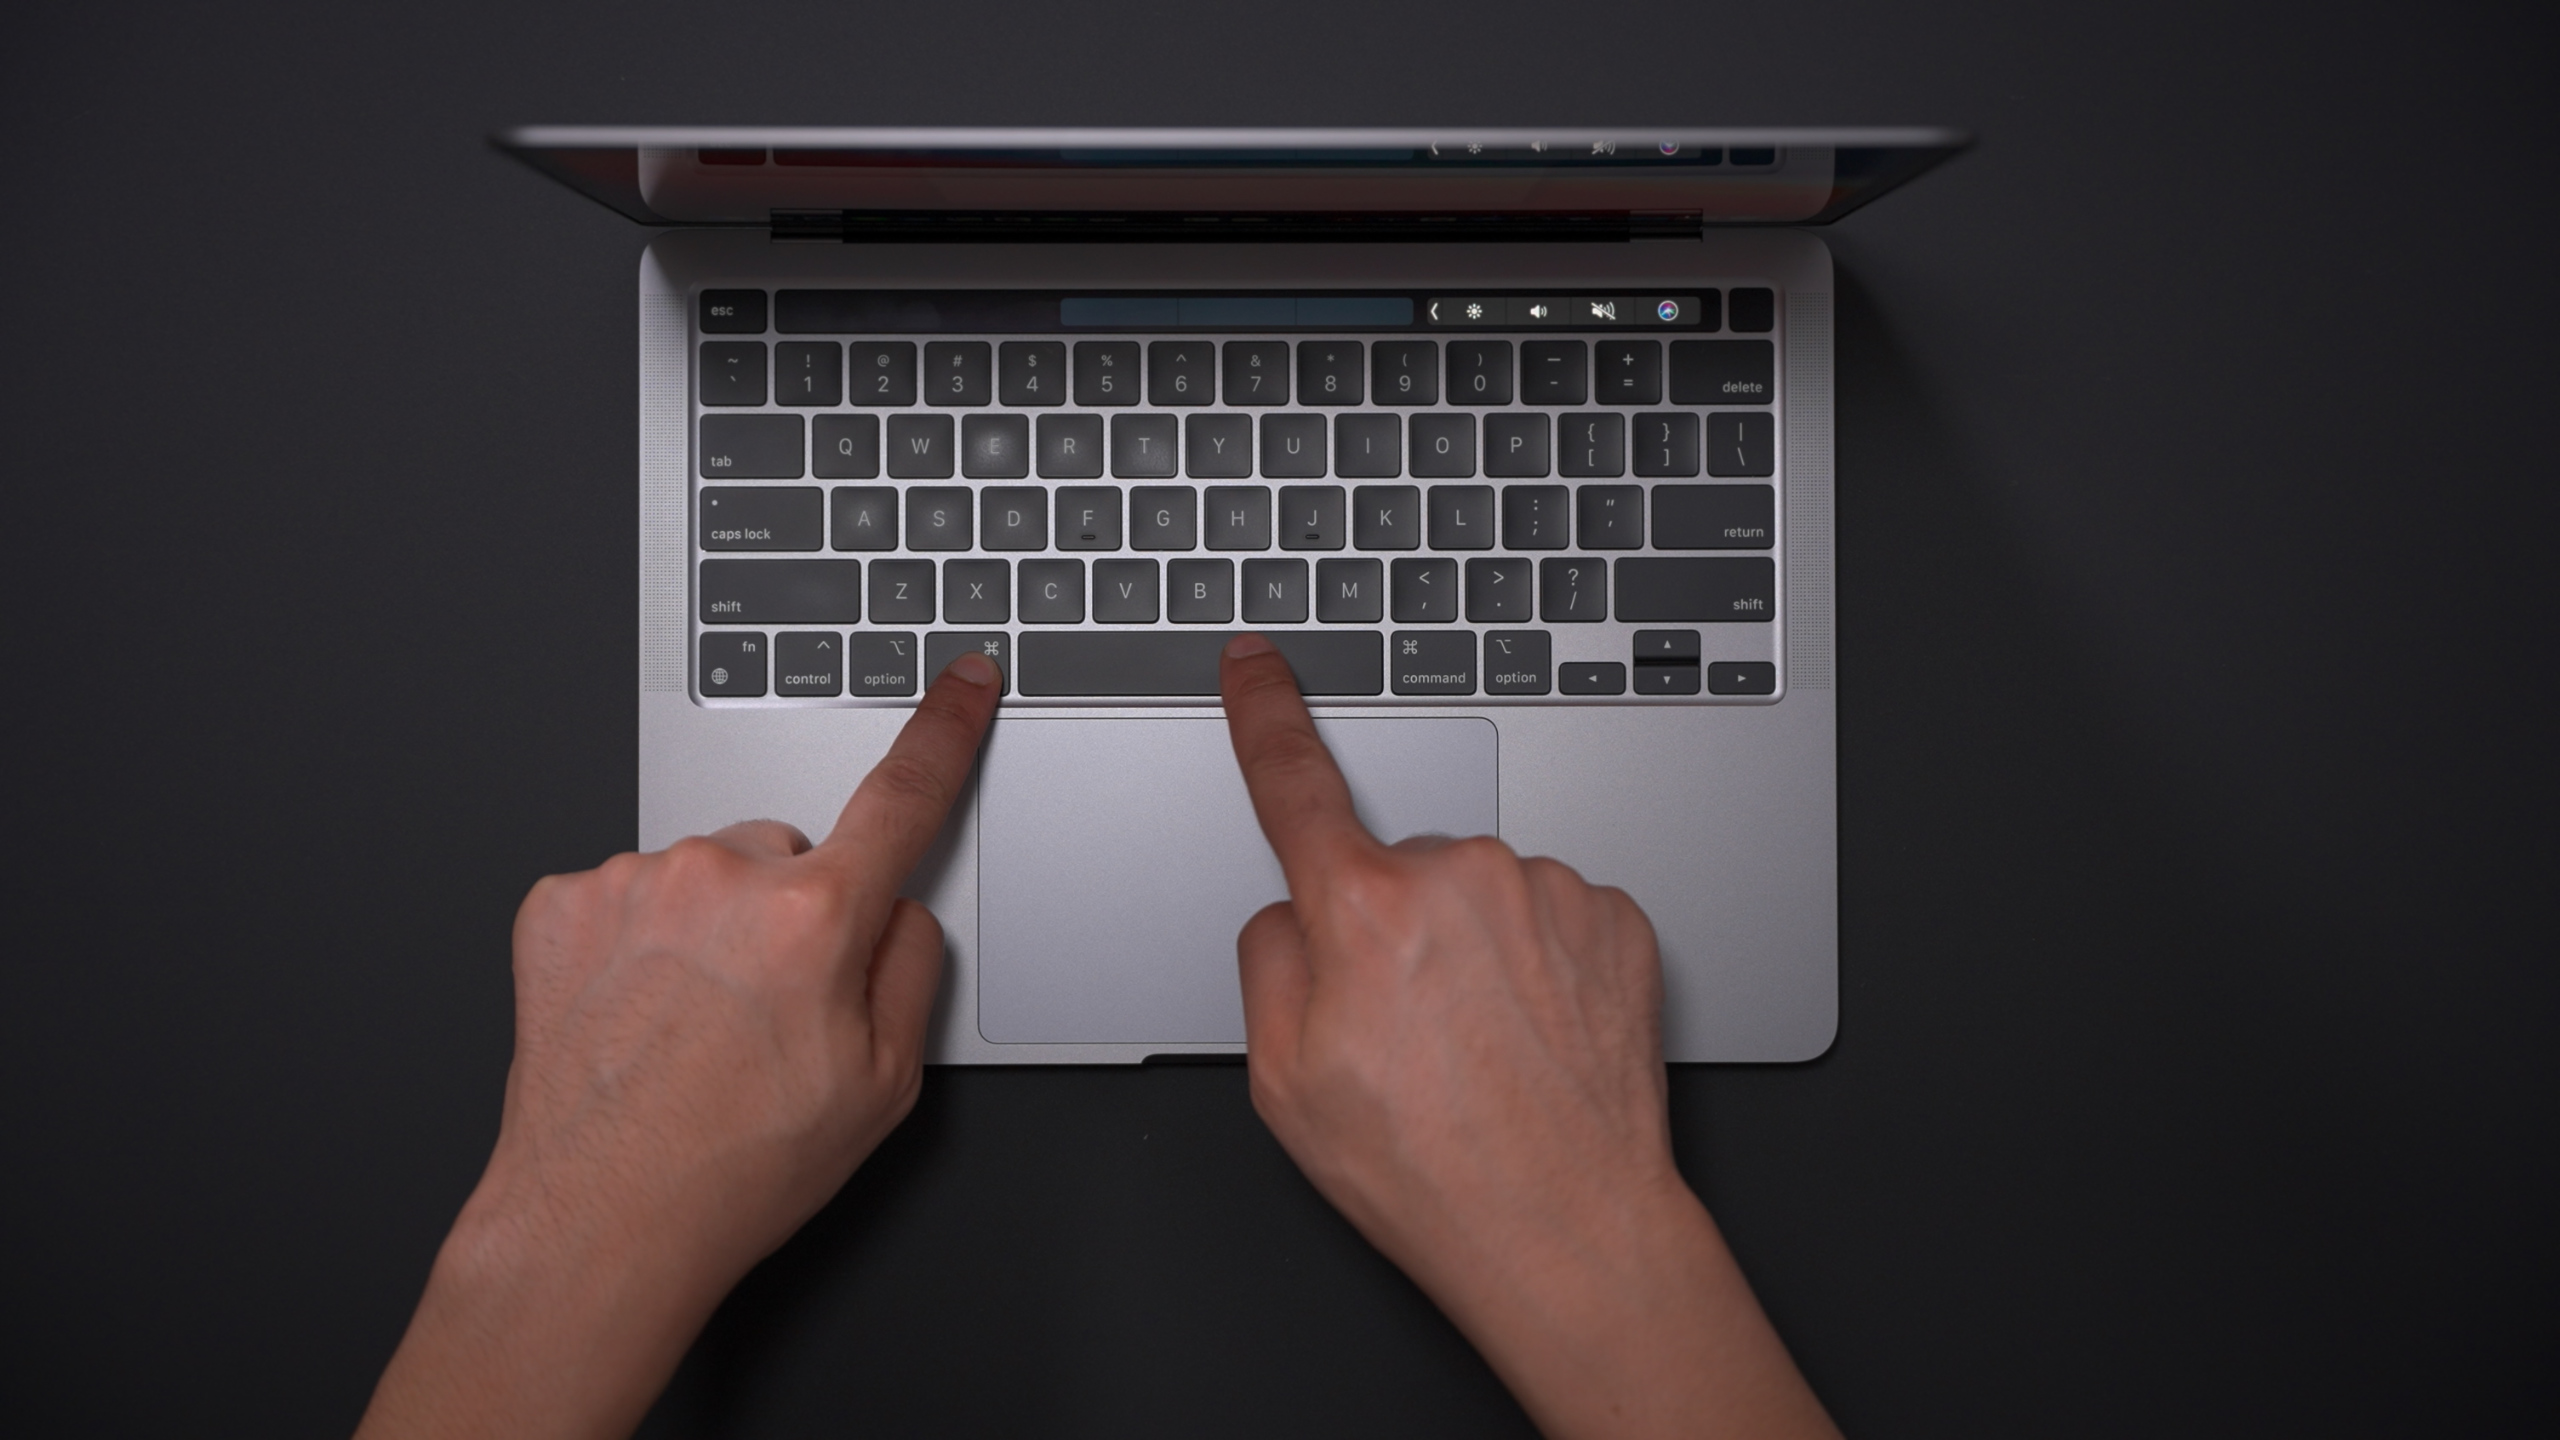
Configure tracking speed for trackpad
The very first thing I do when setting up a new Mac is to go to System Preferences → Trackpad and adjust the trackpad tracking speed. macOS sets the tracking speed to level four by default, which is much too slow to efficiently navigate around the interface. I tend to adjust my tracking speed to level 9, which is just one level short of the max value.
Enable tap to click for trackpad
By default, macOS forces you to physically press down on the trackpad to initiate a click, but there is a provision inside System Preferences → Trackpad to enable tap to click. As its name implies, tap to click allows you to initiate clicks by just tapping on the trackpad instead of pressing down. Since we’re all used to just tapping on our iPhones and iPads, it’s a change that translates easily.
Video: 30+ Mac tips for new setups
Sponsor: Get AirBuddy 2 to level up your AirPods on Mac. The first 100 9to5Mac readers/viewers will get AirBuddy 2 with a 20% discount!
Subscribe to 9to5mac on YouTube for more videos
Enable three-finger drag on trackpad
To drag windows and other assets around macOS, you have to click down on the trackpad and then move your finger on the trackpad. If you already use tap to click, then moving items feels like a step backwards in some regards. Fortunately there’s a touch gesture called three-finger drag that allows users to move items around macOS without needing to click first.
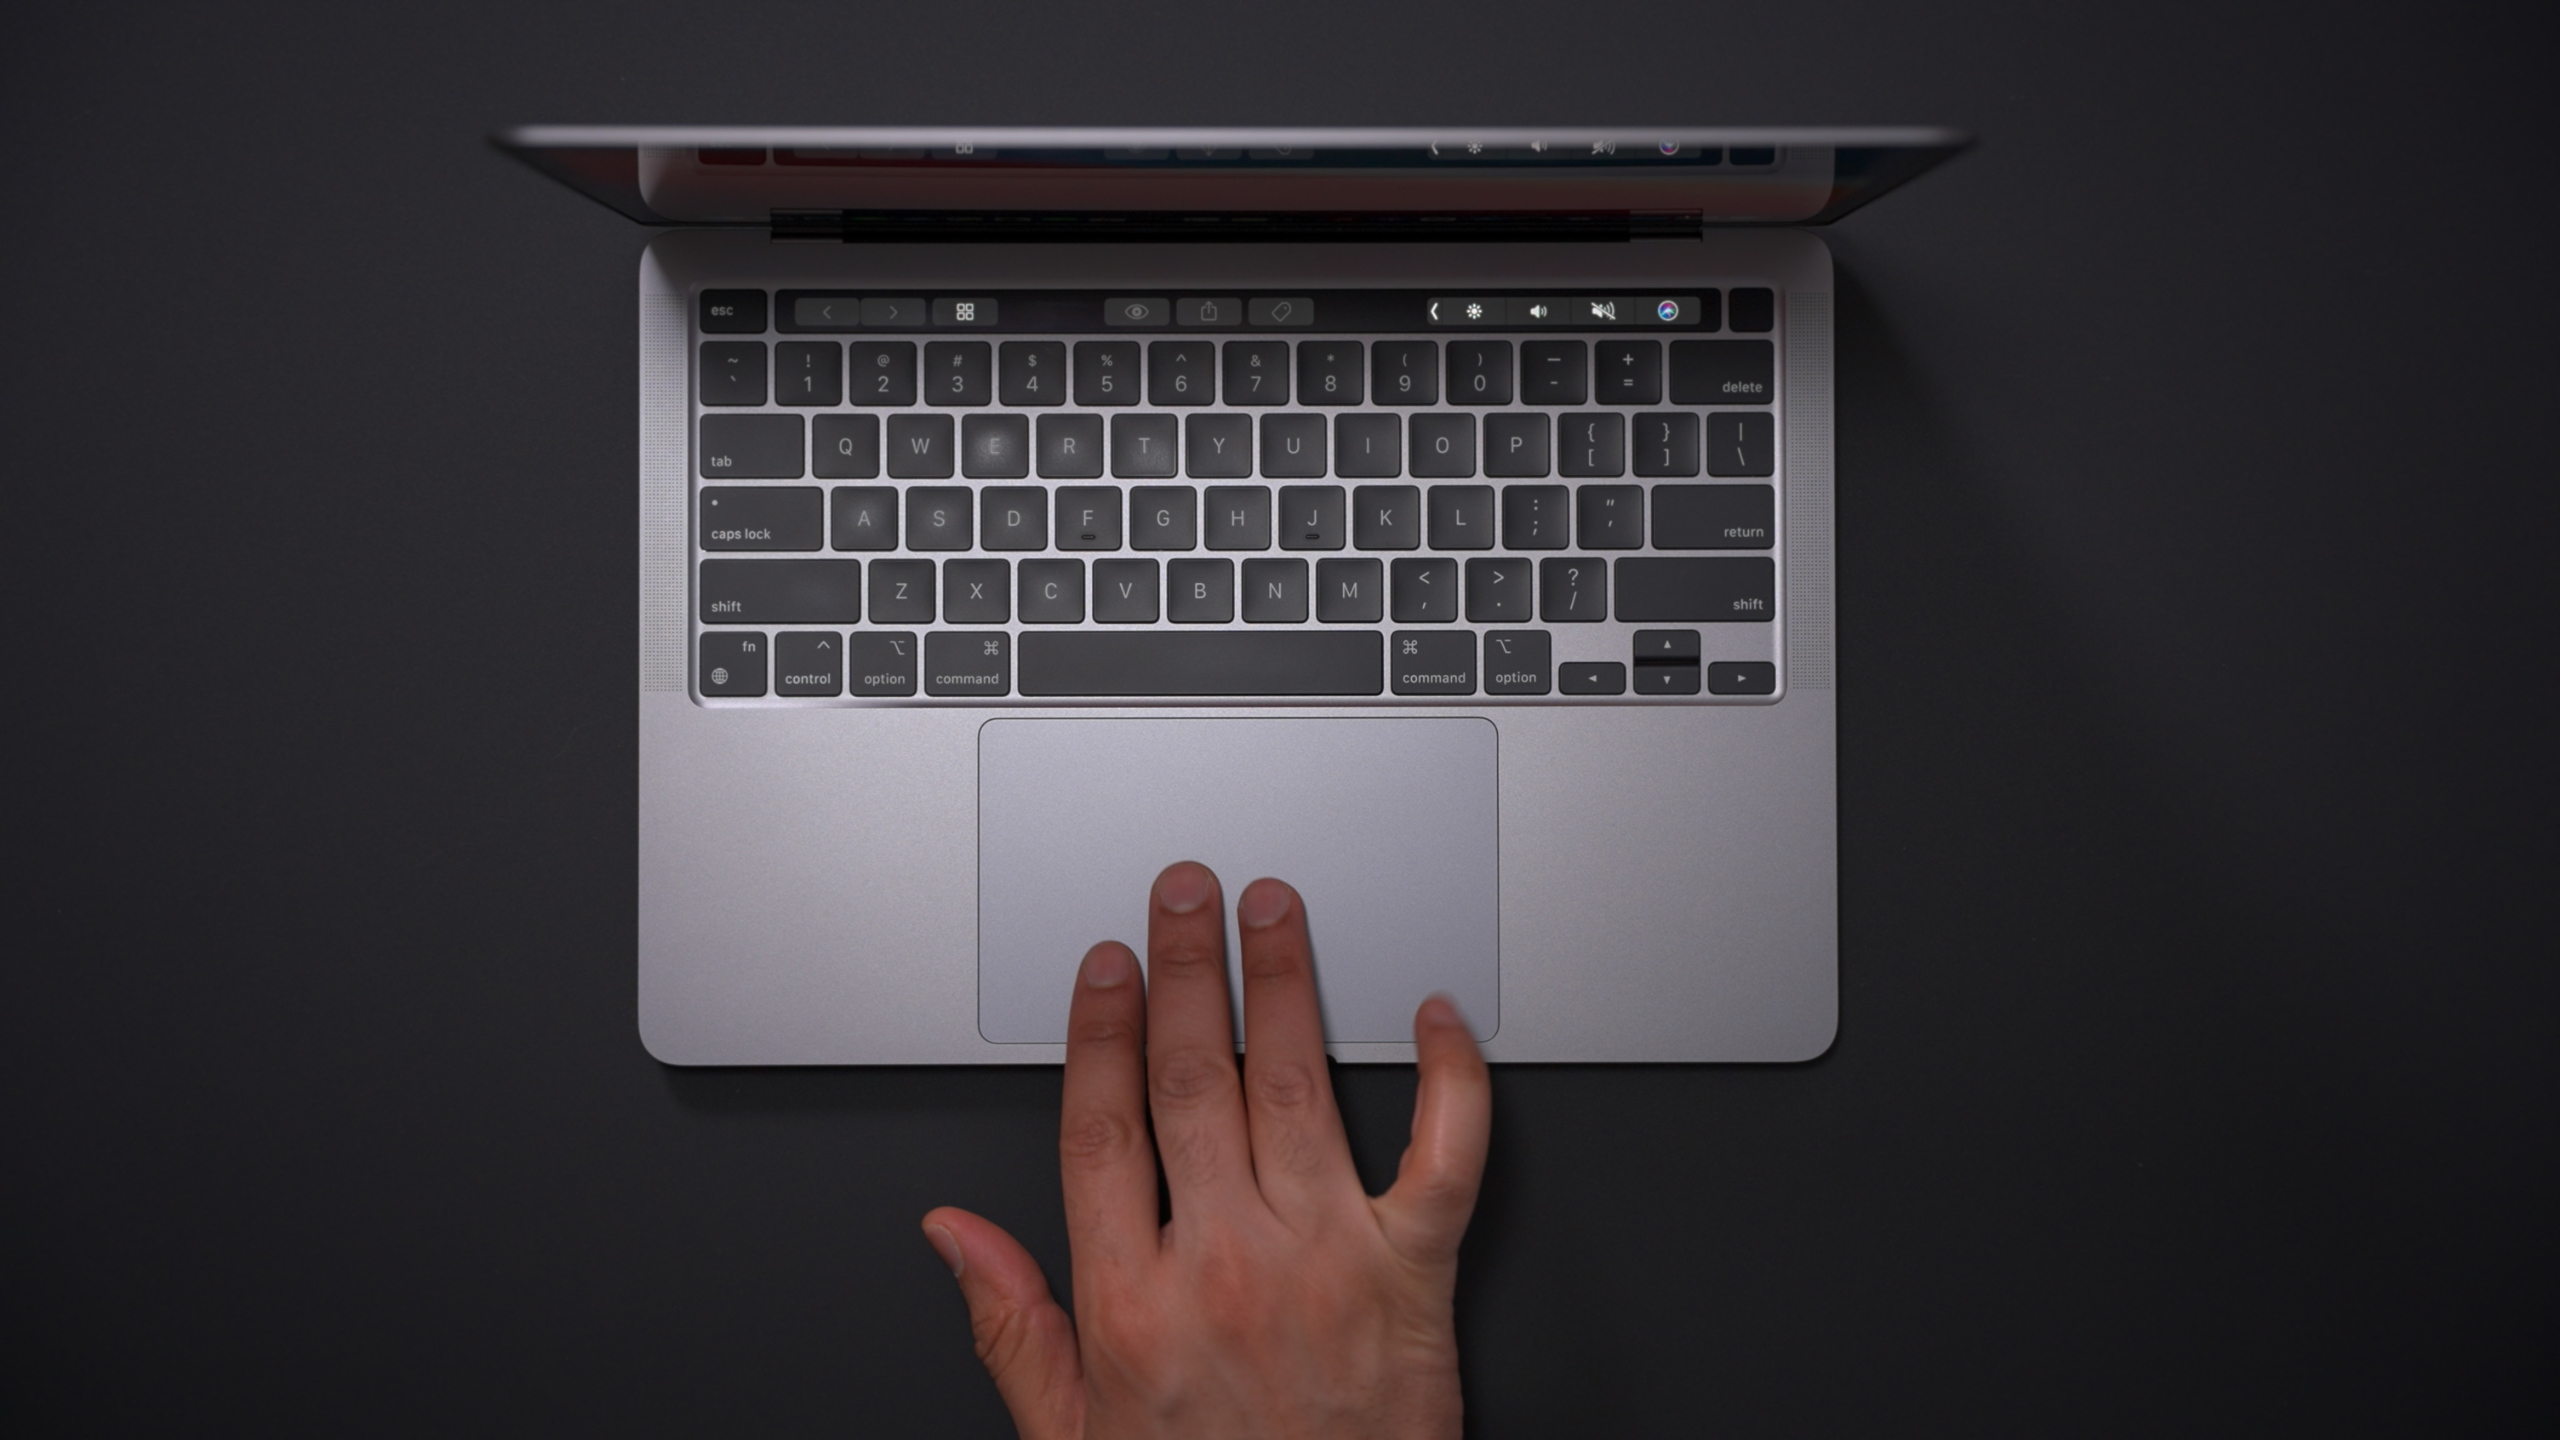
Three-finger drag is a ridiculously handy feature that I believe should be enabled in macOS by default, or at least made a setting within Trackpad preferences. Instead, Apple buries the setting multiple levels deep. To enable three-finger drag, go to System Preferences → Accessibility → Pointer Control → Trackpad Options, and click the checkbox next to Enable dragging. Afterward, use the drop-down box to select three finger drag.
Configure tracking speed for mouse
If you use a mouse instead of a trackpad, you’ll want to boost the tracking speed via System Preferences → Mouse. Like with the trackpad, I recommend setting the mouse tracking speed to level 9 for increased sensitivity and efficiency.
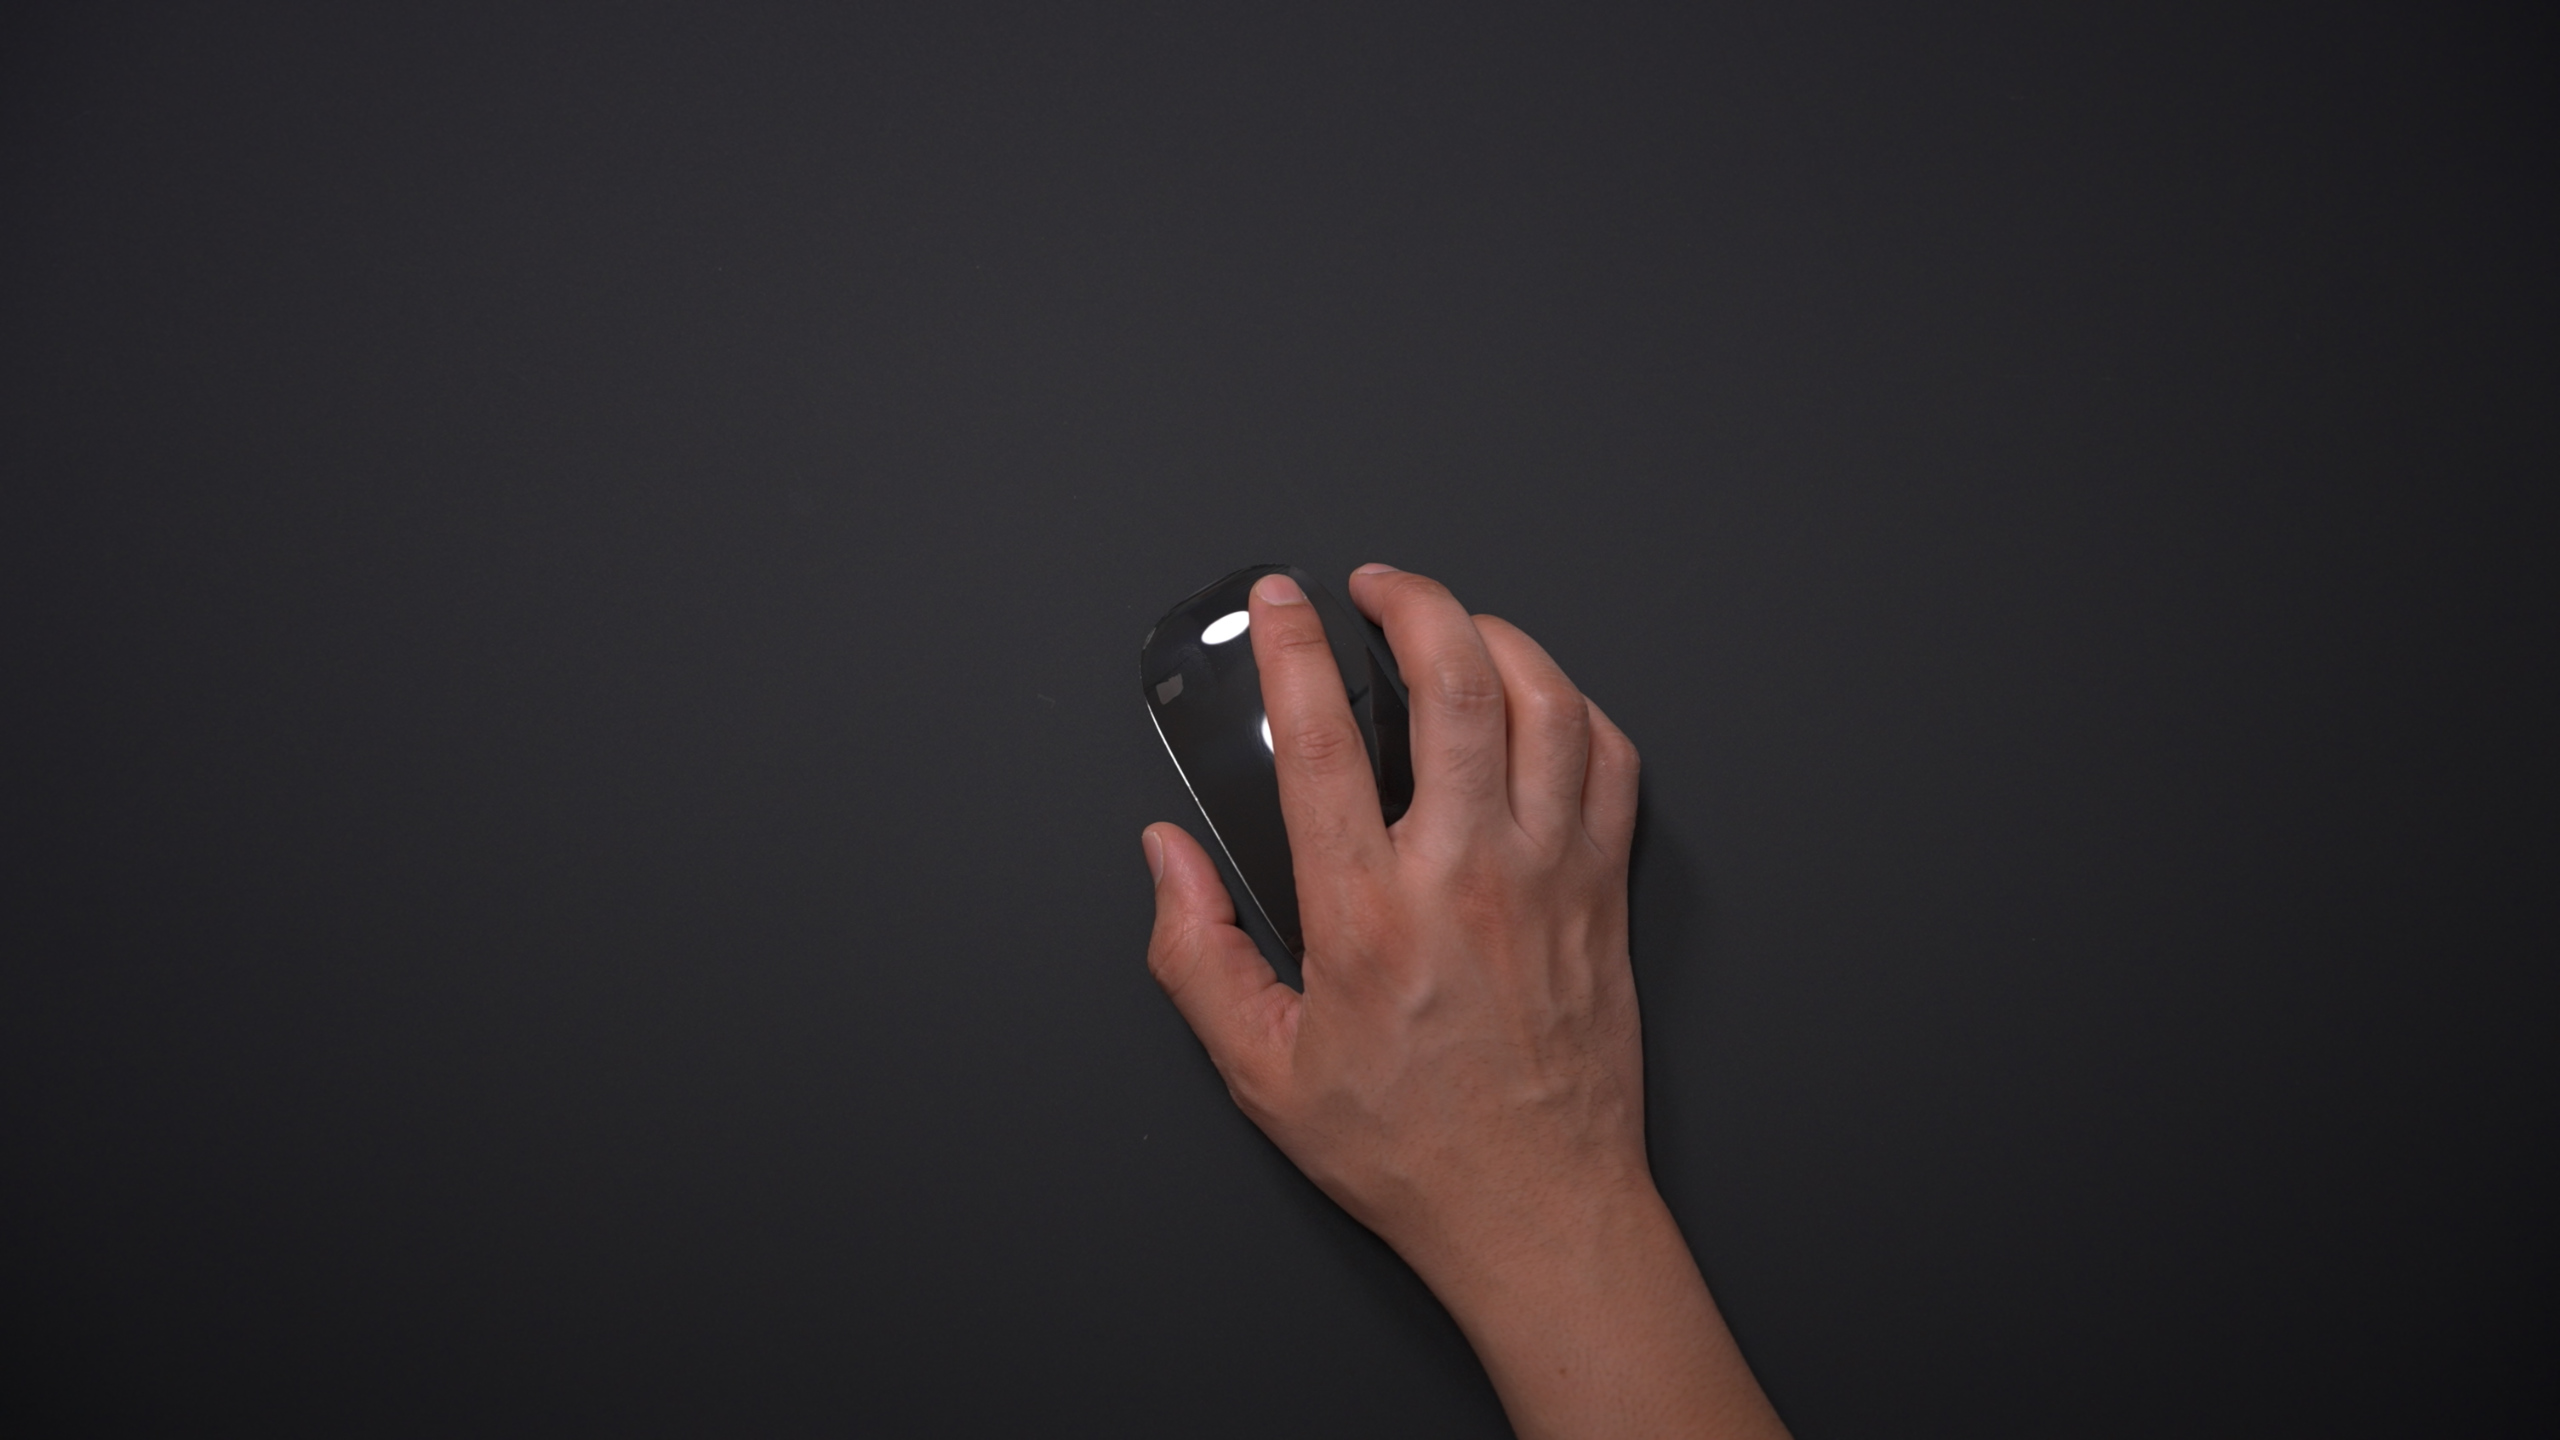
Enable right-click for mouse
It goes without saying that right-click is instrumental for navigating around macOS, and should be among the first things enabled if you prefer using a mouse with your Mac. To enable right-click, go to System Preferences → Mouse, and check the box next to Enable Secondary Click.
Enable swipe between pages for Magic Mouse
Although the Magic Mouse is far from the most ergonomic options, the excellent gesture capability of this input device is what keeps me coming back. For example, the ability to go back and forward in apps like Safari with just a simple one-finger swipe gesture is handy for navigating around macOS. If you use a Magic Mouse, head right over to System Preferences → Mouse → More Gestures, and enable the checkbox next to Swipe between pages.
Enable Apple Watch unlock
If you’re an Apple Watch user, head over to System Preferences → Security and Privacy, and enable the option for Use your Apple Watch to unlock apps and your Mac. Not only will this make it so that your Apple Watch will automatically unlock your Mac upon waking it from sleep, it’s also useful for unlocking apps like the excellent 1Password, and areas around macOS that require administrator authentication.
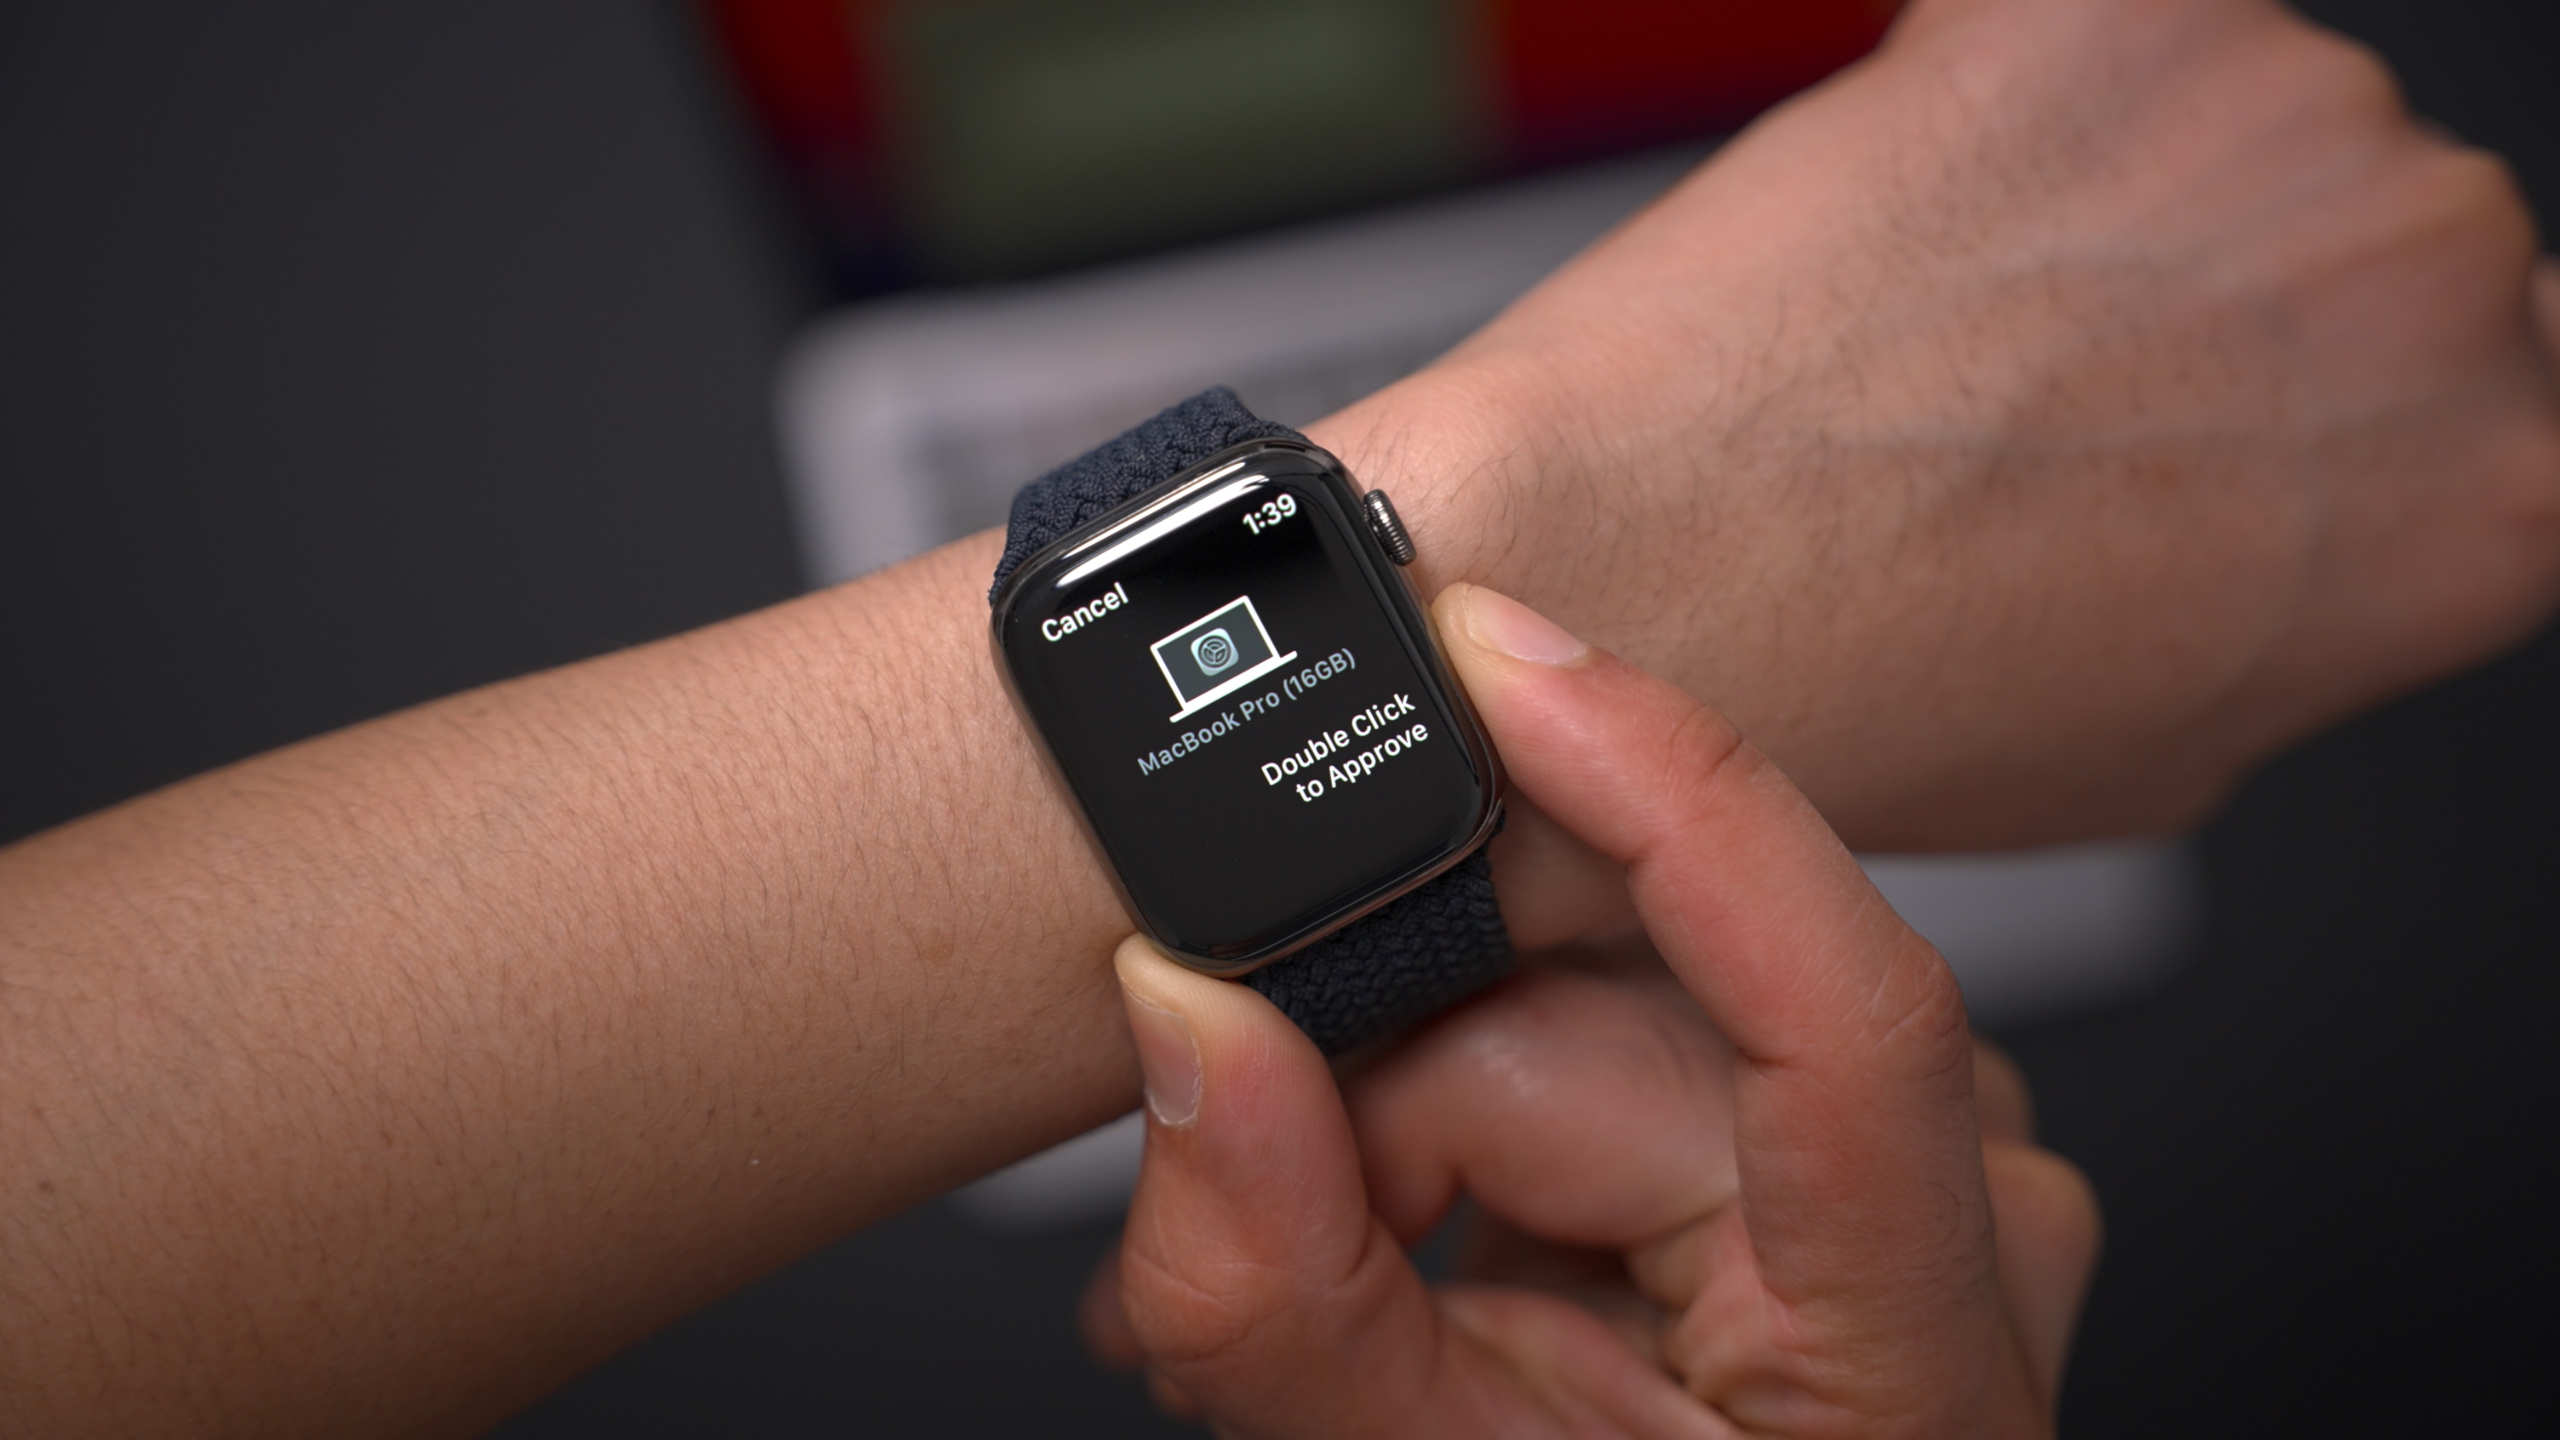
Since desktop Macs, like the iMac and Mac mini, lack Touch ID authentication, it’s the quickest way to unlock your Mac on these machines. But even if you have a Touch ID-enabled MacBook, Apple Watch unlock can still be beneficial for unlocking your Mac when used with an external display.
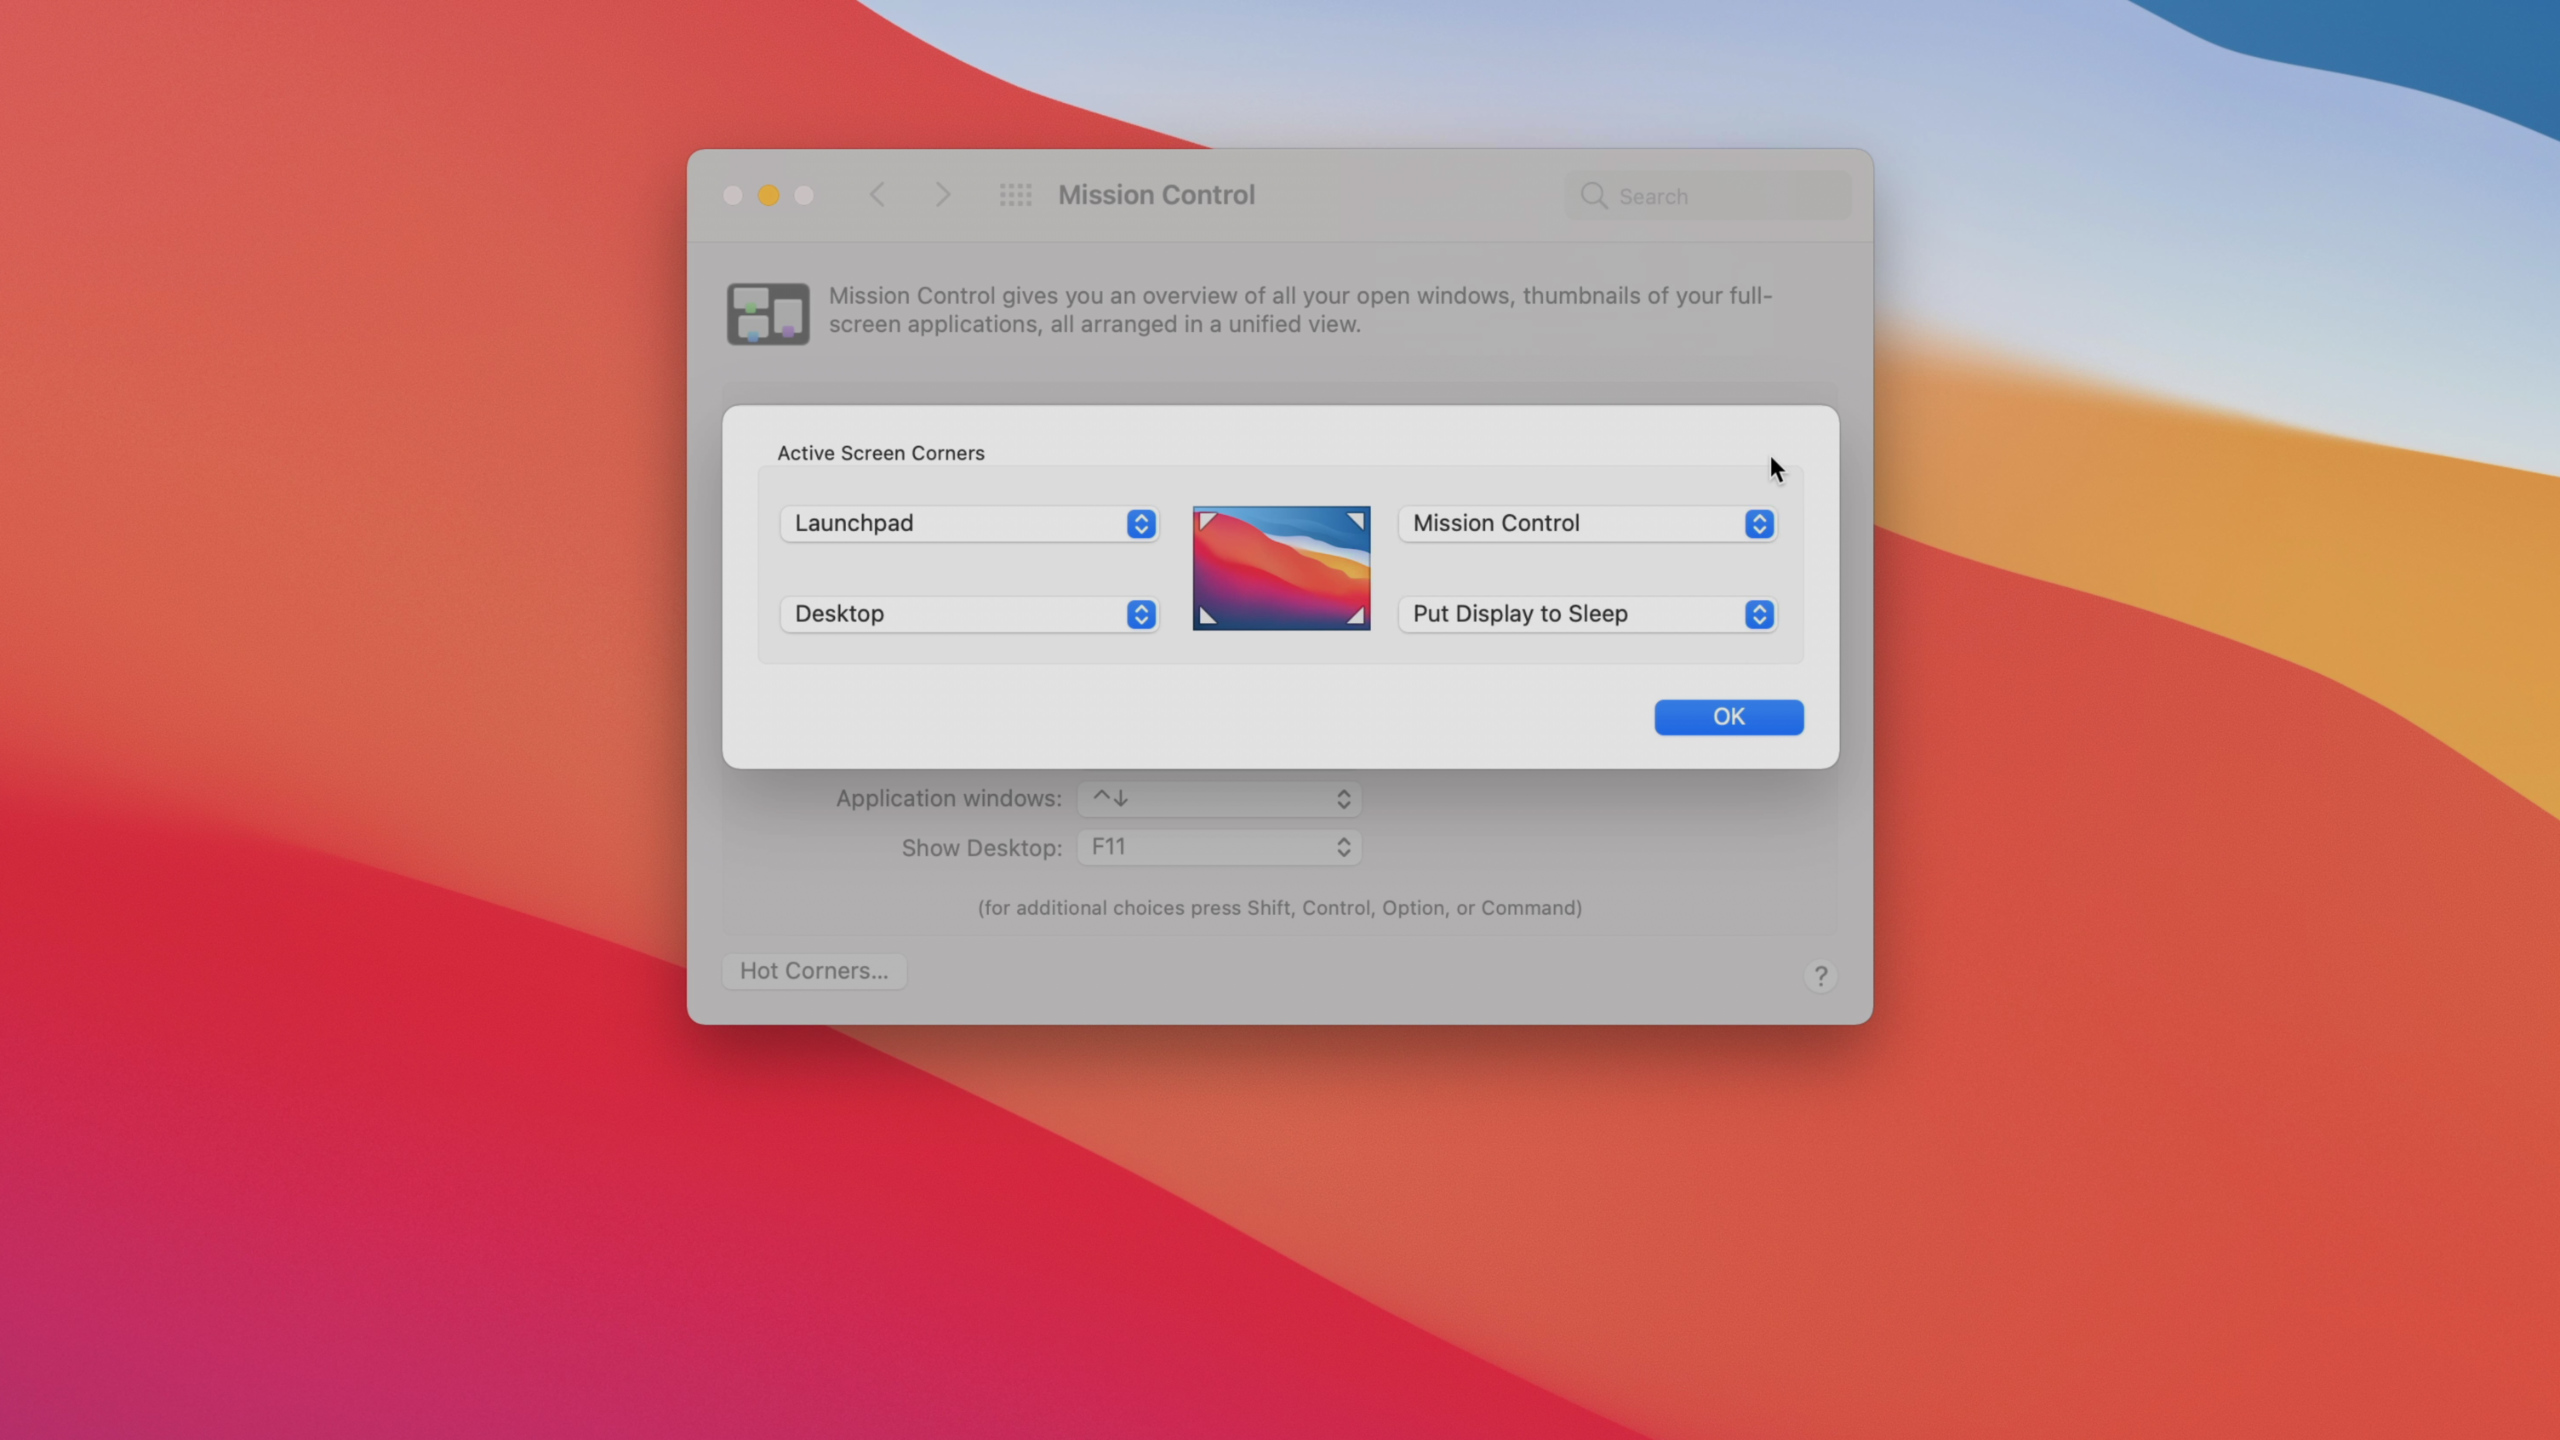
Enable Hot Corners
Hot Corners are one of the most under-the-radar sleeper hits on macOS, and I highly recommend using them. To enable Hot Corners, go to System Preferences → Mission Control → Hot Corners, and configure one or more of the four corners via the dropdown boxes.
Hot Corners allow you to execute a specific action whenever you move the pointer to one of the four corners of your Mac’s display. With just a flick of the wrist you can perform actions like putting your display to sleep, showing the desktop, launching Mission Control, etc.
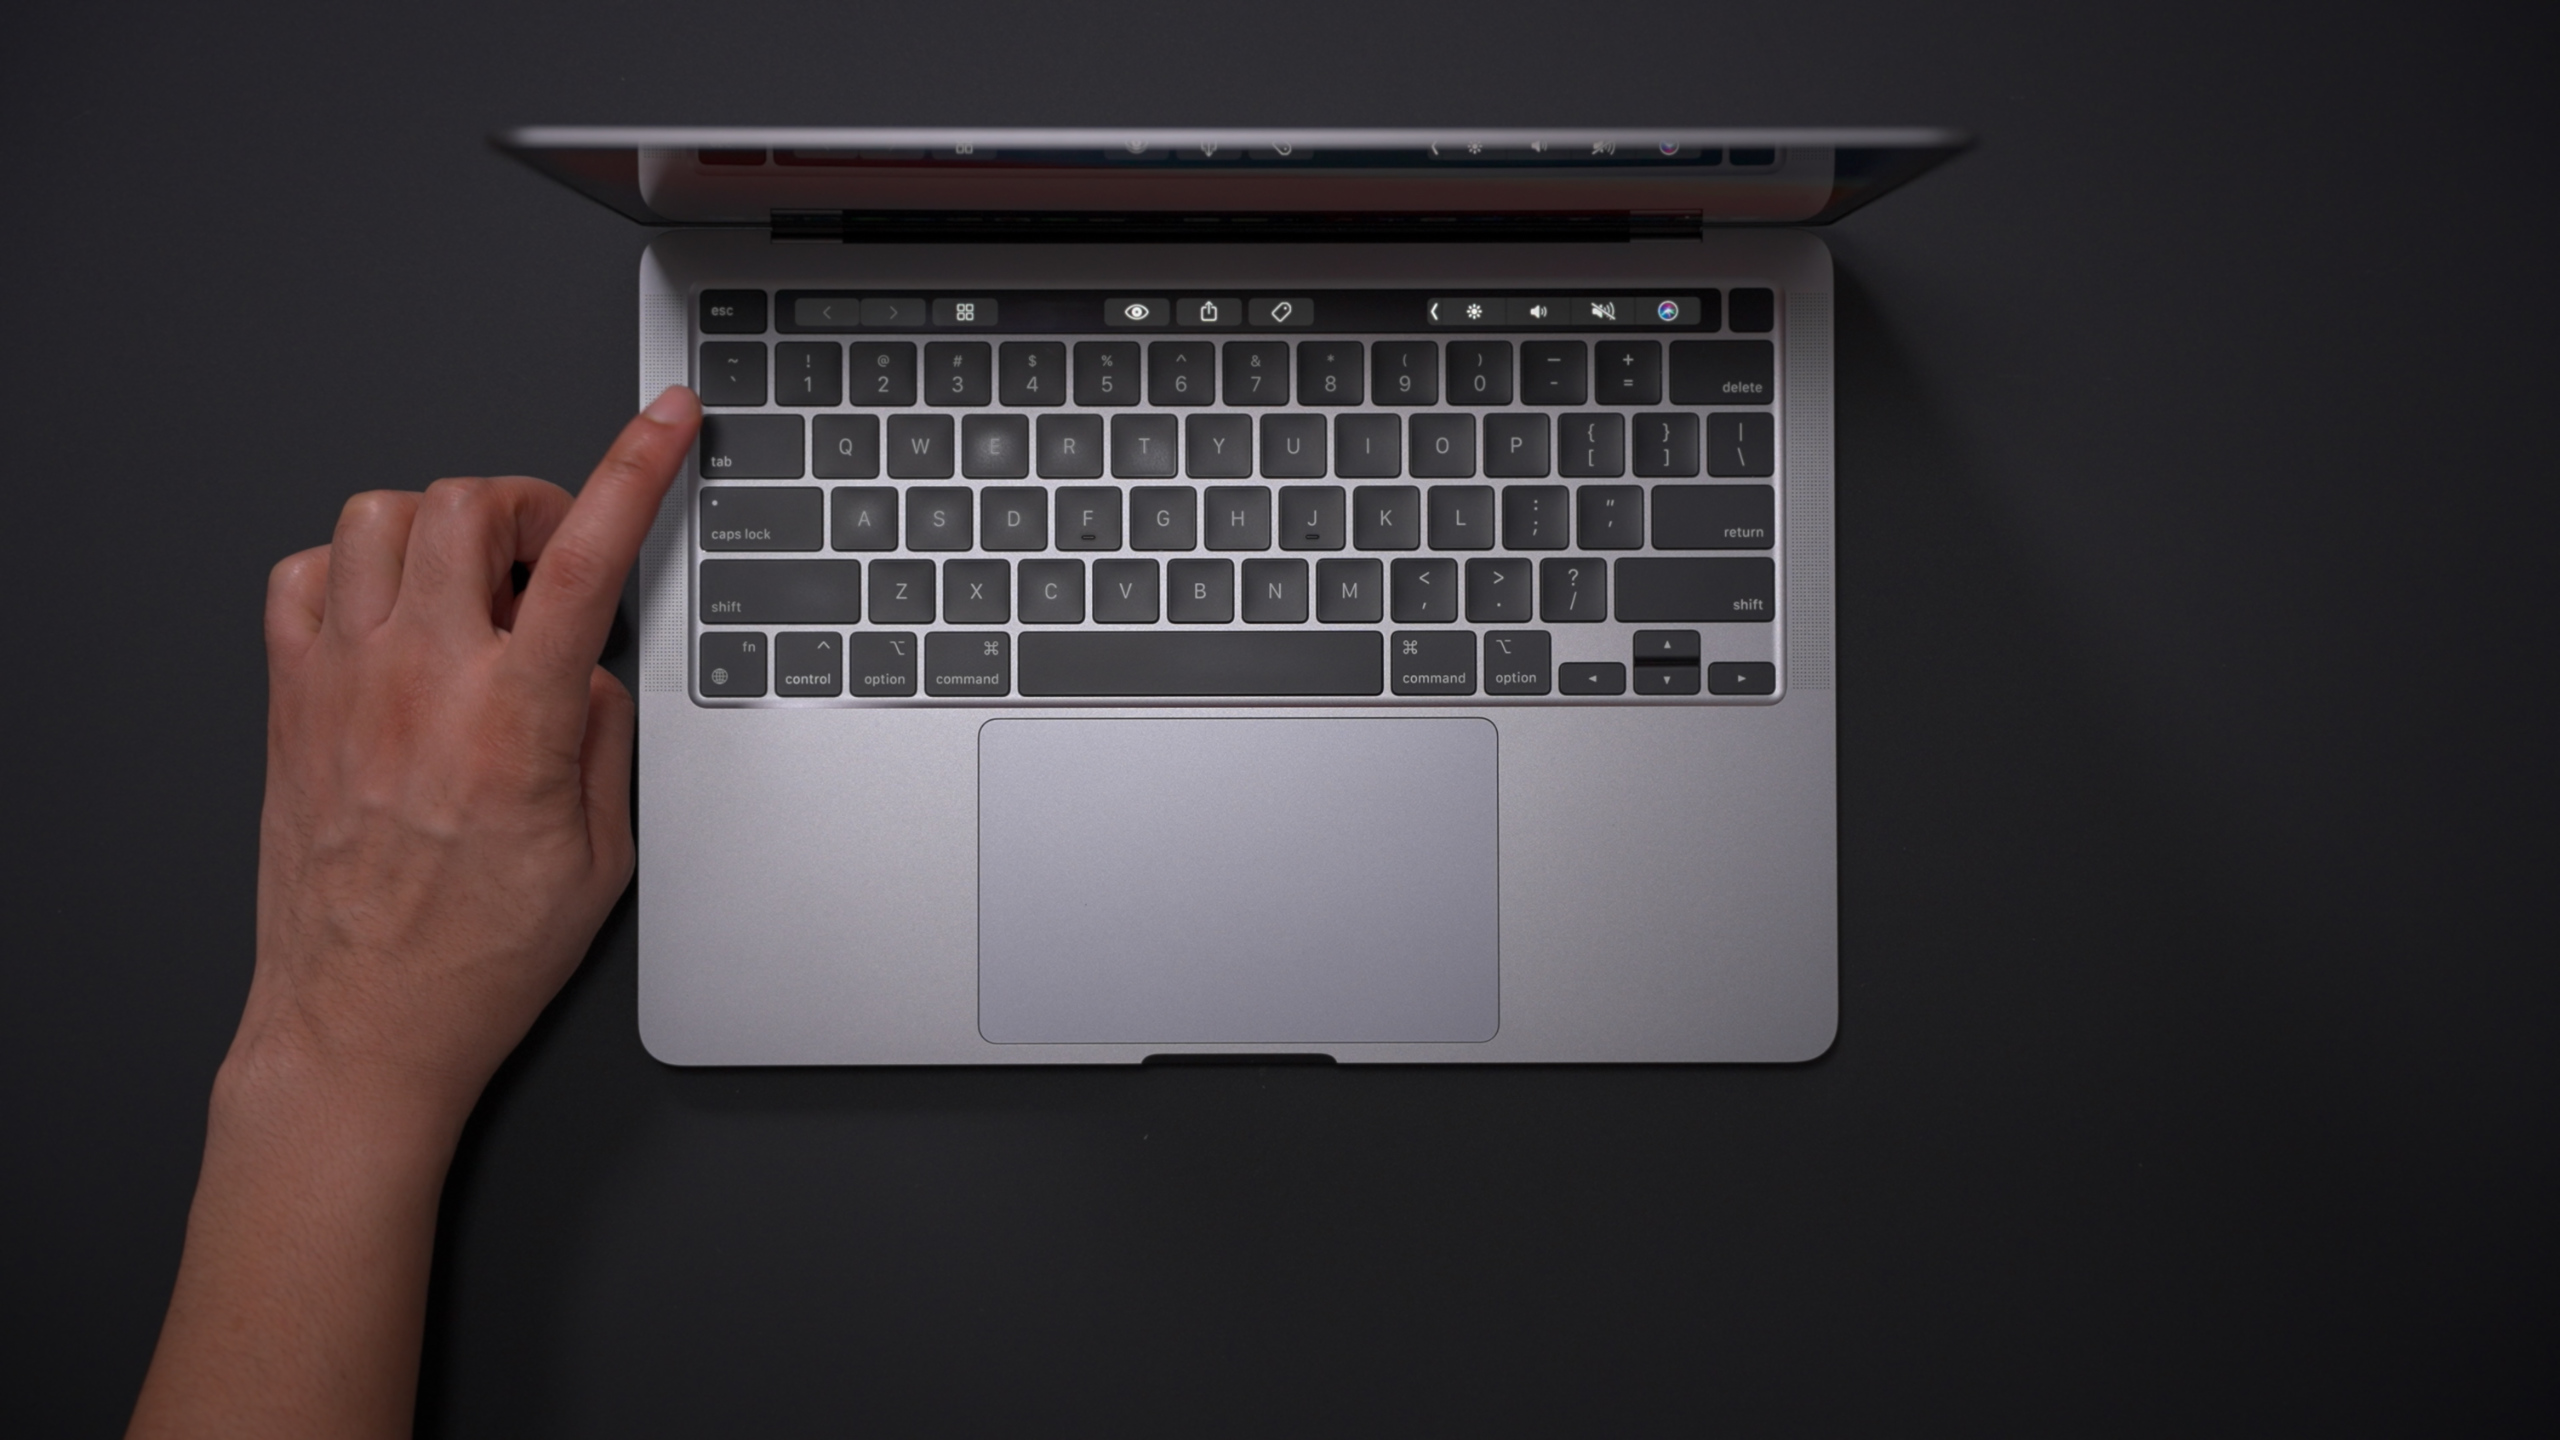
Enable keyboard navigation to move focus
When you use your keyboard to move focus between fields with the Tab key, macOS limits the available fields to only a few areas, such as text input boxes. To alter this default behavior to navigate between all available items, go to System Preferences → Keyboard → Shortcuts, and check the box next to Use keyboard navigation to move focus between controls.

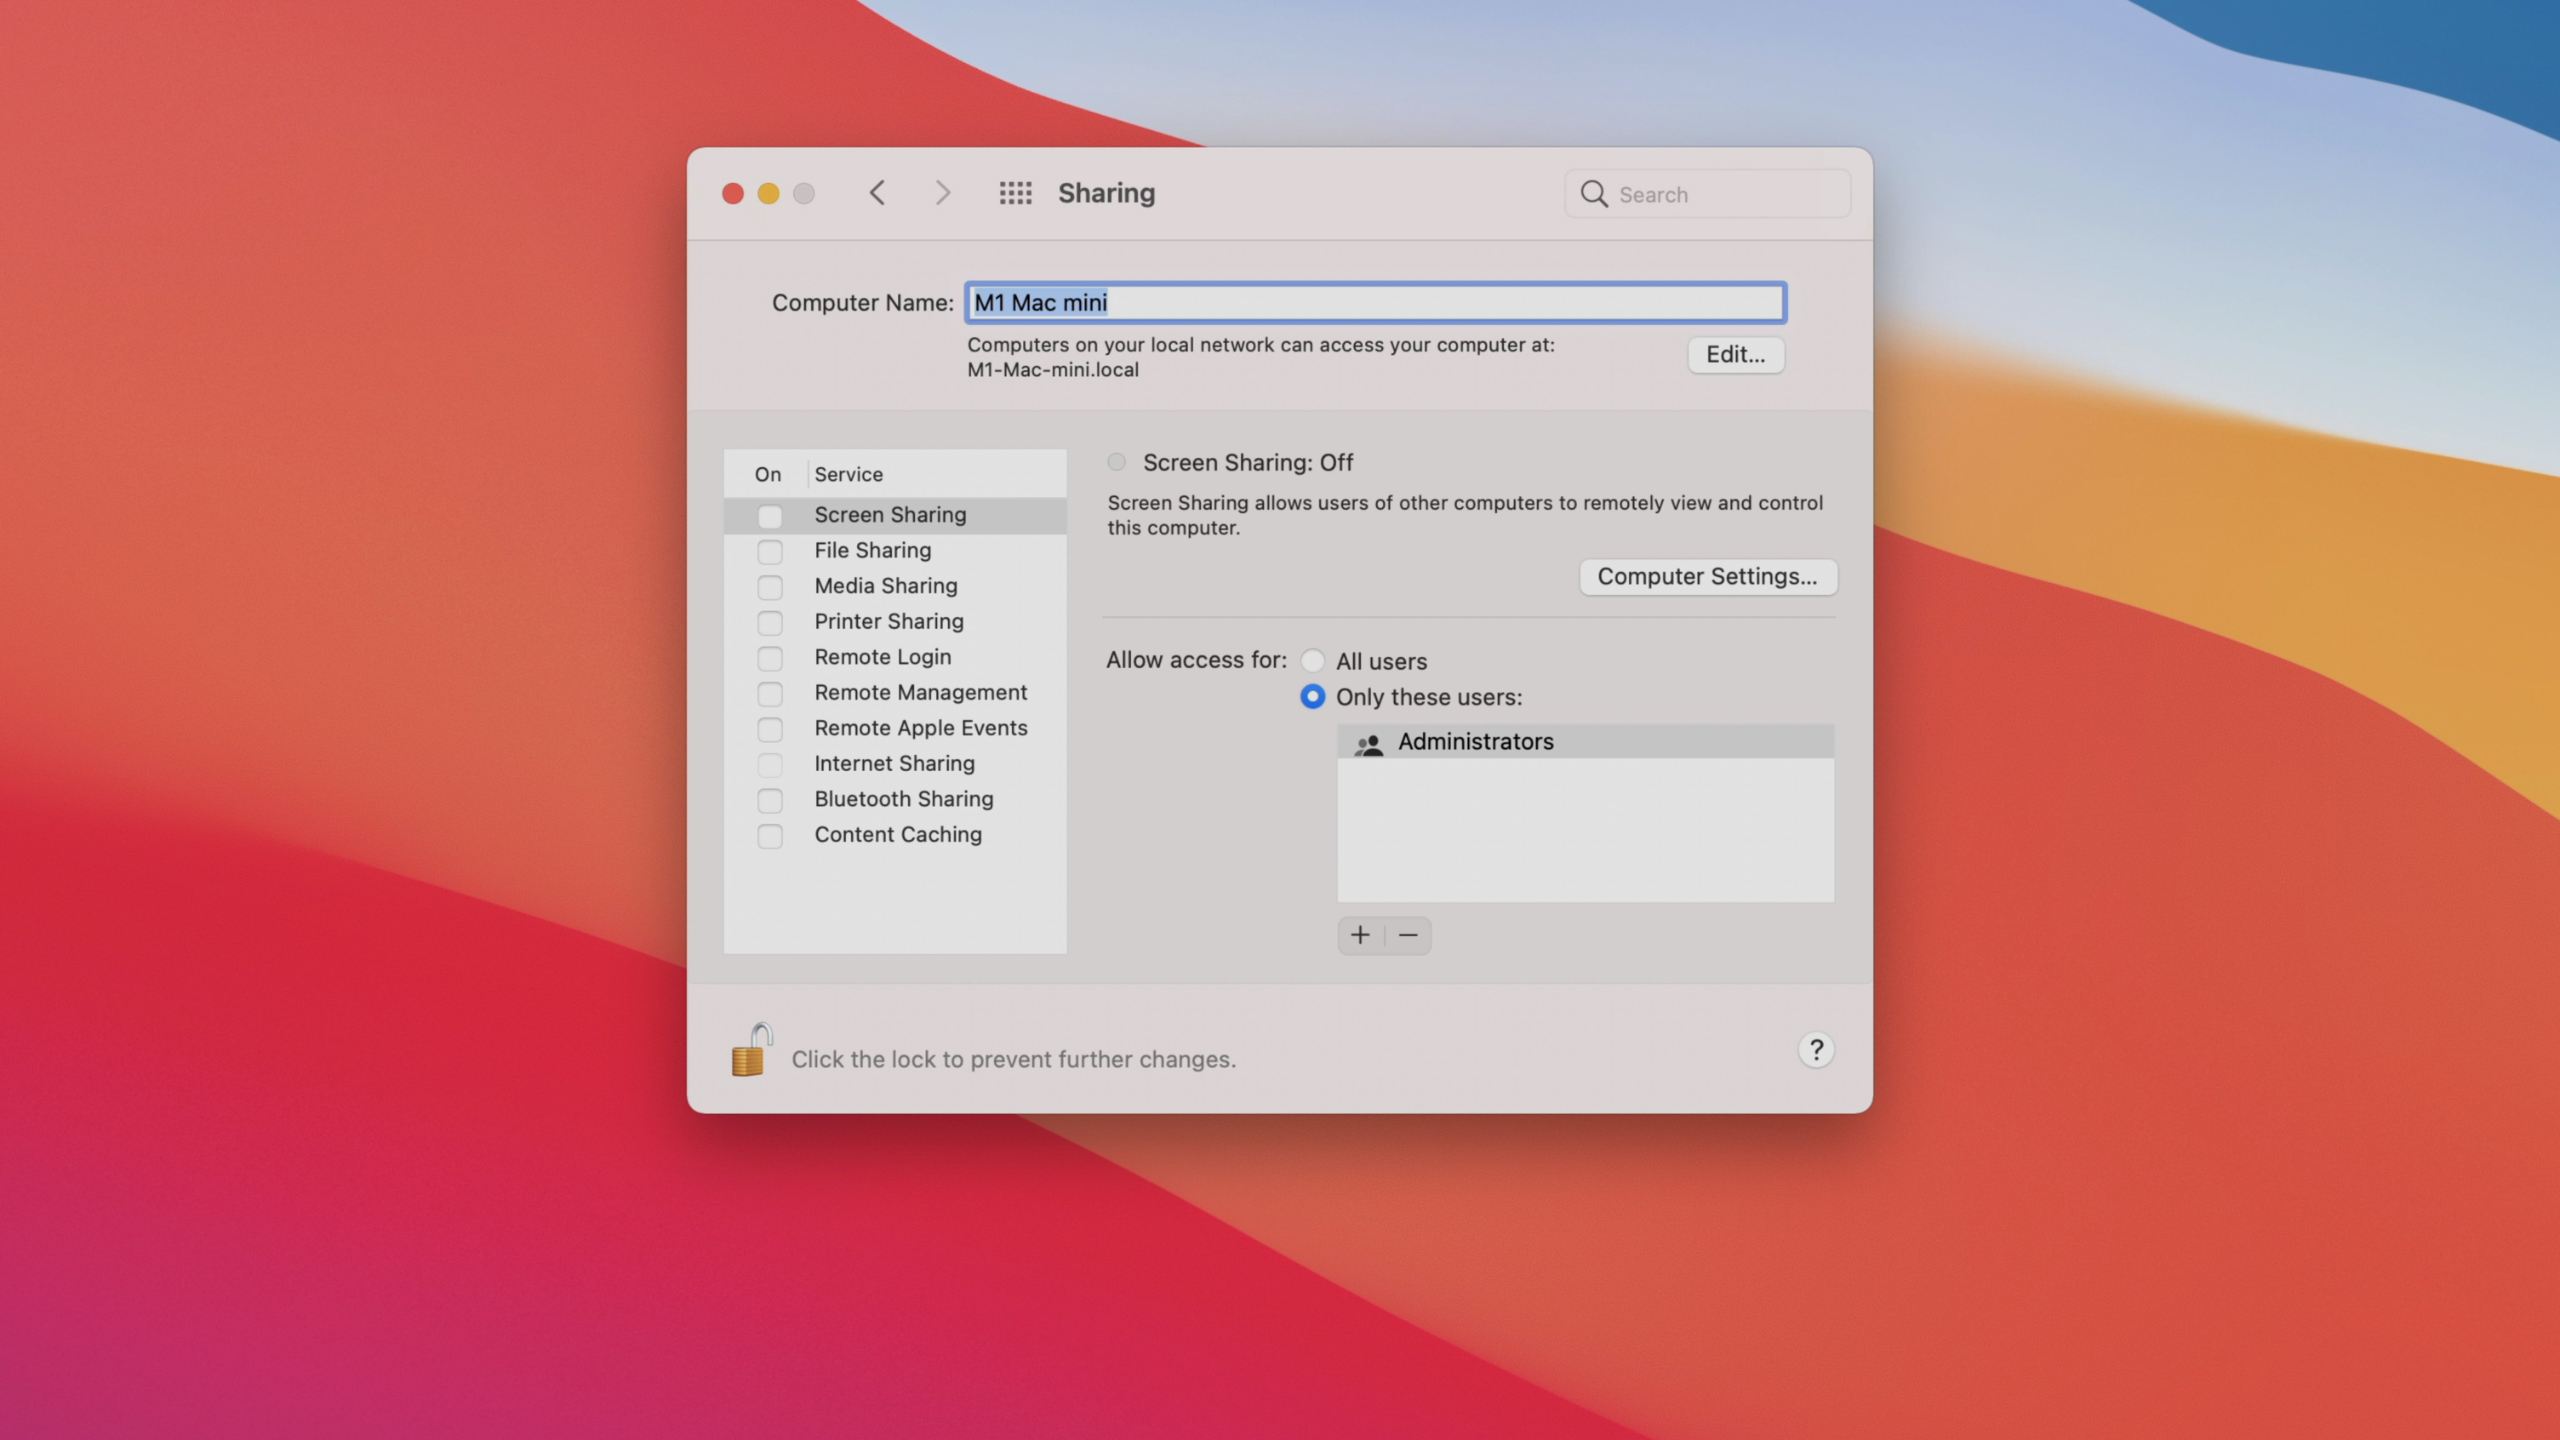
Update your computer name
To alter the name that’s displayed for your Mac on your network and in areas like AirDrop, go to System Preferences → Sharing, and change what’s in the Computer Name text input field.
Add volume controls to menu bar
Volume controls can be found within the new Control Center in macOS Big Sur, but I prefer to have a singular volume control button directly in the menu bar for quicker access. To add the volume shortcut to the menu bar, drag the Volume module from Control Center and release it on the menu bar.


Remove Spotlight from menu bar
Since you can access Spotlight search with a simple ⌘+Space keyboard combination, I recommend removing the Spotlight shortcut from the menu bar, which is slower, and takes up space. To remove Spotlight, hold the ⌘ key while dragging the Spotlight icon from the menu bar towards the middle of the desktop until you see an ‘(x)’ icon.
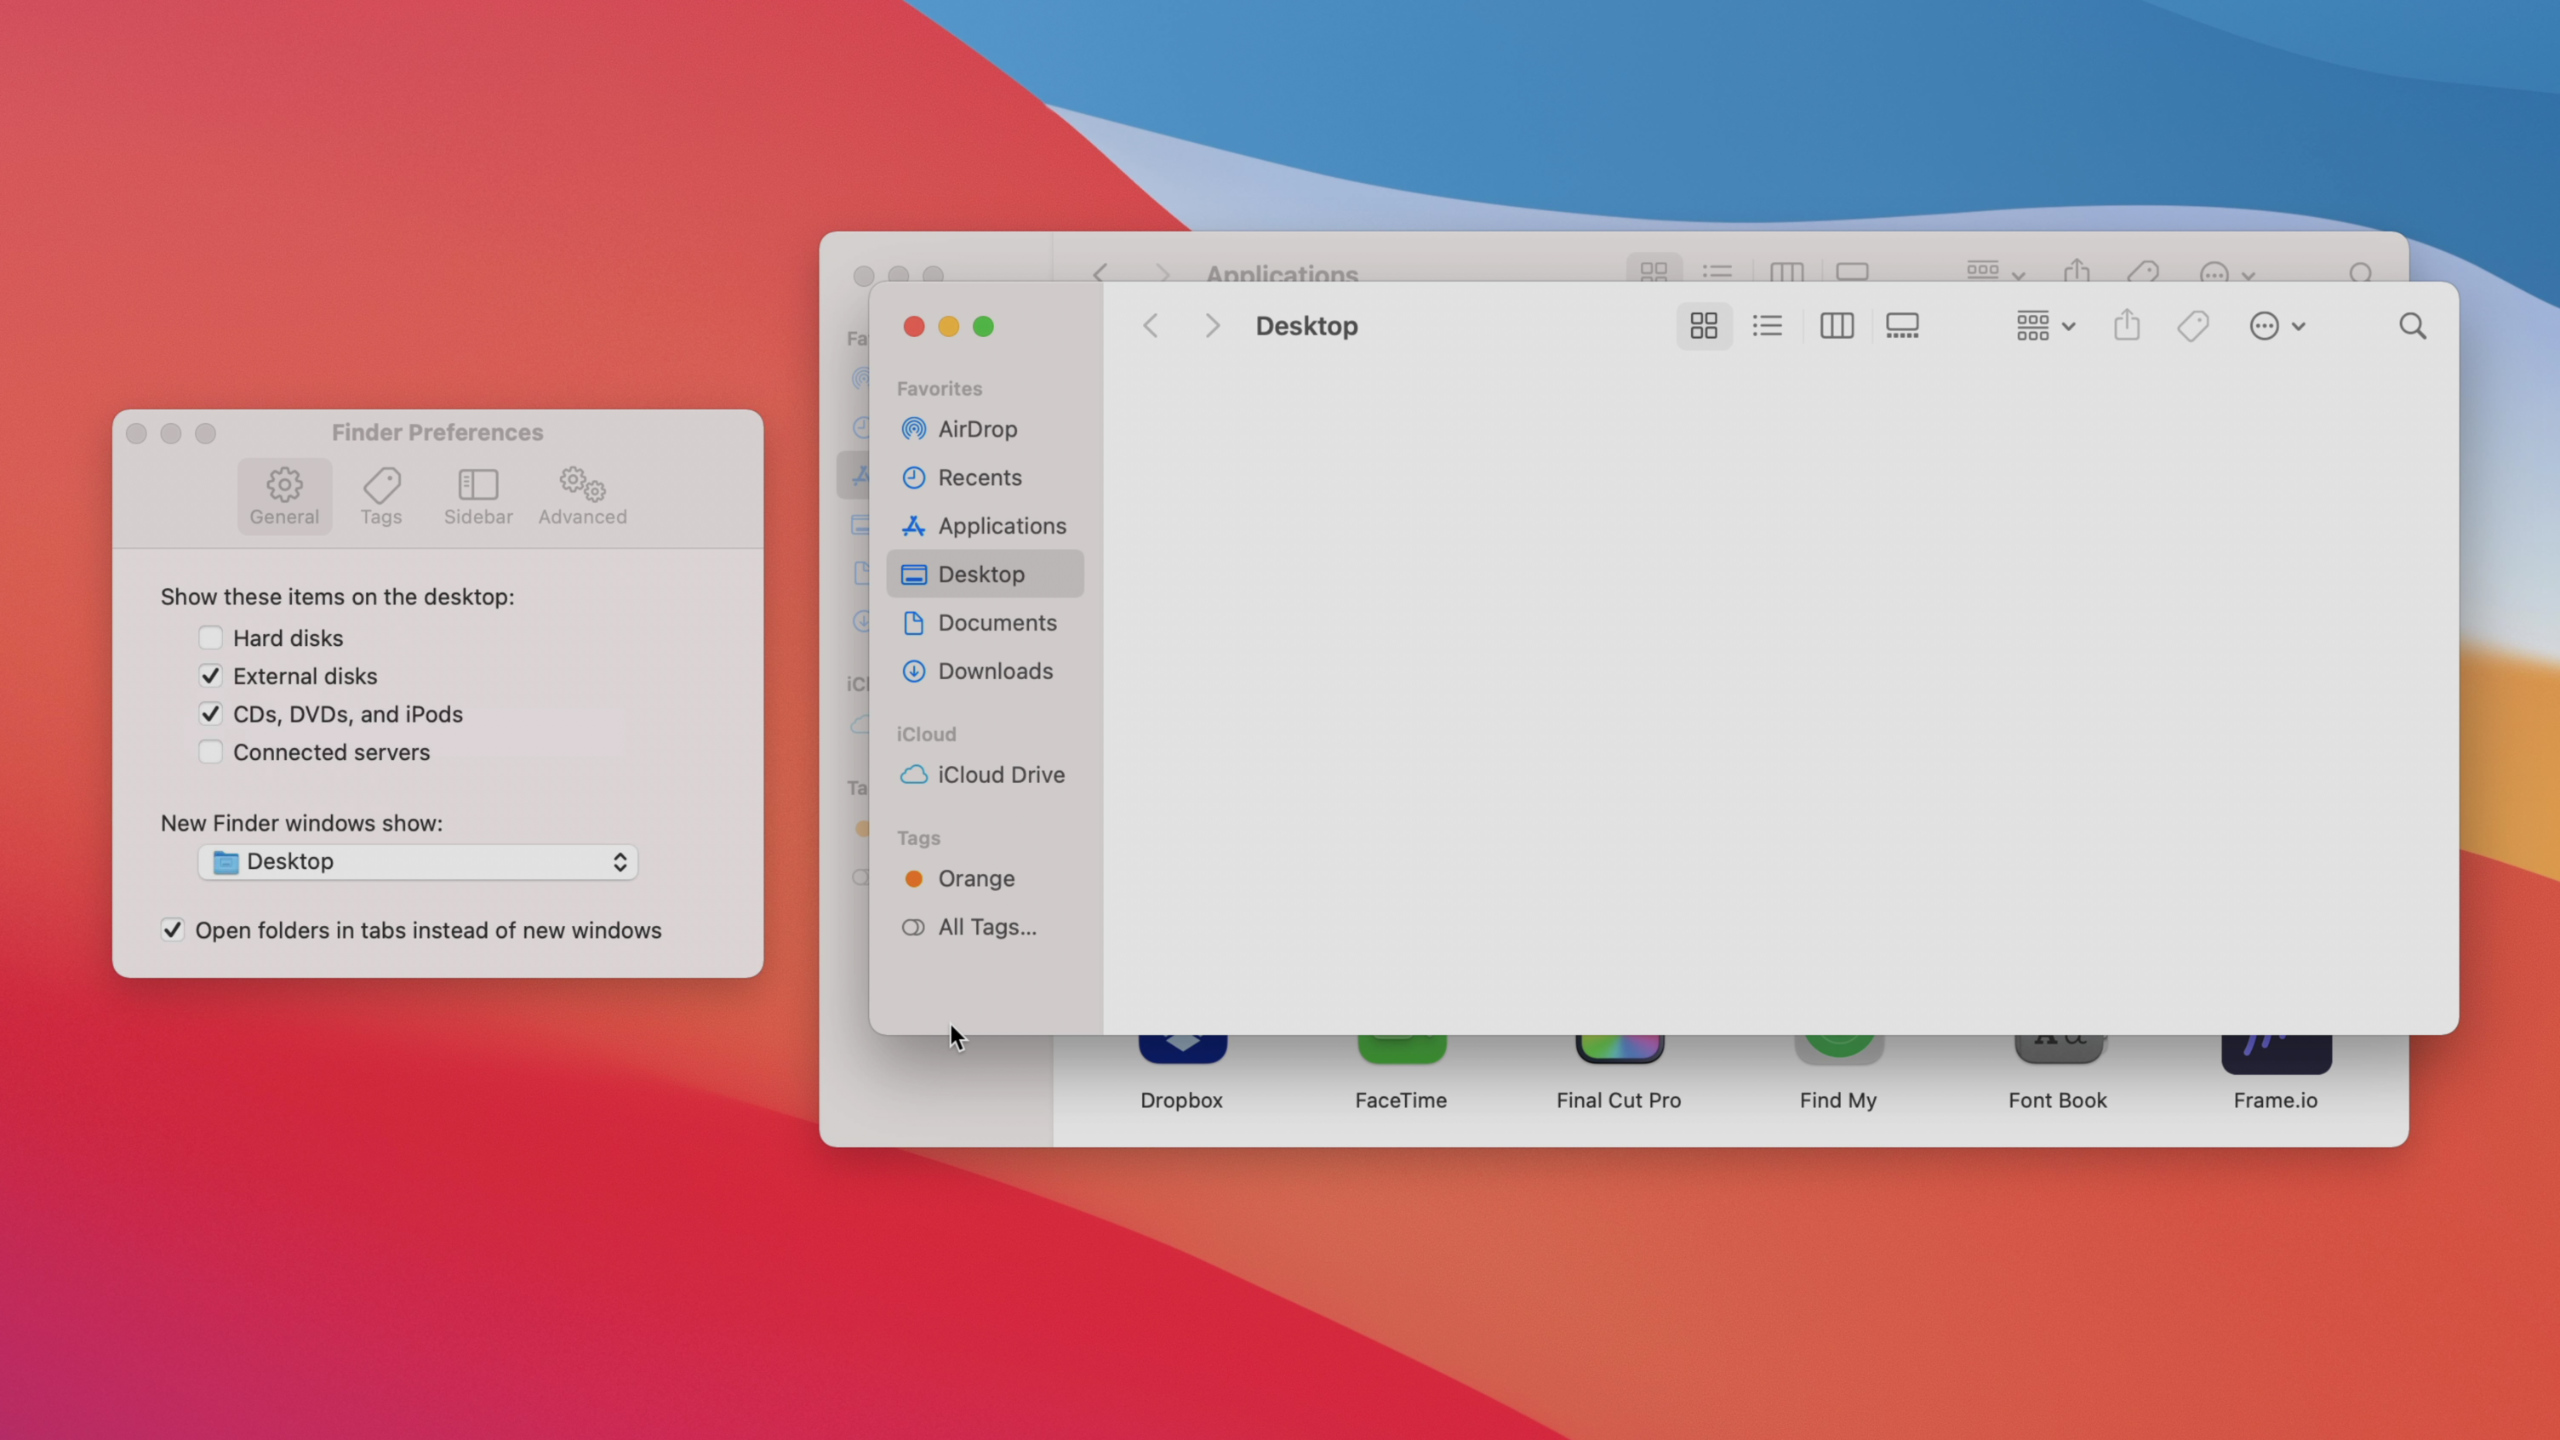
New Finder windows show desktop
macOS defaults to show the Recents folder whenever opening up a new Finder window, but Recents often looks messy, so I prefer to make new windows default to the desktop instead. To make a similar change, open Finder, and go to Finder Preferences → General, and in the dropdown box under New Finder windows show select your destination of choice.
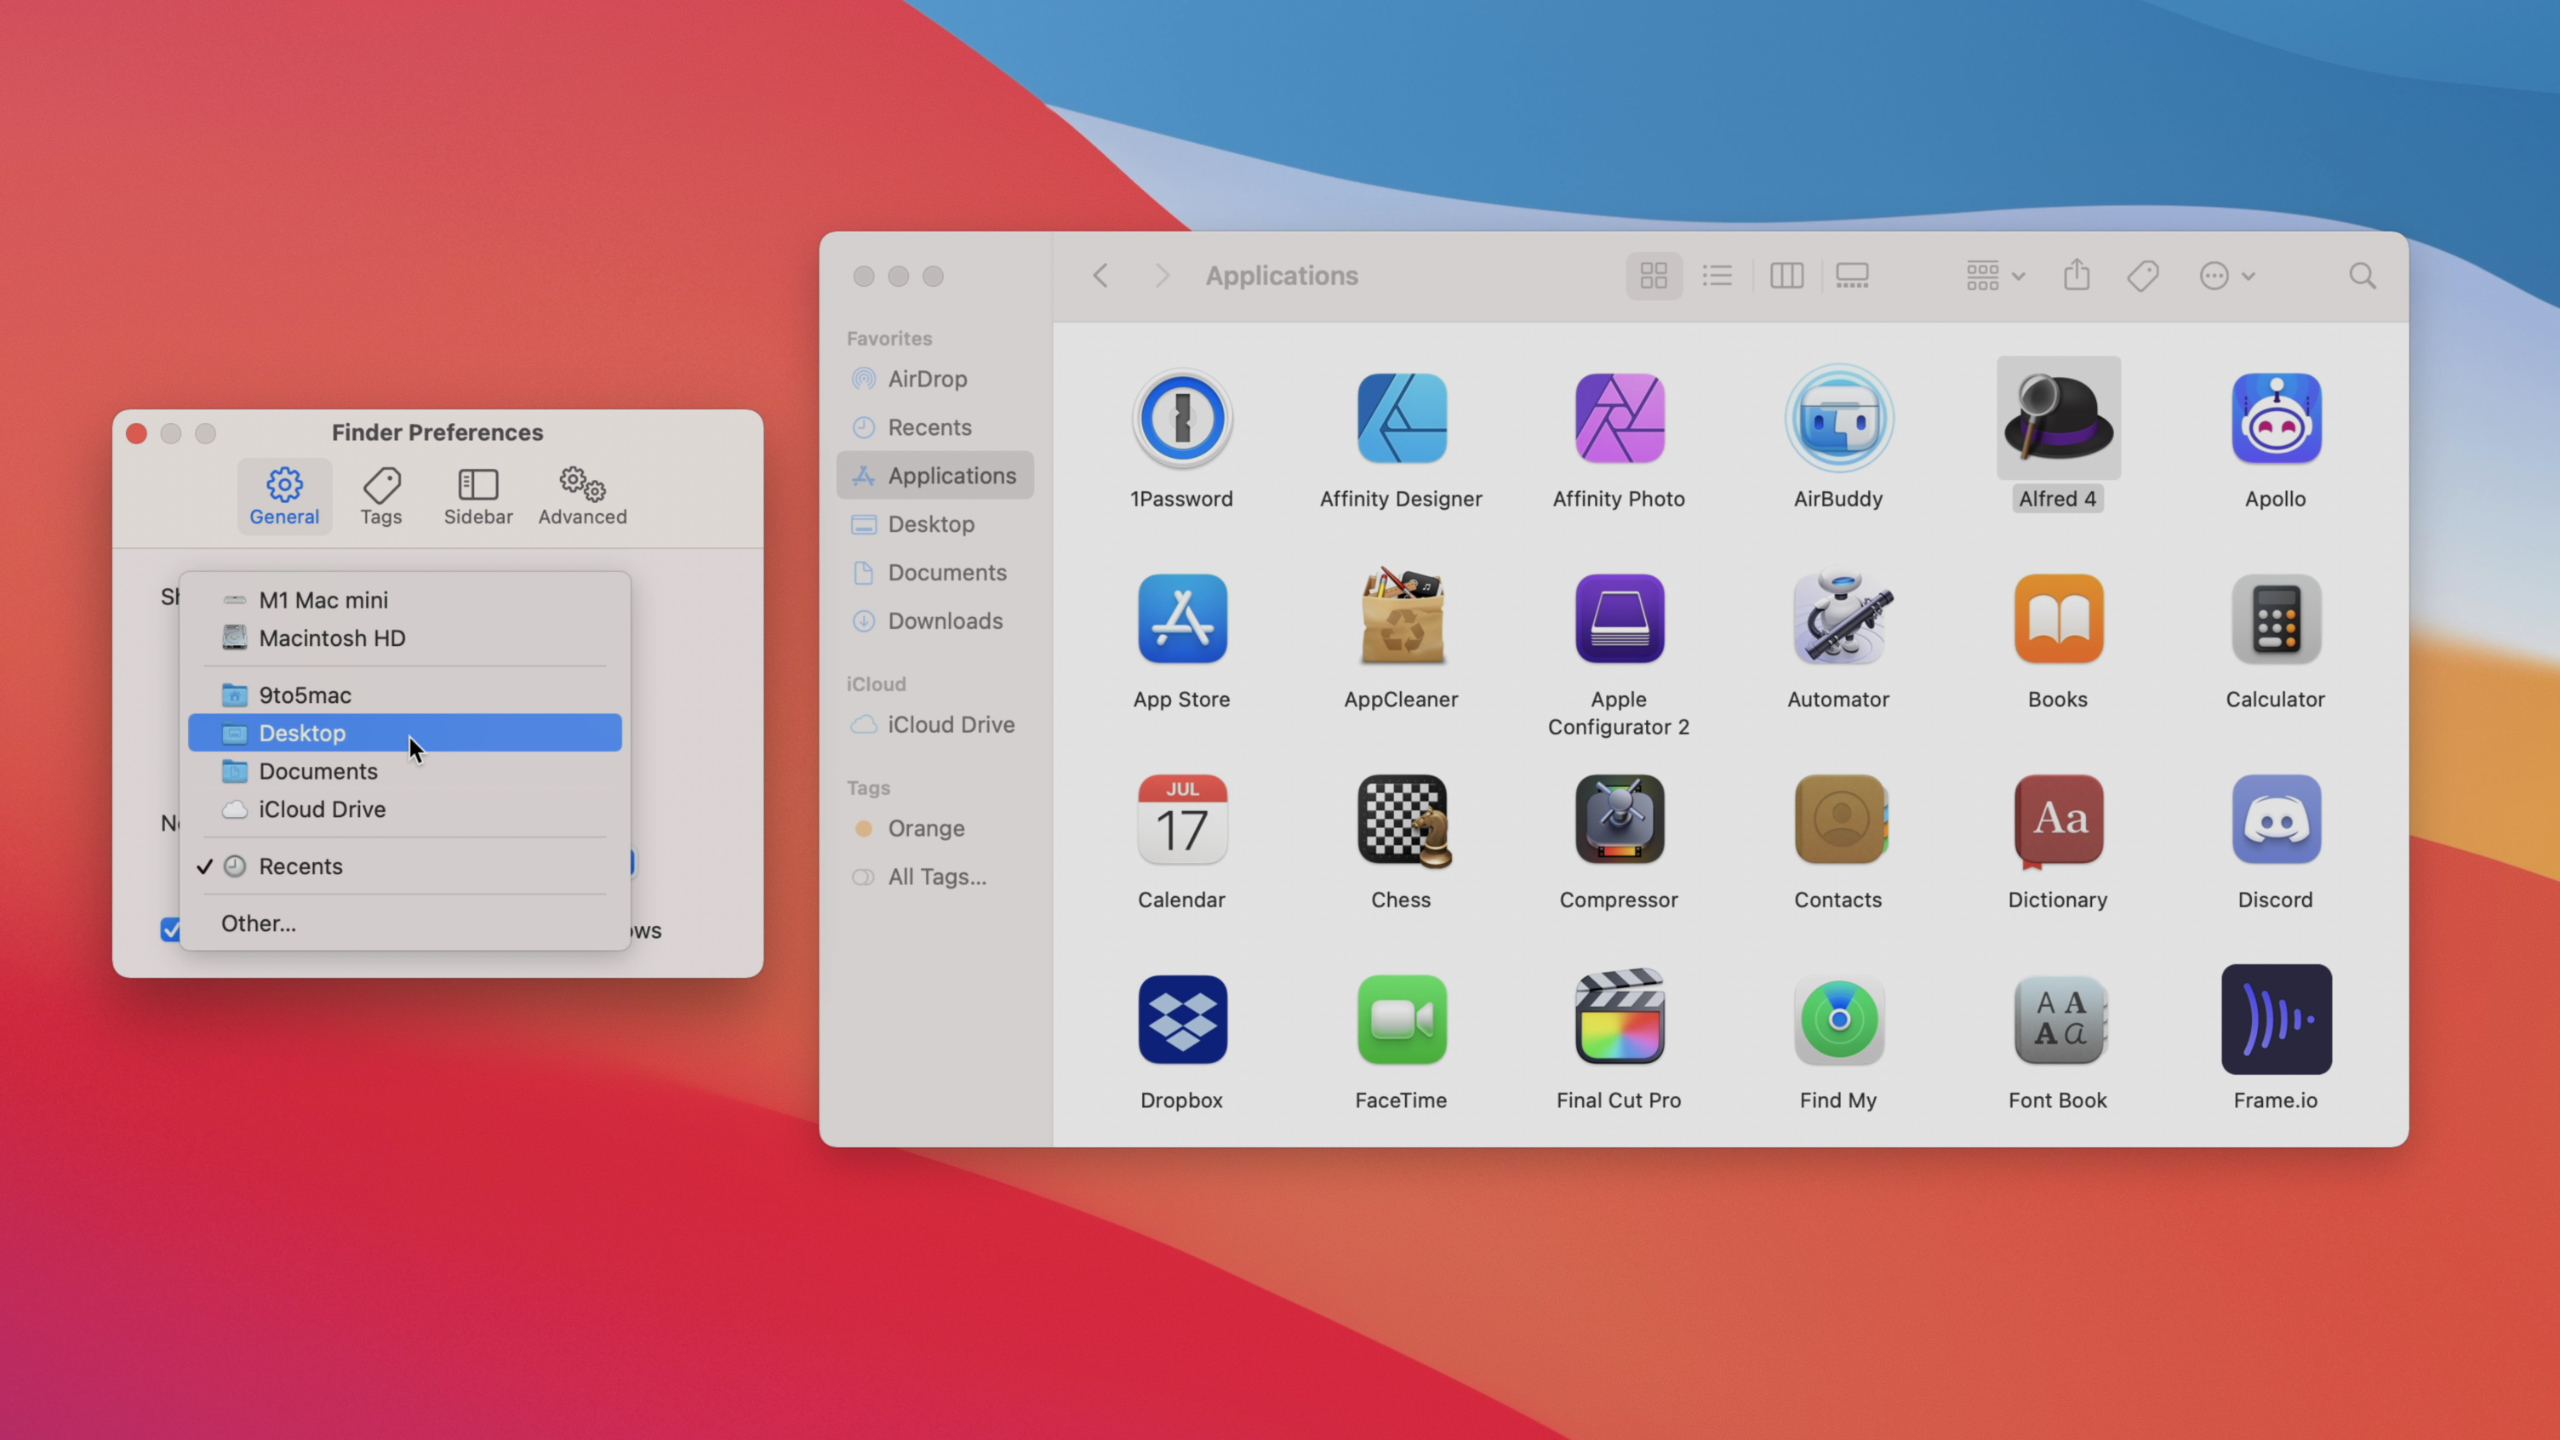
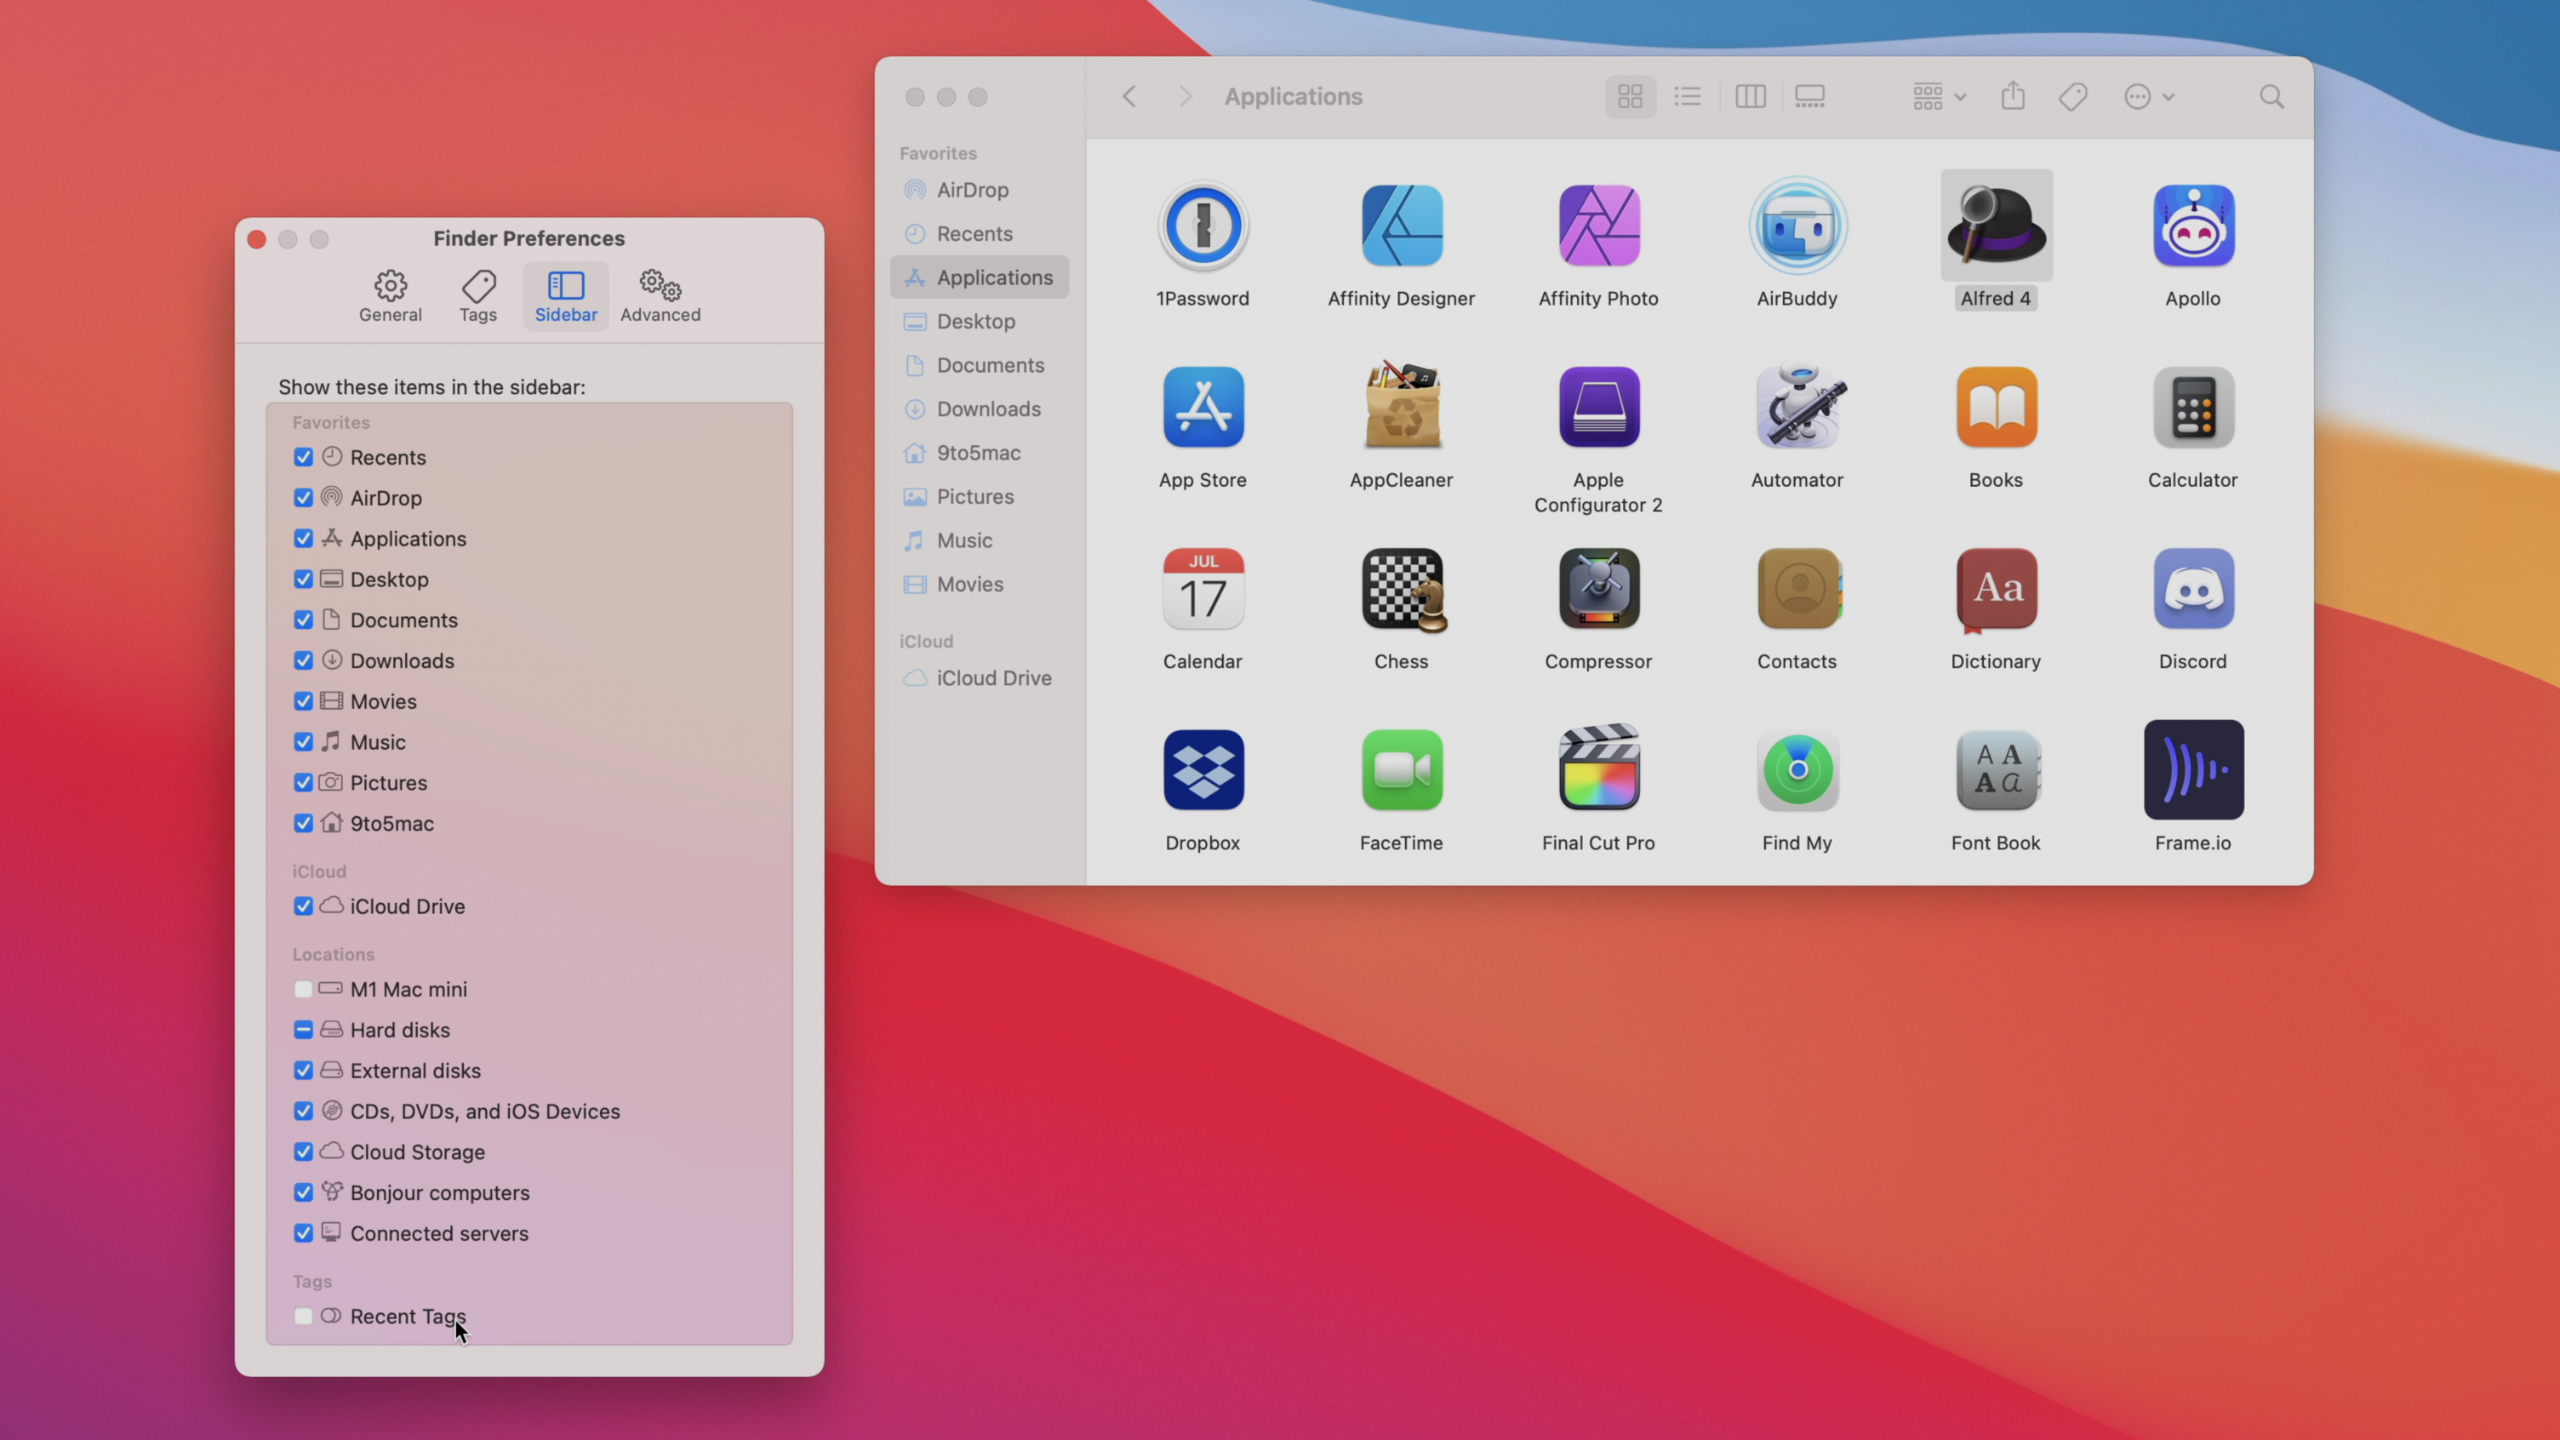
Configure Finder sidebar
For new Mac installs I like to customize the Finder by visiting the Sidebar tab of Finder preferences. The Sidebar tab allows users to enable folders like Movies, Music, Pictures, and the User folder as Favorites for quick access in the Finder sidebar. I also like to uncheck the Recent Tags shortcut, since I rarely use Tags in macOS.
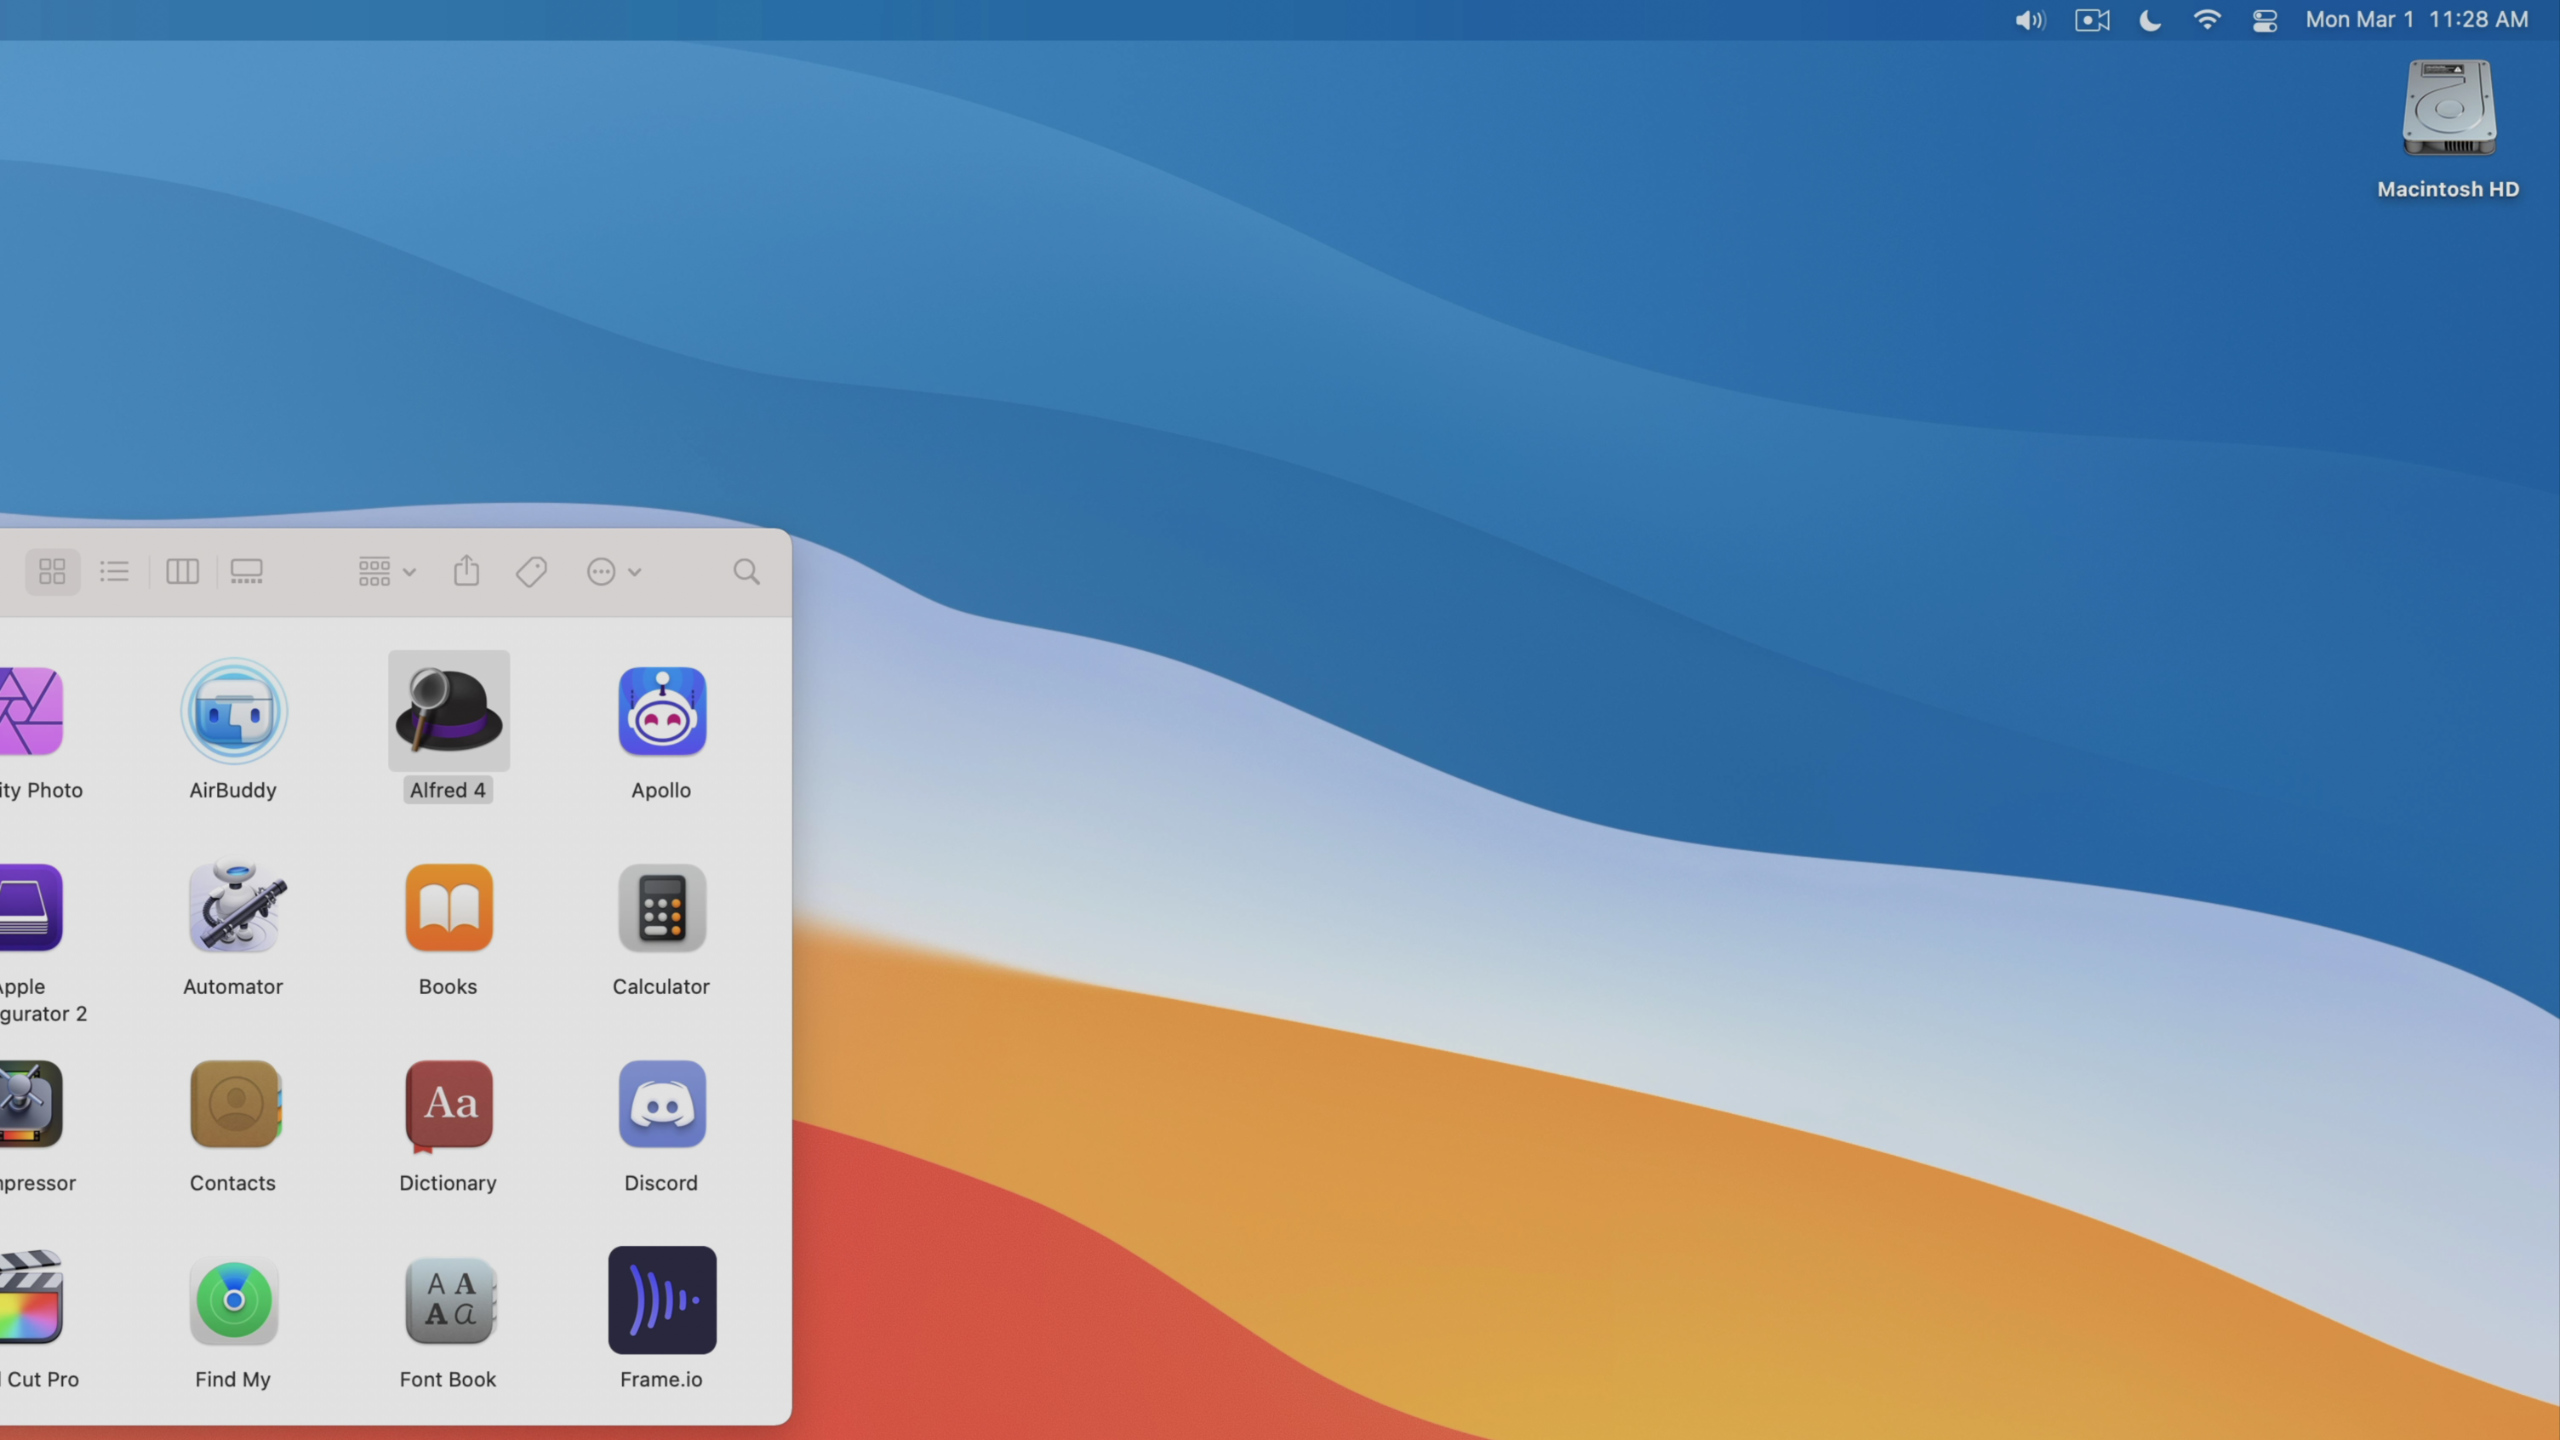
Add ‘hard disks’ to the desktop
Under the General tab of Finder preferences, enable hard disks on the desktop to add links to your Mac’s internal storage drive. This shortcut lends quick access to the Applications, Library, System, and Users folder.
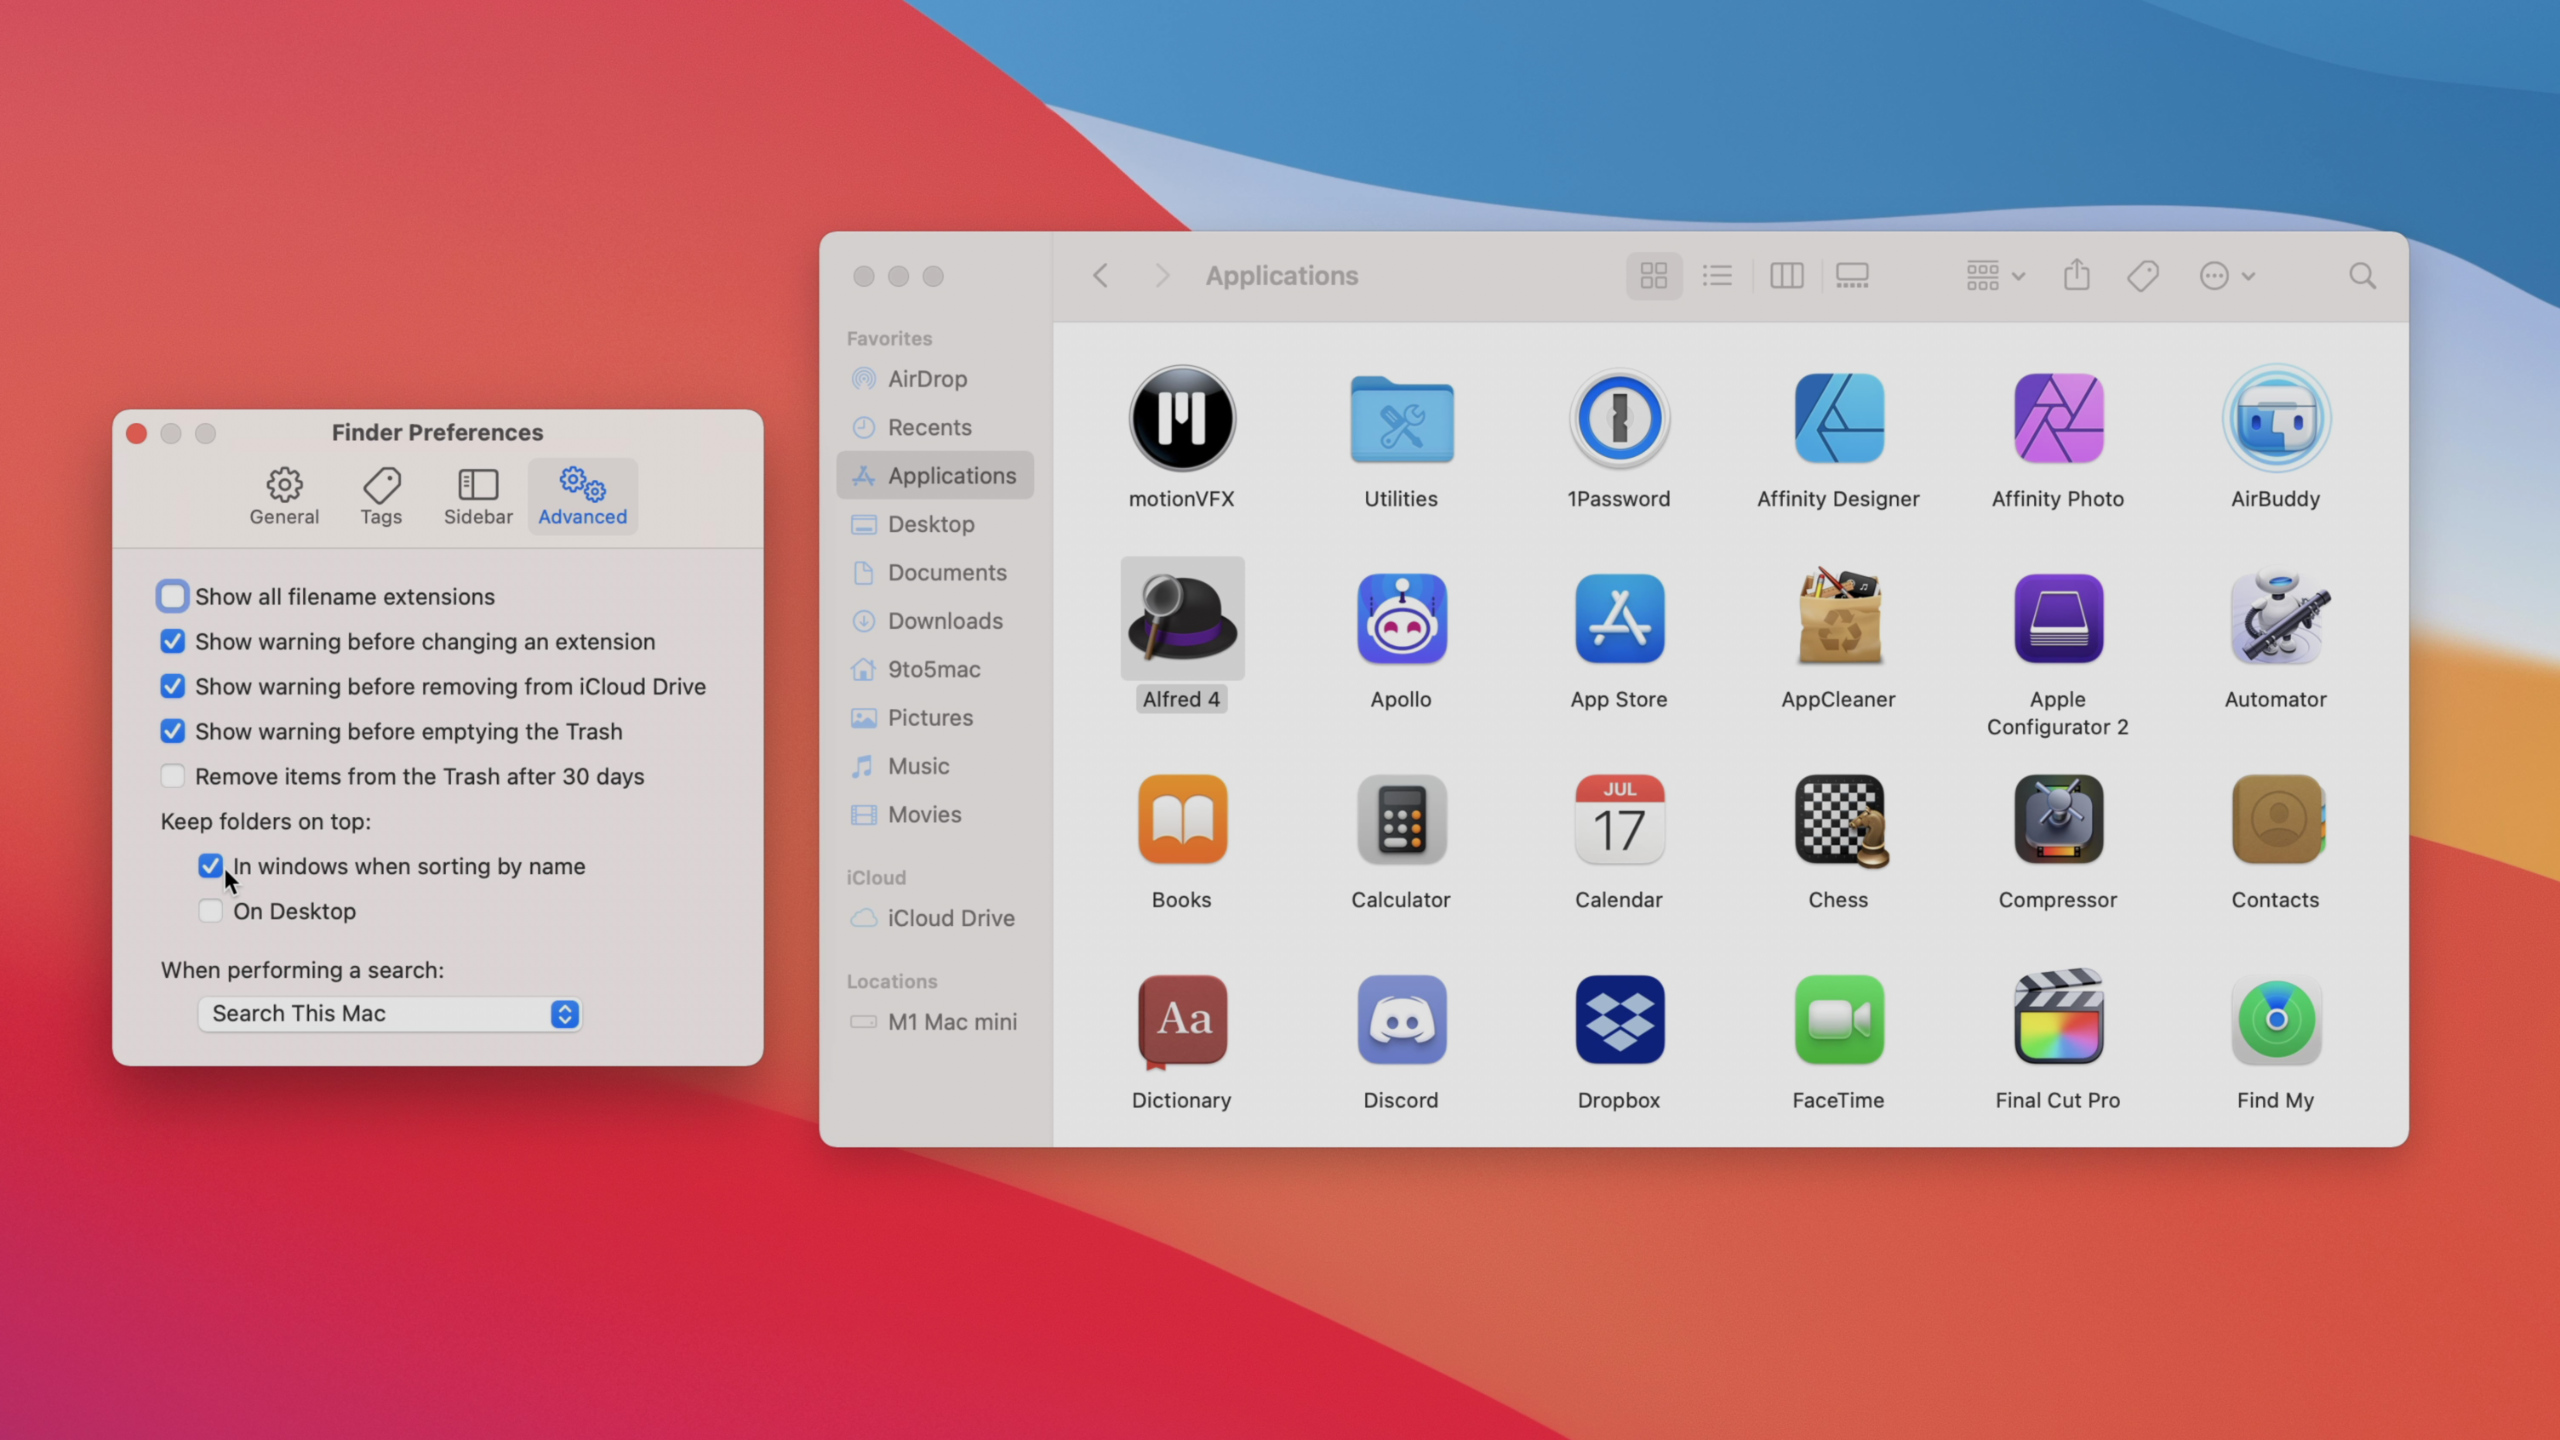
Keep folders on top when sorting by name
Folders can sometimes get lost in the shuffle when sorting by name. To help with this problem, you can configure the Finder to always display folders at the top of a list. In Finder preferences, go to the Advanced tab, and check the box under the Keep folders on top heading.
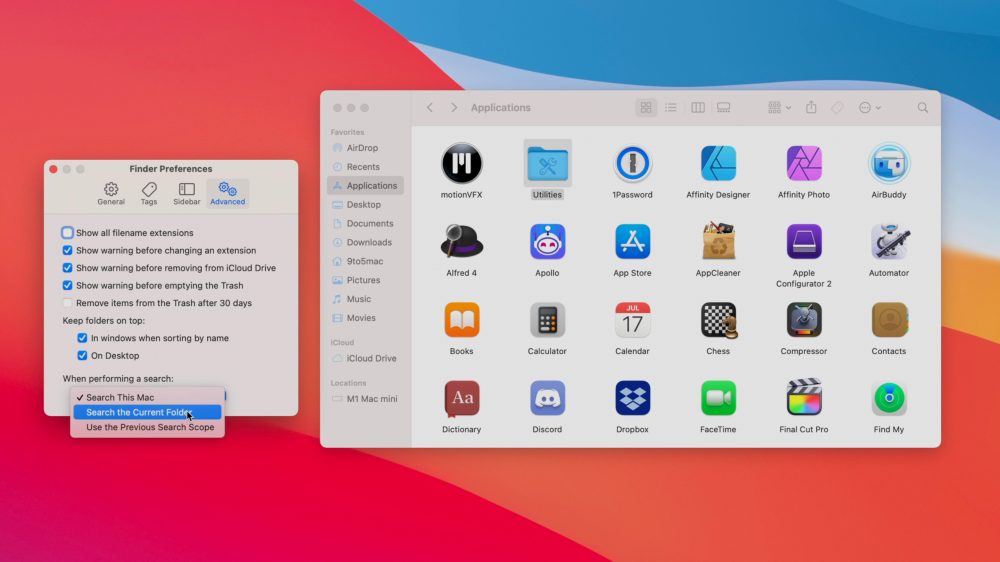
Make searches use the current folder
When you perform a search within a Finder window, macOS defaults to search everywhere on your Mac. To make searches always default to the current folder, go to Finder preferences → Advanced, and select the Search the Current Folder option in the dropdown box beneath When performing a search.
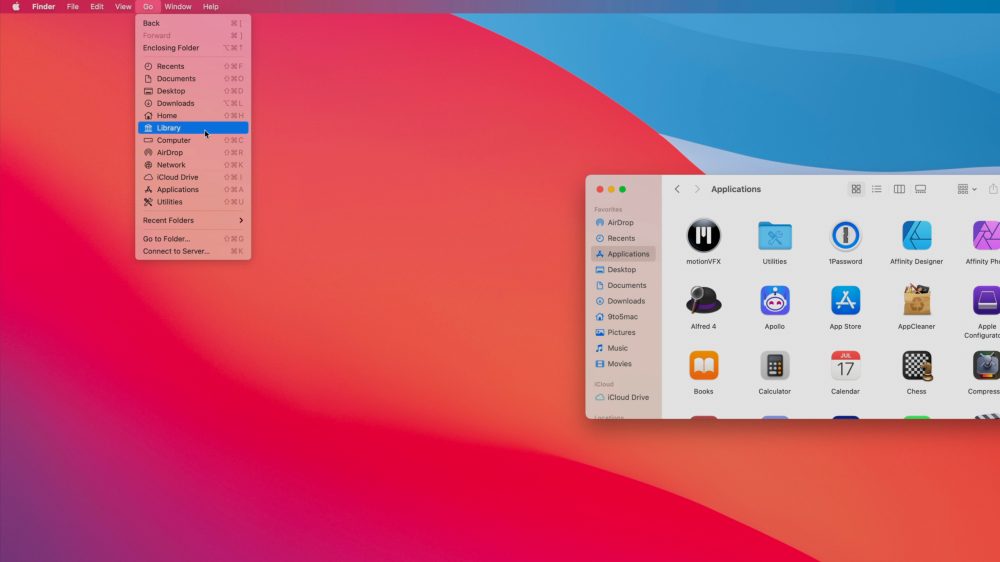

Add User Library to sidebar
The ~/Library, or User Library, contains configuration files and folders for the apps and settings on your Mac. By default, this library is hidden within Finder, but it’s easy to reveal the location by clicking the Go menu in the Finder, and holding the ⌥ key on your keyboard. Upon doing so, the User Library folder will appear as an option. Click the Library folder to open it, and go to File → Add to sidebar to add the User Library as a sidebar shortcut. Of course, the User Library should only be accessed if you know what you’re doing, but I often use it to manage application preferences, and to access configuration files for Final Cut Pro.
Enable Finder status bar
The Finder status bar provides handy details regarding storage space and how many files you currently have selected. If you’re in icon view, the Finder status bar comes with a slider in the right-hand corner of the for adjusting icon size. To enable the status bar, open Finder and click View → Show status bar in the menu bar.
Even more getting started Mac tips…
Our video walkthrough covers even more getting started tips, including tips for better managing screenshots, two instrumental third-party Mac apps in Yoink and Alfred, and several handy tips for perfecting the Dock interface. Be sure to watch the full video for a hands-on walkthrough of the following Mac tips:
- Disable floating thumbnail for screenshots
- Disable screenshot shadow
- Enable Stacks on Desktop
- Customize Safari start page
- Enable Safari status bar
- Enable Develop menu in Safari
- Install Yoink
- Install Alfred
- Disable ‘Show recent applications in Dock’
- Customize Dock apps to your liking
- Resize Dock
- Move the Dock “Position on screen”
- Enable ‘Automatically hide and show the Dock’
- Enable ‘Automatically hide and show the menu bar’
Conclusion
If you spend just a little time at the outset to properly configure your setup, you’ll have a better overall workflow. Whether you’re reinstalling macOS or setting up a brand new Mac, these handy Mac tips can make using your computer a more productive and enjoyable experience.
What’s your favorite Mac tip for new setups? Is there a particular tip that wasn’t included that you think should have made the list? Sound off down below in the comments with your thoughts.
FTC: We use income earning auto affiliate links. More.

Comments