iOS is generally a very slick operating system, but every now and then I come across a UI decision that makes me wonder what on earth Apple was thinking, and app settings are a prime example.
You never know whether an app setting is configured in the app, or in the separate Settings app …
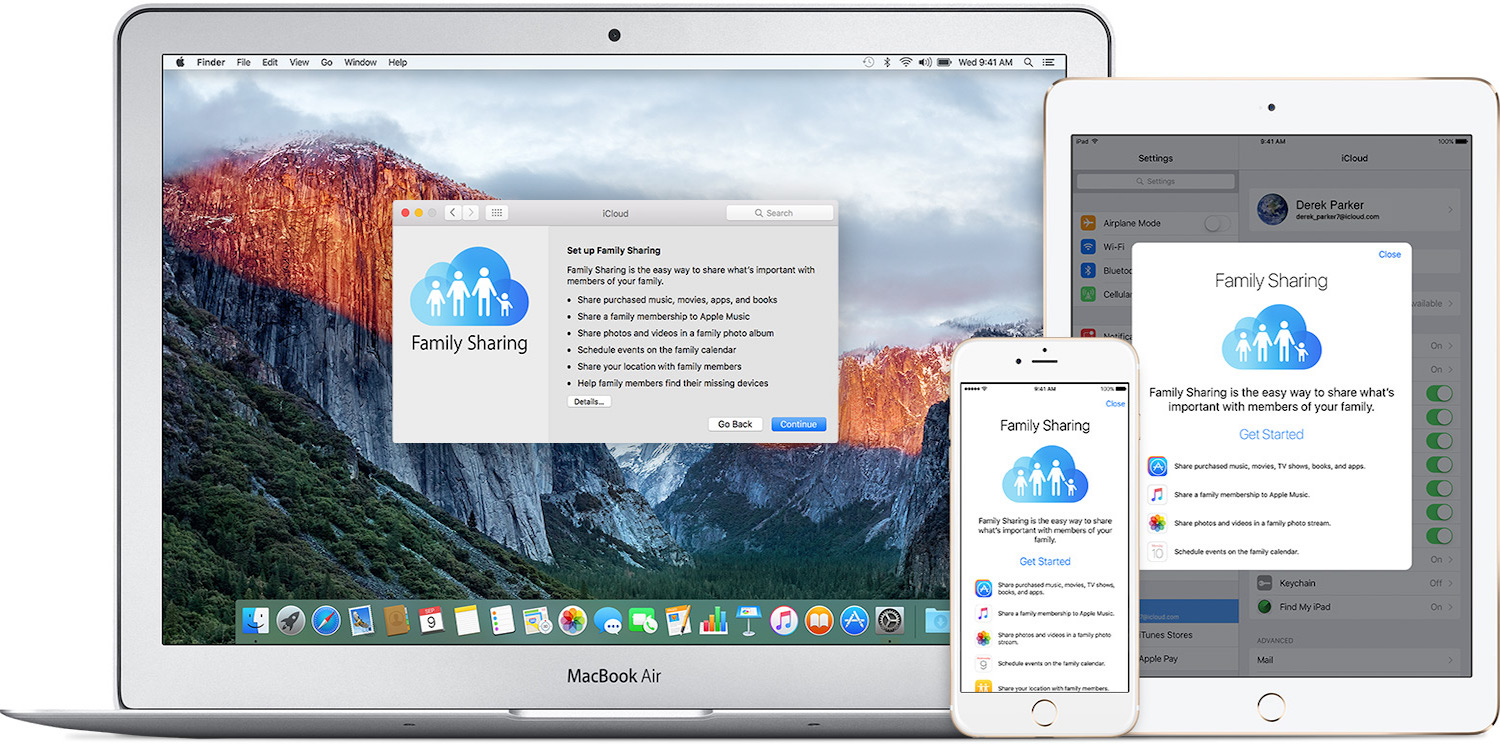
I’ve never been a Family Sharing user, Apple’s feature that allows families to share iCloud account access for things like photos and music on both iOS and Mac. But I recently decided to upgrade my Apple Music account to a family plan to take advantage of the discount as I encourage family members and friends to try out the service; that required me to activate the Family Sharing feature that Apple uses to manage family plans for Apple Music.
While you can choose to ignore most of the features of Family Sharing — photos, calendars, and reminders can be accessed through shared folders in their respective apps — once it’s activated, there aren’t any granular settings for each member to disable sharing on a per-feature/app basis. But the even bigger issue is that all purchases from any Apple ID in the family go to a single credit card of the admin (or parent) of the group. In other words, I’m now paying for every app, song, book, or anything else that my family group members purchase from Apple on top of the subscription costs for Apple Music.
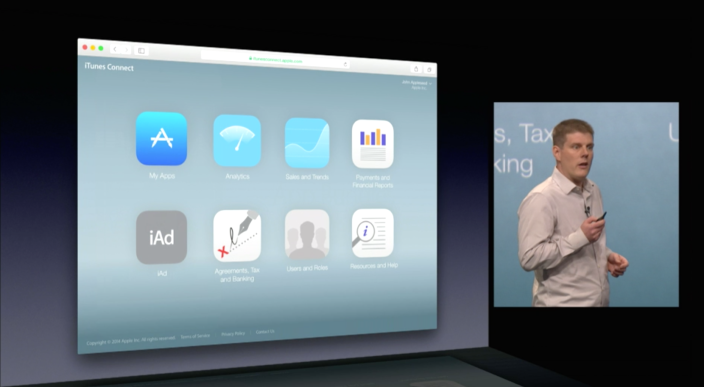
A noticeably large number of users are reporting issues logging into iTunes Connect, Apple’s developer portal for managing and distributing apps and other content to the App Store and iTunes. The outage appears to only be affecting a subset of users (we’ve had success logging in, for instance), but a growing number of developers have publicly voiced complaints online. Some users report not being able to access the service for going on four days:
Apple currently has yet to report any issues for iTunes Connect on its System Status page that tracks and reportsdowntime for its developer services.
Some users have reported success logging in after tweaking VPN settings, while another user posted the following workaround fix that others have used to patch what appears to be a Javascript issue at least temporarily until Apple officially addresses it:
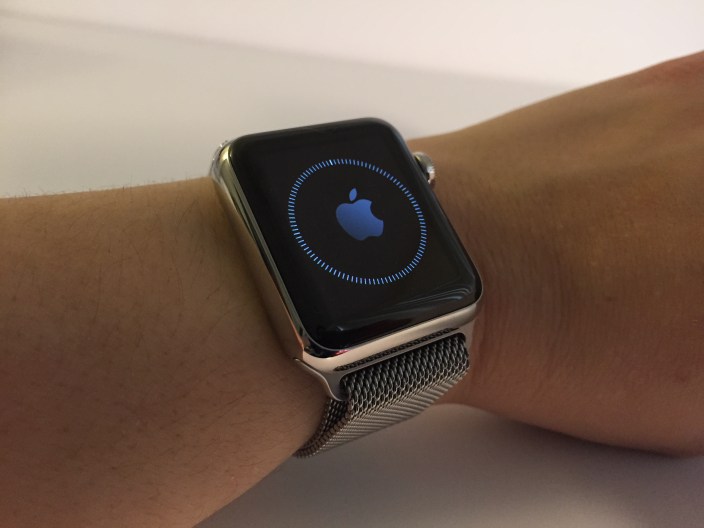
Backing up Apple Watch doesn’t work exactly like your iOS device, and some of the data on the watch— like Workout and Activity calibration data, for example— won’t be included in your backup. Head below to learn exactly how to back up your Apple Watch, what to expect when doing so, and how to access the data if need be. Expand Expanding Close
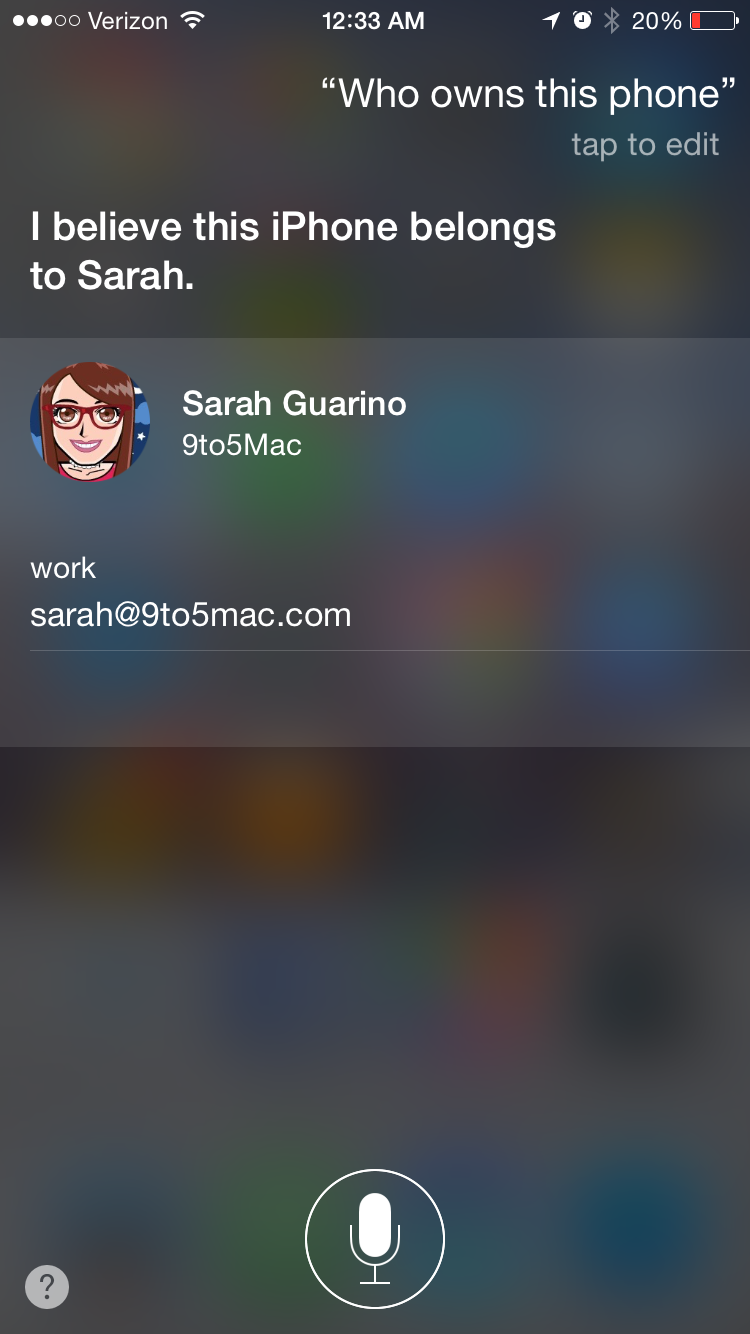
What happens if you are out and about and happen to find an iPhone? You happen to be a good person and want to return the iPhone to the original owner, but the phone is locked with a passcode. You might think you are stuck, but actually you can use Siri to find out who owns the device.
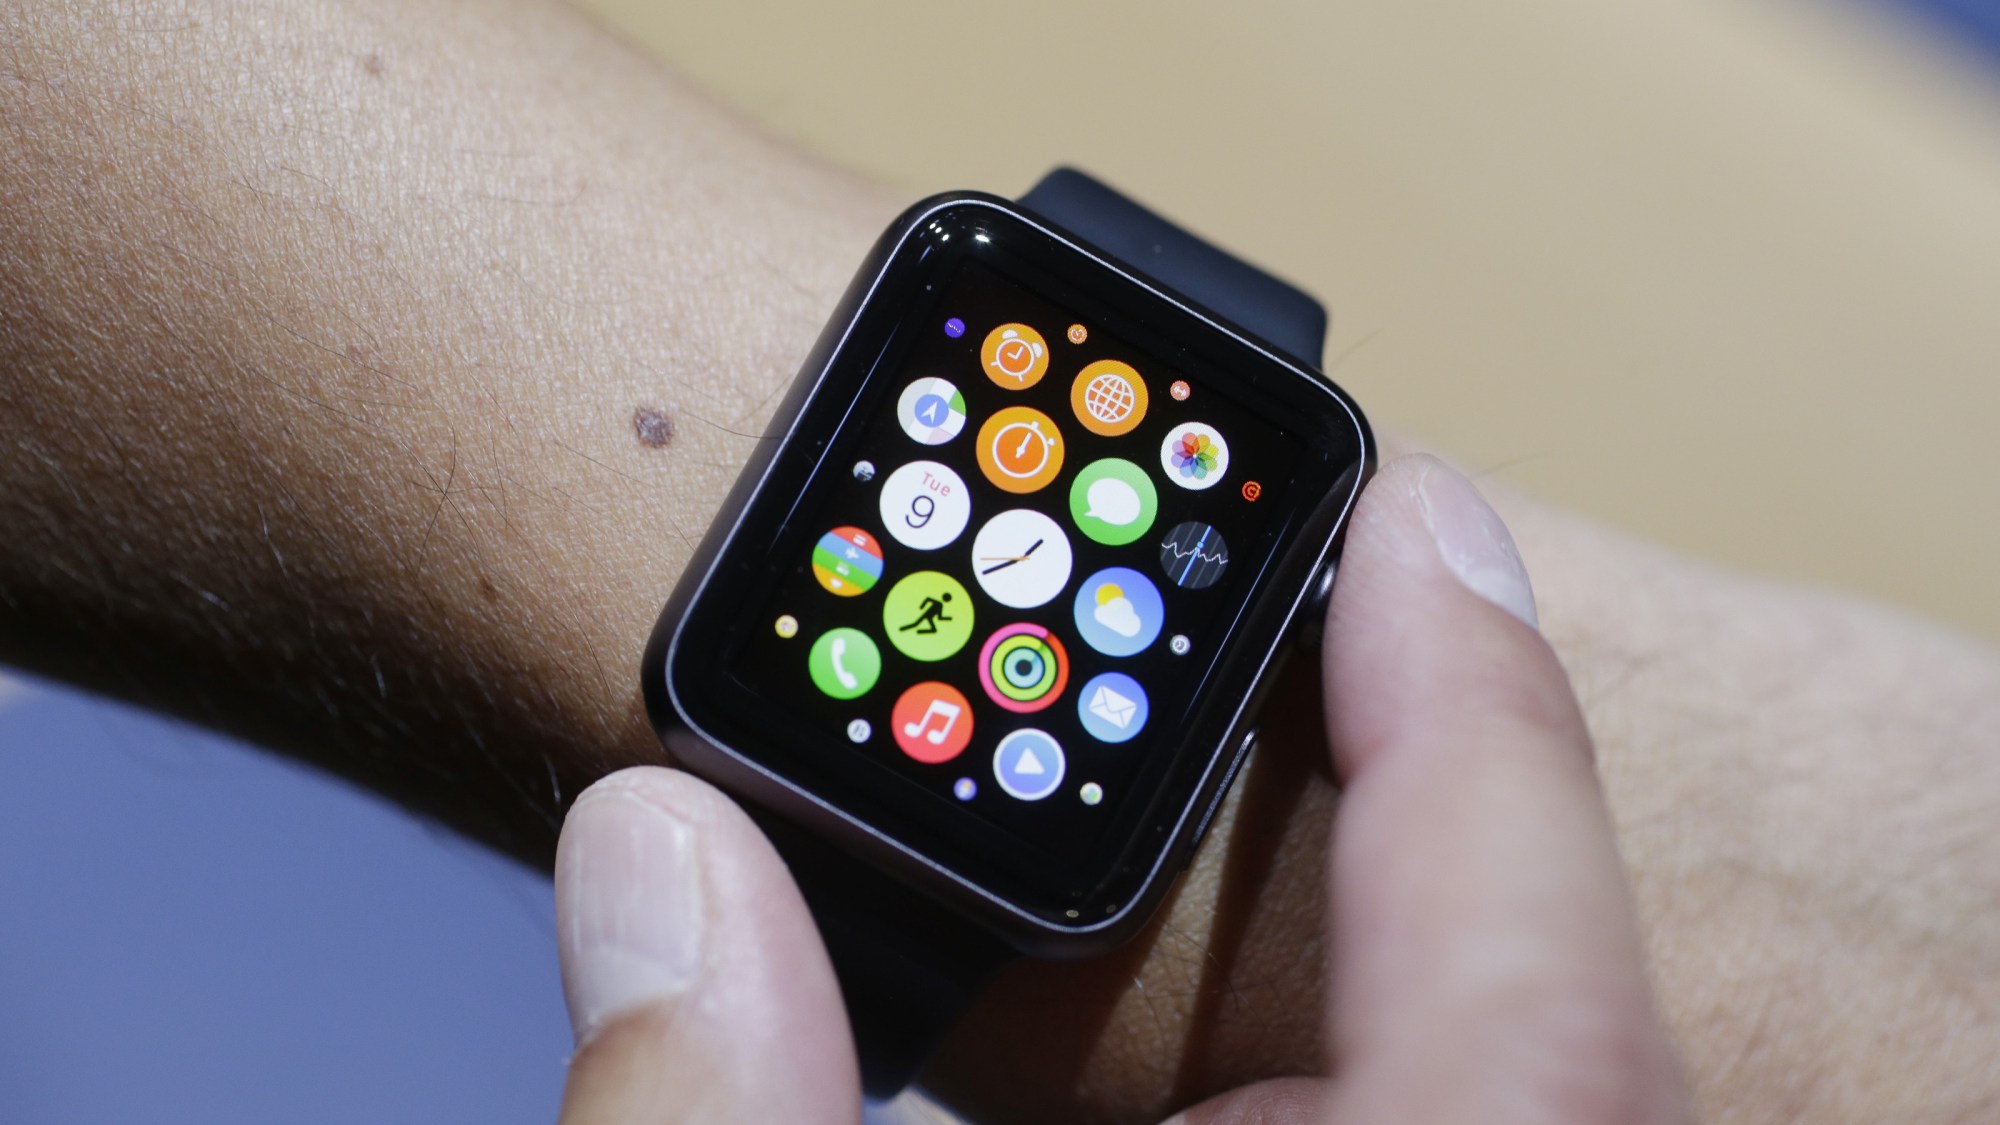
Just ahead of the finalized Apple Watch’s presentation at Apple’s March 9th “Spring Forward” event, sources with hands-on Apple Watch experience have revealed a collection of new details about the device’s features to 9to5Mac. Our sources have offered new information on the Watch’s real-world battery life, health and fitness features, apps, and experiences using Apple’s next-generation touchscreen hardware…
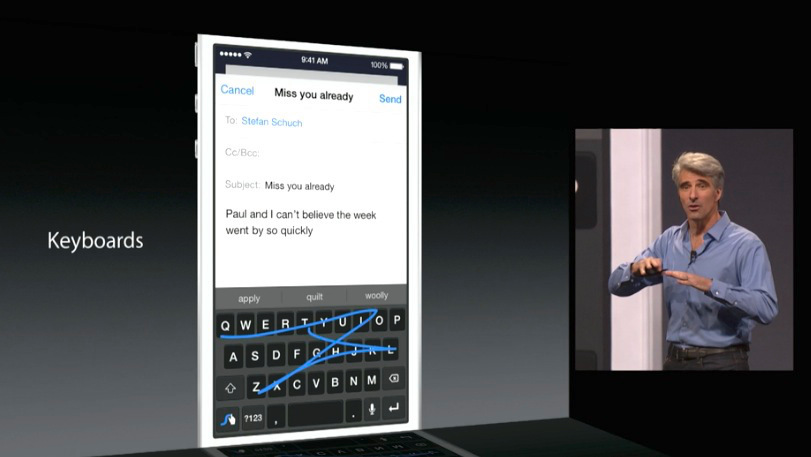
iOS 8 brings support for third party keyboards. This allows the user to further customize their device and they are no longer forced to use Apple’s keyboard. Now that we have been using them for a while, it would be nice to even further customize the order in which the keyboards appear. In this how to article, I will discuss how to choose the order in which the keyboards appear as well as how to disable Apple’s QuickType feature.
Previously, I discussed how to have your iOS device read text for you in iOS 7, and in iOS 8 it works pretty much the same way – but with some little differences. It is now easier to set up and make text speakable on an iOS device. Before we discuss how to do it, let’s first set up our iOS device so we can do it:
Have you ever wondered how much of your battery is being used? Or have you ever wondered why sometimes when you use certain apps your battery dramatically drains? New in the iOS 8 Settings application is the ability to track battery usage per each app you have installed on your device. This method is very similar to tracking your cellular data usage. Expand Expanding Close
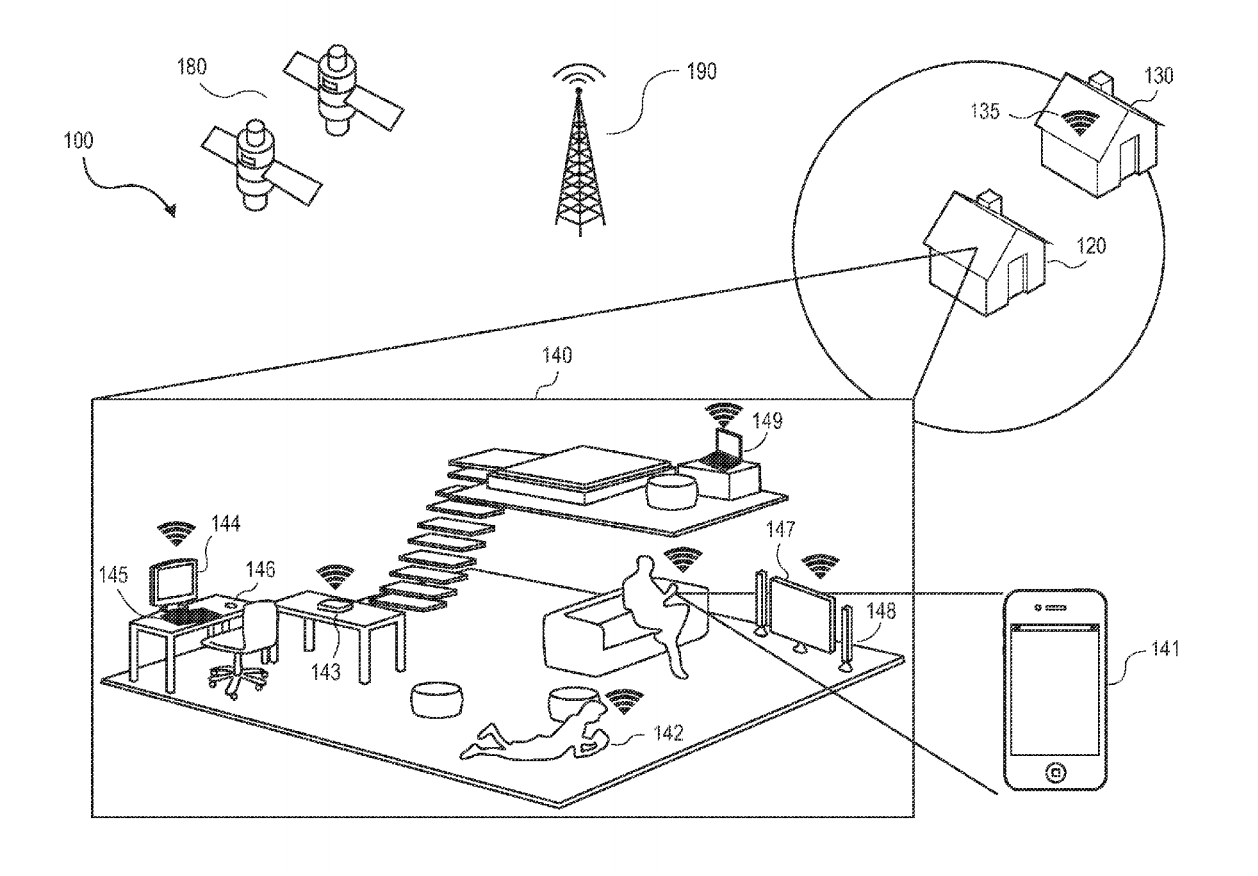
A new patent application published today by the United States Patent & Trademark Office details a system Apple could use to automatically configure security and other settings of a device based on its location or the habits of its user (Google filed for the same patent 2 months prior but who’s counting?). The majority of the patent discusses intelligently adjusting settings by detecting a device’s location while using retinal scans, DNA, fingerprints, or other biosensors to present an appropriate level of security to the user: Expand Expanding Close
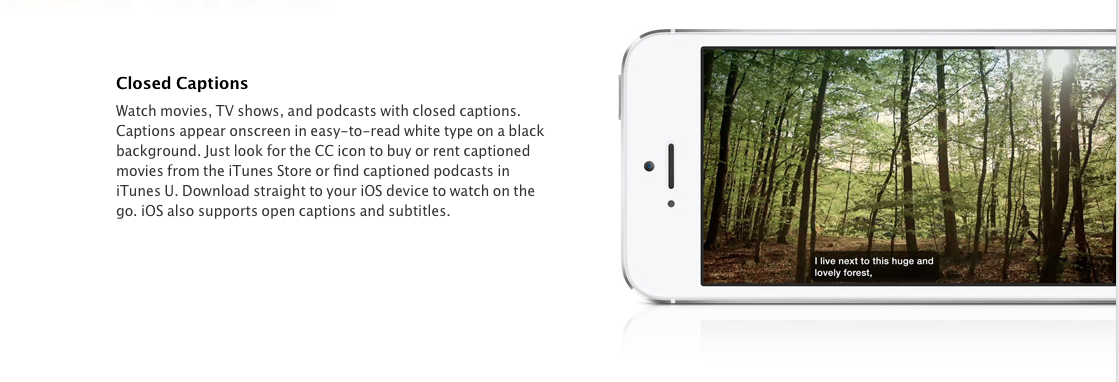
iOS devices are built with all users in mind: they come with several accessibility features for low-vision or legally blind users, hard-of-hearing or deaf users, individuals who have physical and motor difficulties, and individuals with learning
difficulties.
In this accessibility segment, we will be discussing how to use and customize subtitles and captioning.
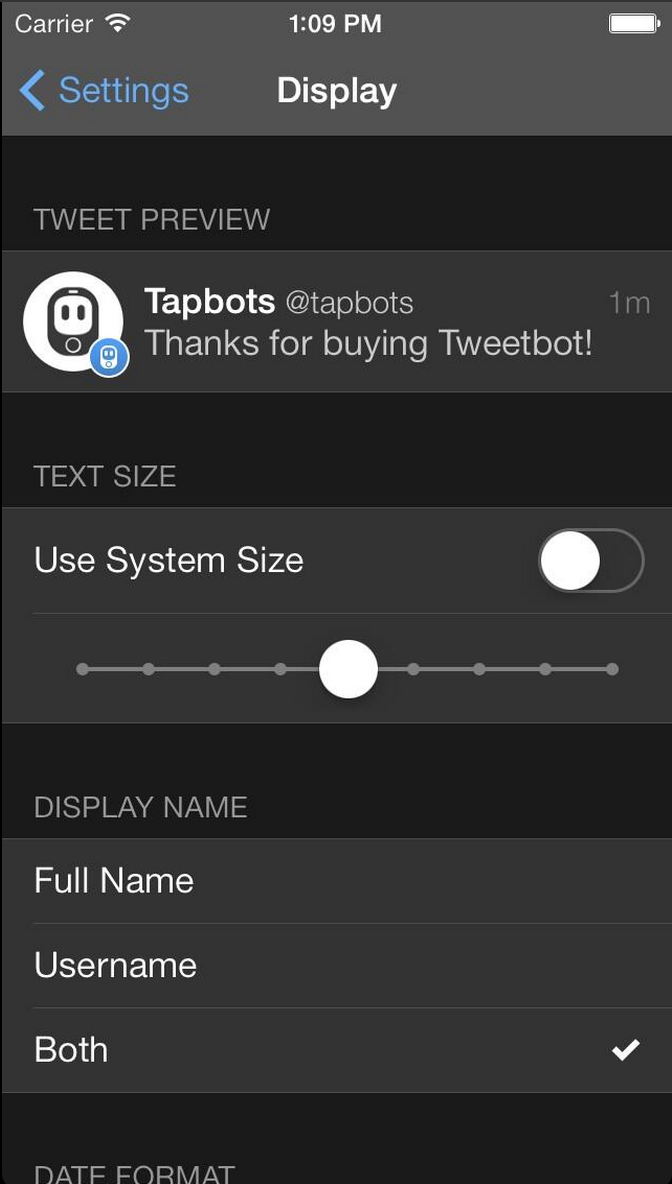
After an all-new Tweetbot Twitter client from developer Tapbots arrived last week as version 3, it wasn’t long before the app became the top paid app in many countries around the world. As with any redesign of a popular app, some users have been asking about what features that were removed during the redesign could possibly return in future updates. Today Tapbots shared a couple new features that will be arriving in version 3.1, including the ability to use lists as your timeline and swipe to reply, favorite, or RT:
https://vine.co/v/hjWvzTeU2v0
https://vine.co/v/hjWnMPUva0x
https://vine.co/v/hjWvViVYpnx
While there is no timeframe on when version 3.1 might be arriving other than “coming soon”, the developers previously said that new adjustable font settings (pictured in the screenshot above), a nighttime theme, an iPad redesign, and new swiping gestures are all in the plans for future releases.
Have you ever wondered how much data you should get with your carrier? Do you barely use your data plan but pay for a huge one anyways? Or do you go over data each month with your data plan and have no idea why? New in the iOS 7 Settings application is the ability to track cellular data usage per each app you have installed on your device.
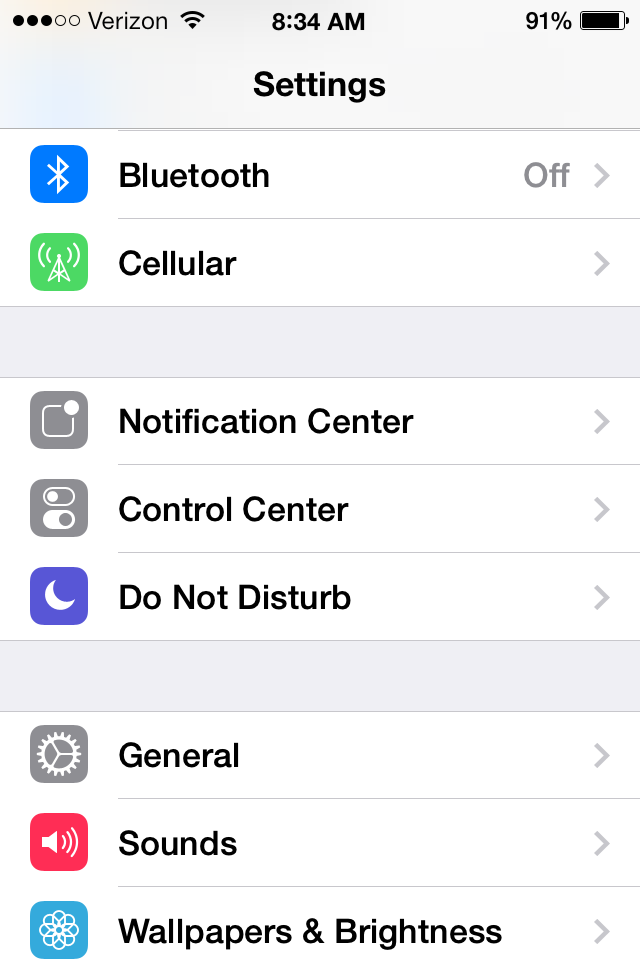
In iOS 6, it shows you how much data you use, but it did not define or described what made up that number. To monitor and track your cellular data usage in iOS 7, first go into Settings.
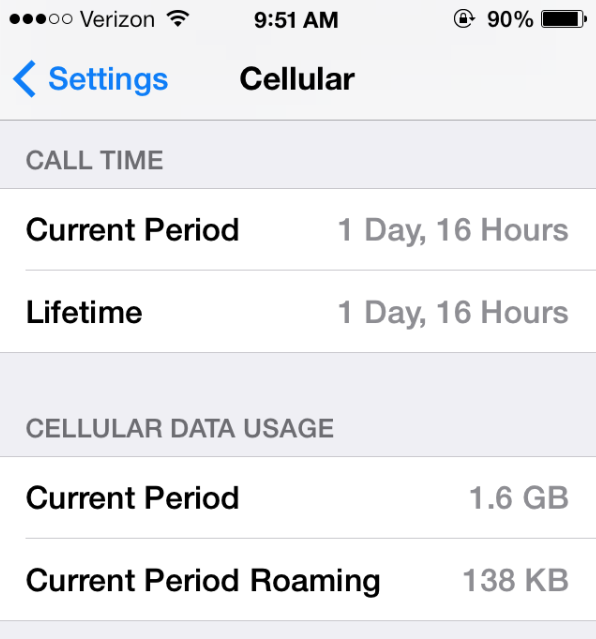
Then tap on Cellular. If you scroll down a little bit at first you will see your total history. It will show your Call Time and total Cellular Data Usage, just like it did in iOS 6.
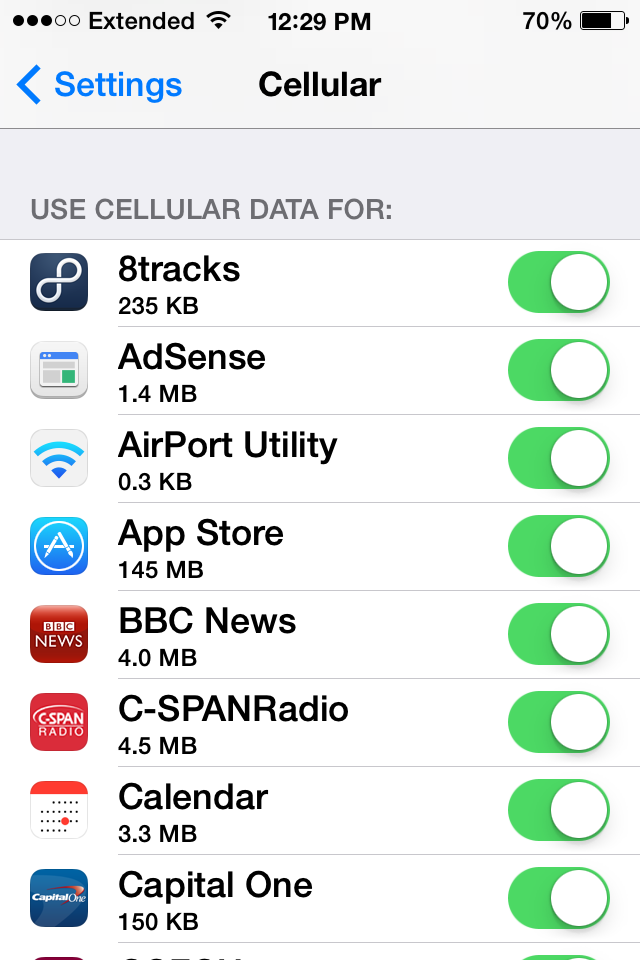
If you scroll down further, you will get an alphabetical list of all the apps have use cellular data.
If you scroll all the way down at the bottom, you will see a button called System Services. If you tap on that, it will show you how much cellular data you are using for things like Messaging Services, Push Notifications, Documents & Sync, iTunes Accounts, Siri, Voicemail, Software Updates, Find My iPhone, Diagnostics and Apple ID Services.
The devices gather your statistics until you manually reset them on the device by tapping on the blue Reset Statistics button. If you want to monitor and track your cellular data usage, I would recommend setting up a reoccurring calendar event, or a reminder every thirty days to coincide with your cellular bill so that way you would remember to reset the cellular statistics every thirty days.
Parallax is a new feature that is introduced in iOS 7. As the user moves their device, the background image and icons move on the screen to match the movement of the device. Parallax gives the device a quasi-3D effect and adds depth to it, but some people prefer to use their iPhone, iPad, or iPod touch sans the motion.
If you are like these people on Apple’s Discussion forums, you might be getting dizzy from iOS 7’s new parallax feature.
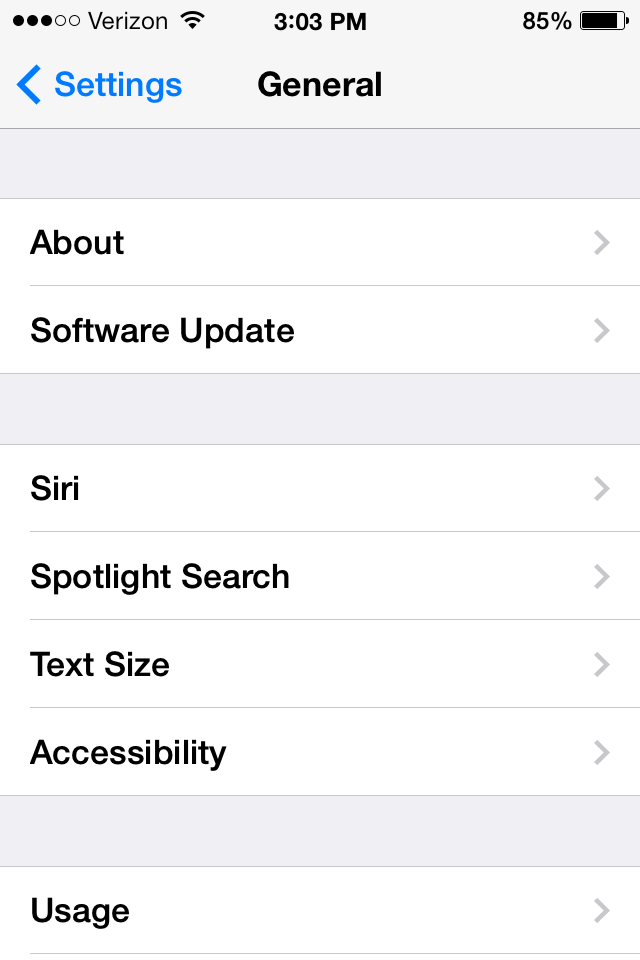
To disable Parallax go into Settings, then tap on General.
Then tap on Accessibility.
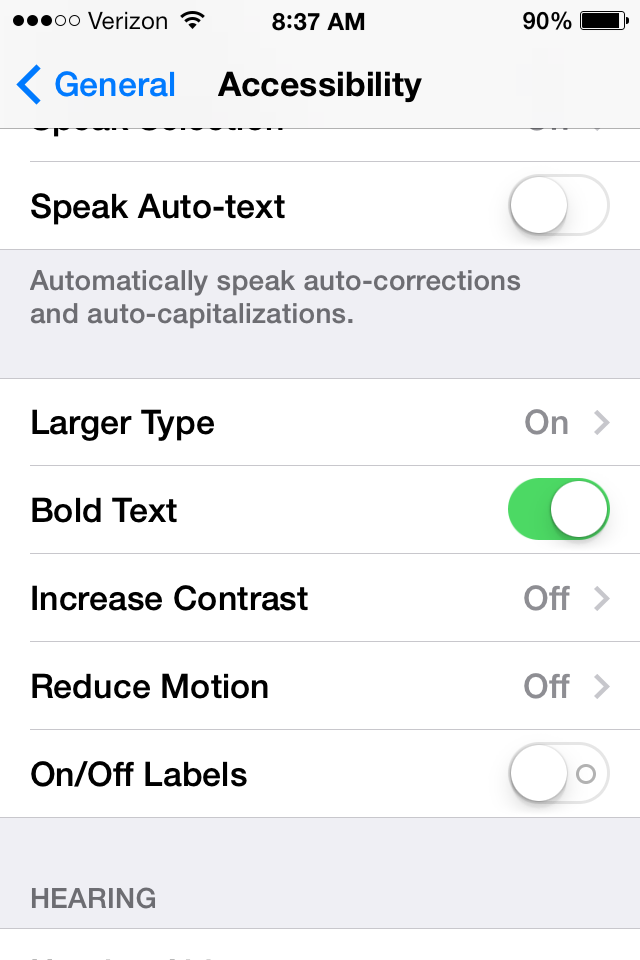
Scroll down until you see Reduced Motion.
Tap on Reduced Motion. By turning on Reduced Motion it will:
Reduce the motion of the user interface, including the parallax effect of icons and alerts.
To turn on Reduced Motion, tap on the white circle, and it will move the switch and it will green indicating it’s on.
Setting up your email in iOS 7 is just like setting it up in earlier versions of iOS. Just like before, you are able to have Gmail set up in the Mail app. To set up your email you would go to Settings, then tap on Mail, Contacts & Calendars, and then press Add Account. By default in iOS, Gmail is set to archive your emails as opposed to deleting them. Archiving email keeps the messages in an Archived folder, but Deleting moves them to the trash.
If you are viewing your inbox, and you swipe from right to left on the message, you do not get the option to delete the message. Rather, you get an Archive option or a More option. The More option gives you every other option except for deleting the message. You could always tap on More, then press Move Message, and then choose the Trash folder. That’s rather tedious for a simple task:
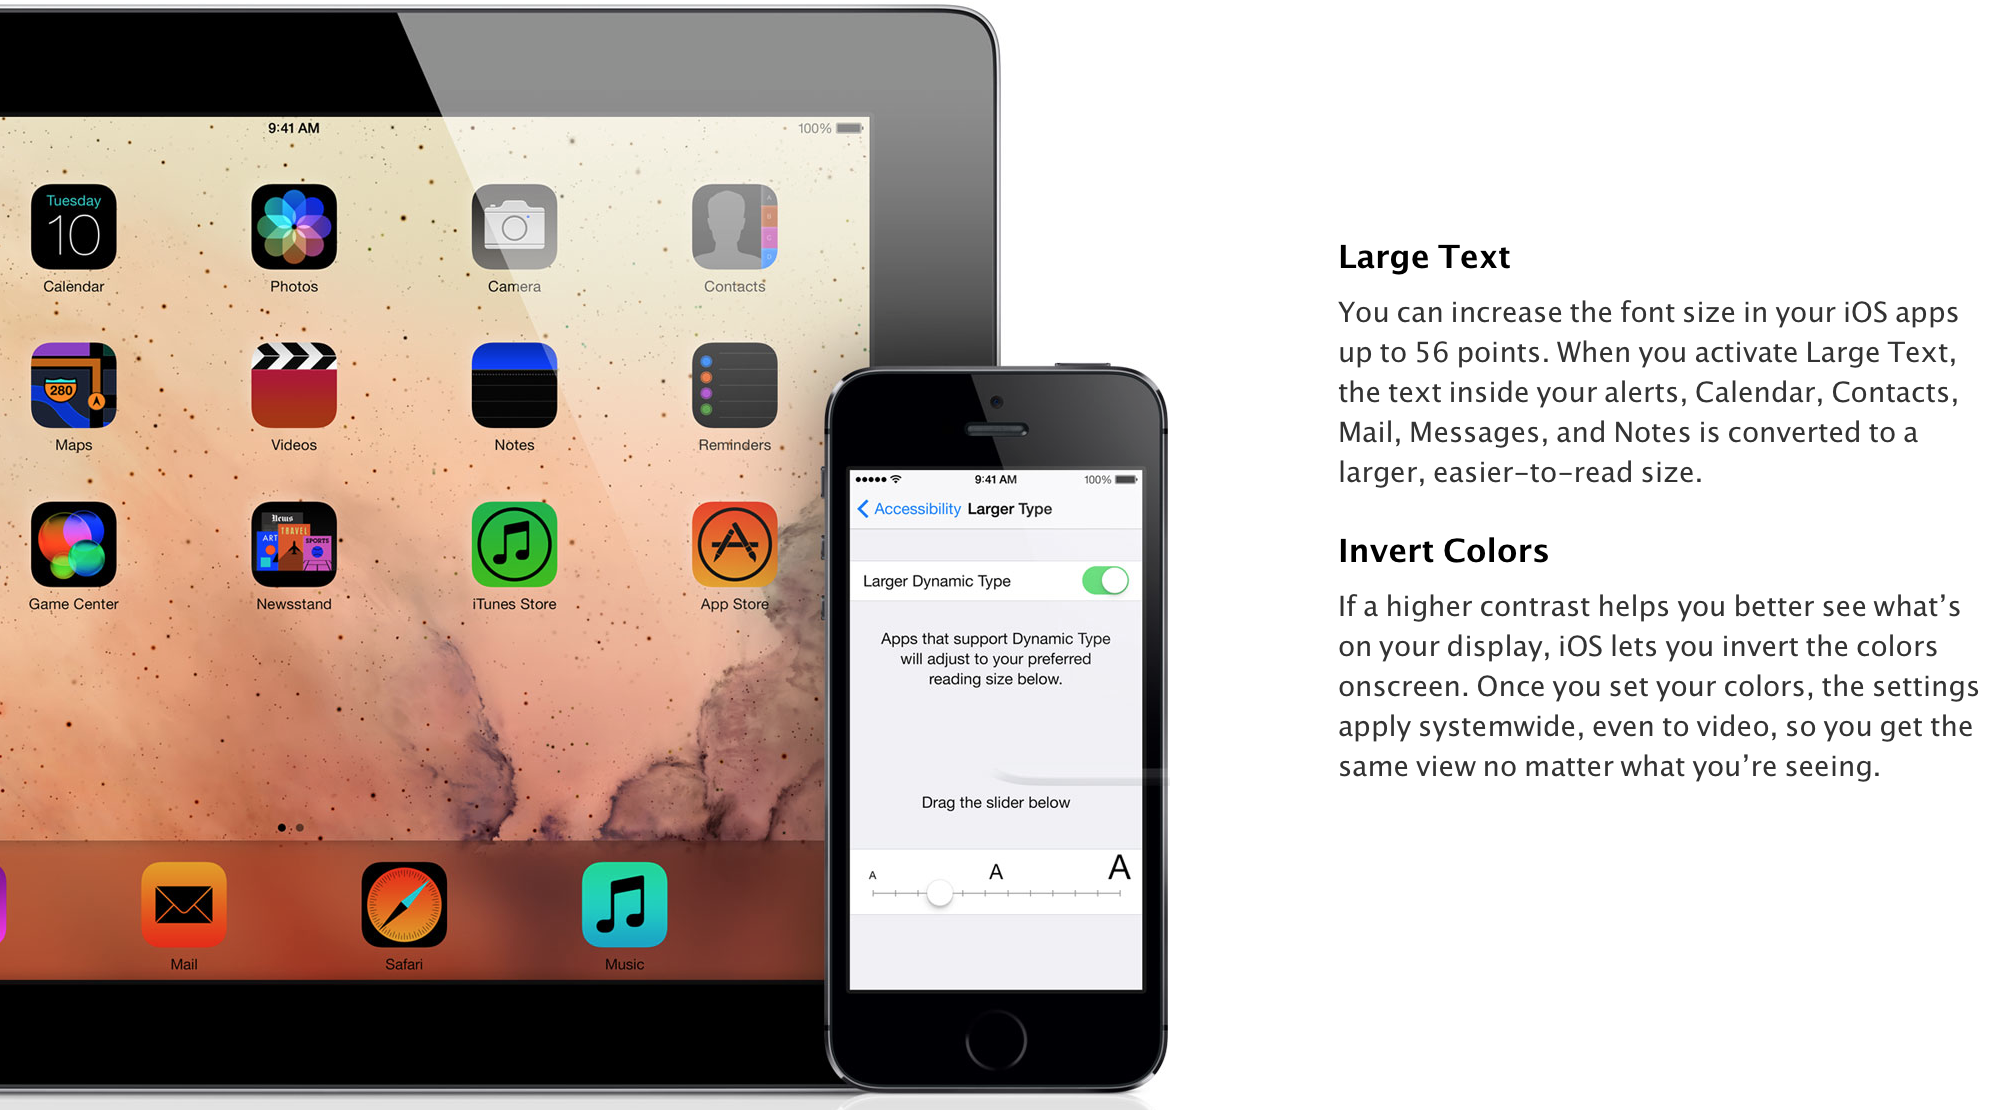
For some people, the font sizes on the iPad, iPhone, and iPod touch are too small. Sometimes, these small fonts prevent people from using or purchasing the iOS devices. Thankfully, there are multiple solutions to this potential issue. Below, we’ve rounded up the old fixes and new fixes in iOS 7:
As in iOS 6, there are two different ways to make text speakable on an iOS device. But before we do that and discuss how to do it, let’s first set up our iOS device so we can do it:
In earlier versions of iOS, the system would notify users of available App Store updates with a badge on the icon (seen above).
You had to open up the App Store, press the Update button, then press Update All. It was rather annoying to keep up with all the apps that needed updating. Sometimes by the time you finished updating, more apps would need updating.
Now with iOS 7, the apps will now automatically update. To make sure that the apps are set to automatically update, go into Settings and scroll until you see iTunes and App Store.
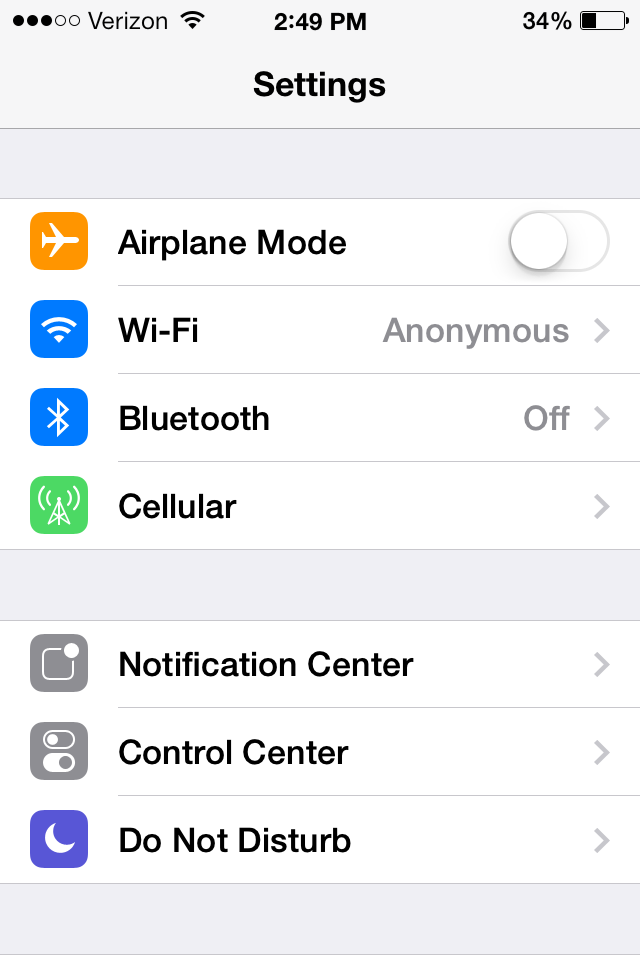
Control Center is one of iOS 7 brand new easy to use features that makes it very efficient to toggle on and off certain settings. To activate and get into Control Center, you swipe up from the bottom of the screen.
You are now able to quickly access Airplane Mode, Wifi, Bluetooth, Do Not Disturb Mode and Lock Rotation. You are also able to easily adjust the brightness of your display by adjusting the slider next to the suns. You also have controls for playing your music, with a volume slider below the controls. Below that you do have the option to AirDrop (only available on iPhone 5 or later, iPad fouth generation and newer, and iPod Touch fifth generation and newer) and AirPlay which allows you to wirelessly project the device’s display using an Apple TV or to project music to Bluetooth speakers or AirPlay speakers.
For quick easy access you now do have a flashlight. Even if your phone display goes to sleep, the flashlight still stays on, so make sure you actually do tap the flashlight again, to turn it off. You don’t need to have a Flashlight app anymore as it is built in. You do also have easy access to the Clock app, so you can set alarms, timers, or use the stop watch. You have access to the calculator app. You also have a new way to open up the Camera app.
For example, Control Center is great because now I do not have to unlock my iPhone, type in my password, go into Settings, turn on Bluetooth and have it connect again with my car system. Now I just swipe up to open up Control Center, tap on Bluetooth and it automatically pairs up with my car speakerphone.
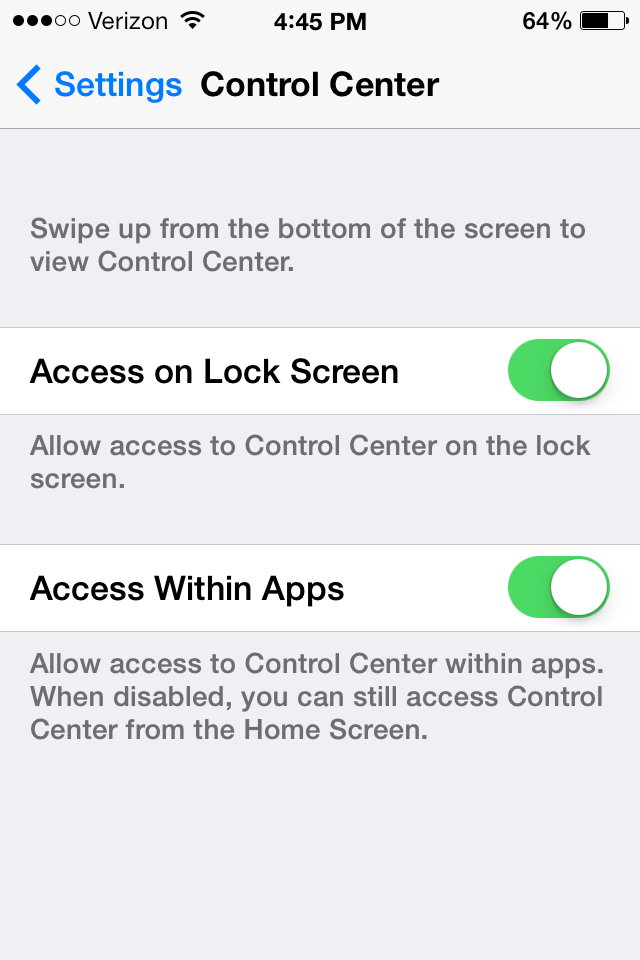
However, not everybody might want to access Control Center from their lock screen. You can control where on your phone you want to be able to activate Control Center. For example, you can decide whether or not you want to be able to access control center on your lock screen, and while you are in apps. To set this up, go into settings.
Then press on Control Center.
You can then toggle to access Control Center on the Lock Screen on and off. Same thing with accessing it within apps.
iOS devices are built with all users in mind: they come with several accessibility features for low-vision or legally blind users, settings for hard-of-hearing or deaf users, settings for individuals who have physical and motor difficulties, and settings for individuals with learning difficulties.
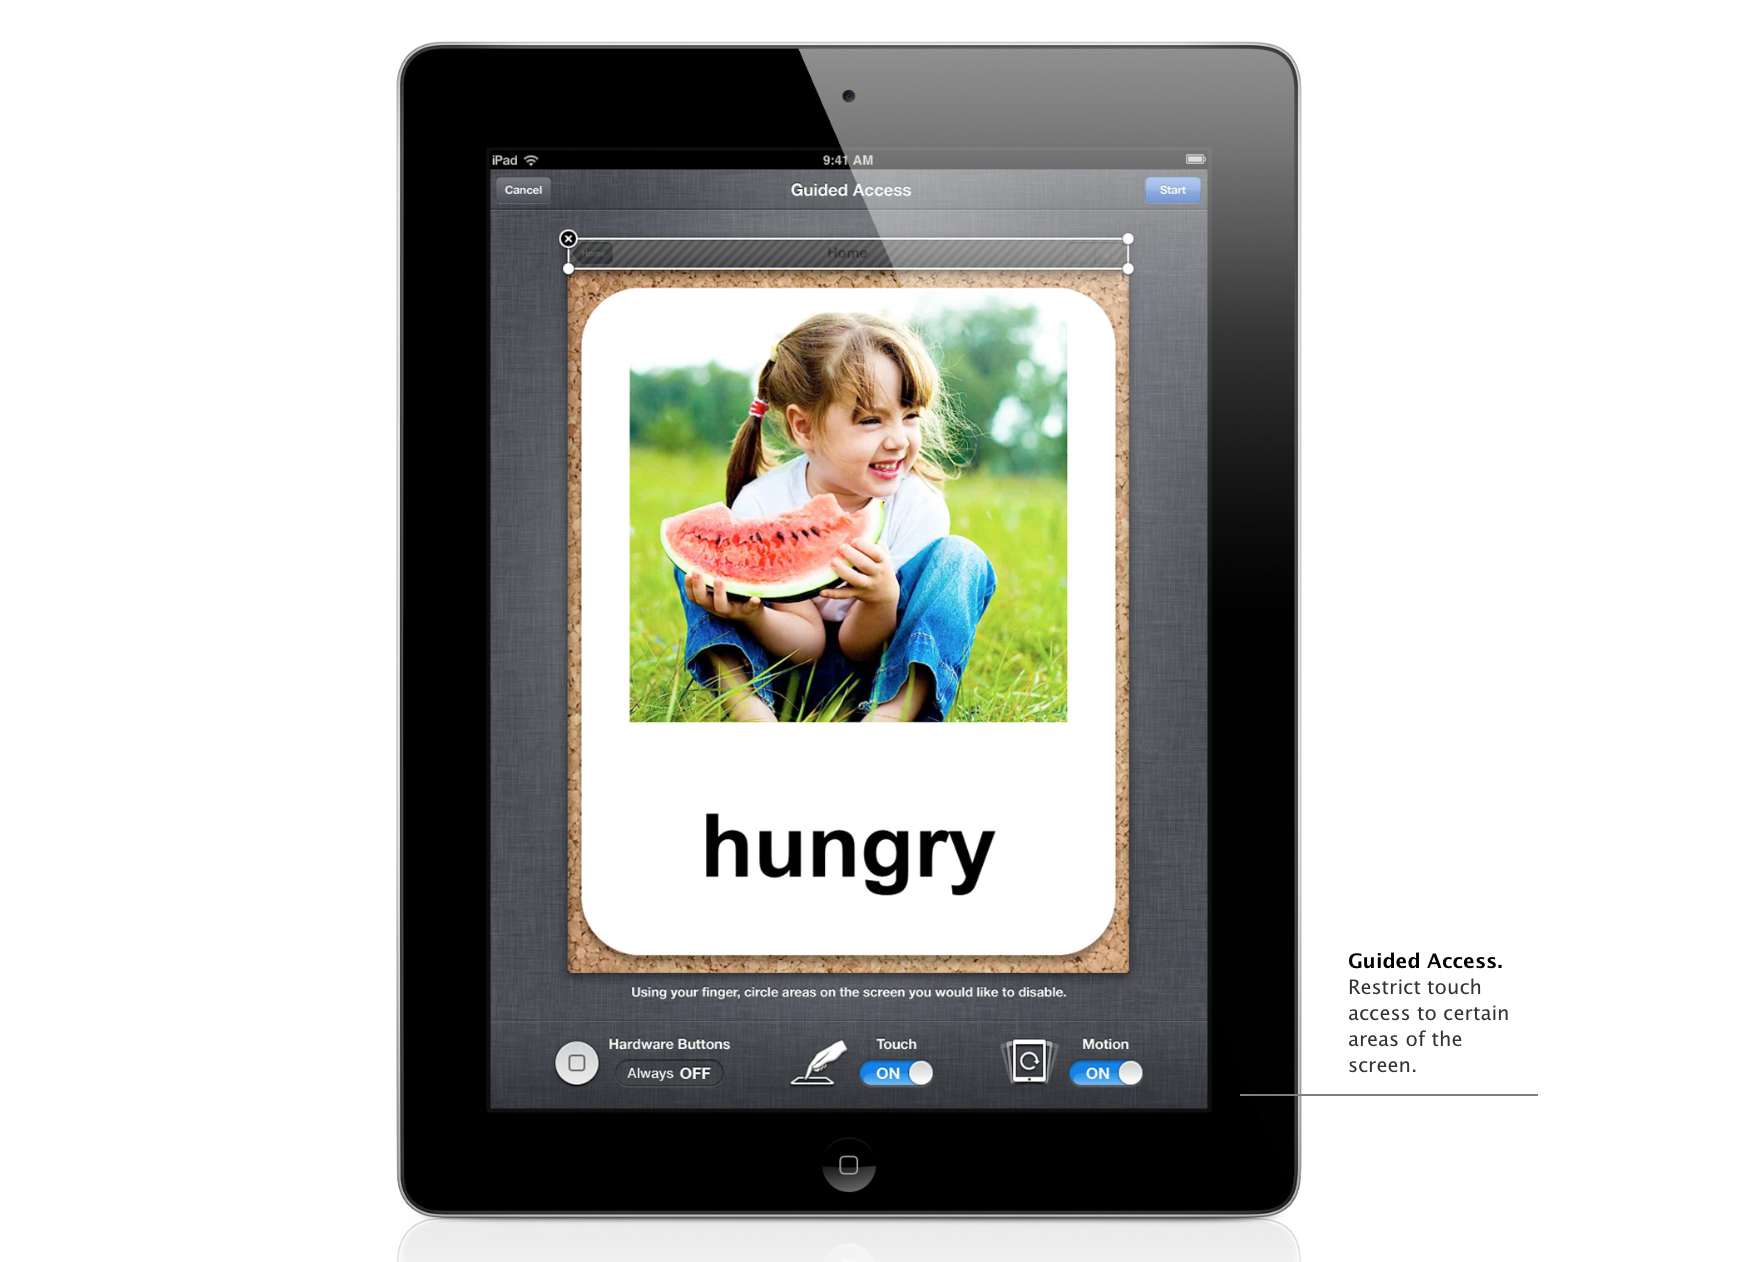
In this accessibility segment, I will be discussing how to use Guided Access.
Guided Access is an accessibility feature that came out with iOS 6. Guided Access enables you to set up the iOS device so that you cannot leave apps, and you are able to control which features of the app you are allowed to use or not use. There are a lot of great benefits and applications for this (listed in no particular order):
iOS devices are built with all users in mind: they come with several accessibility features for low-vision or legally blind users, settings for hard-of-hearing or deaf users, settings for individuals who have physical and motor difficulties, and settings for individuals with learning difficulties.
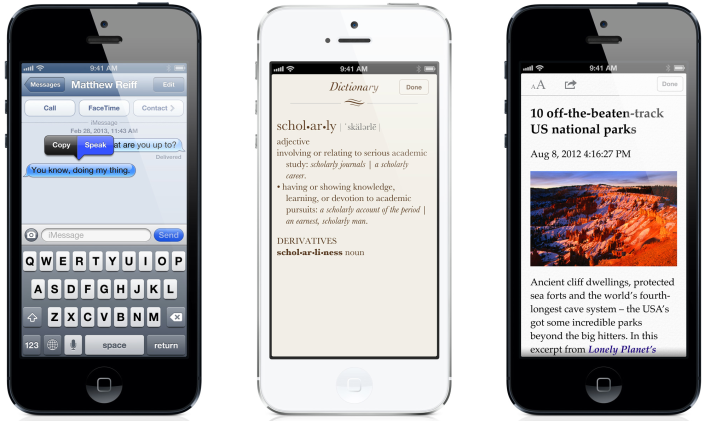
In this accessibility segment, I will be discussing how to make text speakable on an iPad, iPhone, or iPod touch:
For some people, the font sizes on the iPad, iPhone, and iPod touch are too small. Sometimes, these small fonts prevent people from using or purchasing the iOS devices. Thankfully, there are multiple solutions to this potential issue. Below, we’ve rounded up the fixes:
Earlier today Google officially pushed out an update to its existing Google Search app for iPhone enabling the Google Now service with weather and traffic conditions, updates on breaking news and sports, and more. Some users logging into Google Search through a Google Apps account might have noticed that using the features would prompt an error that “your administrator hasn’t enabled Google Now for your domain.” Hanselman.com shares instructions on enabling the feature which aren’t exactly obvious since the setting is buried in “Android settings”.
Google Apps for Business, Education, and Government: Google Now needs to be turned on by an administrator before it can be used.
If you are an administrator, you can enable Google Now for users in your organization by following these steps: