
After my experience installing the OneLink Safe and Sound, I decided to expand my OneLink setup by replacing another smoke detector with OneLink’s Smoke Detector and Carbon Monoxide detector.
HomeKit Weekly is a series focused on smart home accessories, automation tips and tricks, and everything to do with Apple’s smart home framework.
The critical difference between the Smoke Detector and the Safe and Sound is the lack of a built-in speaker for AirPlay 2 functionality. Outside of that, it’s precisely the same product. The critical decision is when to use one product vs. the other. If the cost is not a concern, it’s nice to have an AirPlay 2 speaker wired into every ceiling in your house, but depending on what products are on sale when you go to buy it, the model with AirPlay 2 could be double the cost.
Why a connected smoke detector
There are multiples types of smoke detectors you could install in 2020. The first is a traditional wired smoke detector, the second is a battery-powered option, the third is a one that is connected to your security system (even by listening for the sound of your other models), and the fourth is one that is linked to your smart home setup.
My house was prewired by the electrician when we built the house seven years ago, they are all the standard electrical ones outside of the single model Safe and Sound that I replaced in our master bedroom a few years ago, so I plan to replace them all in the next few years slowly. I have a couple of the adode smoke monitors that I use to hook into my security system that I know will be monitored by abode’s monitoring station. I plan to replace all of the wired ones with HomeKit compatible ones, though. I generally like to replace them all every ten years, so I am perfect to be able to replace them slowly.
OneLink installation process
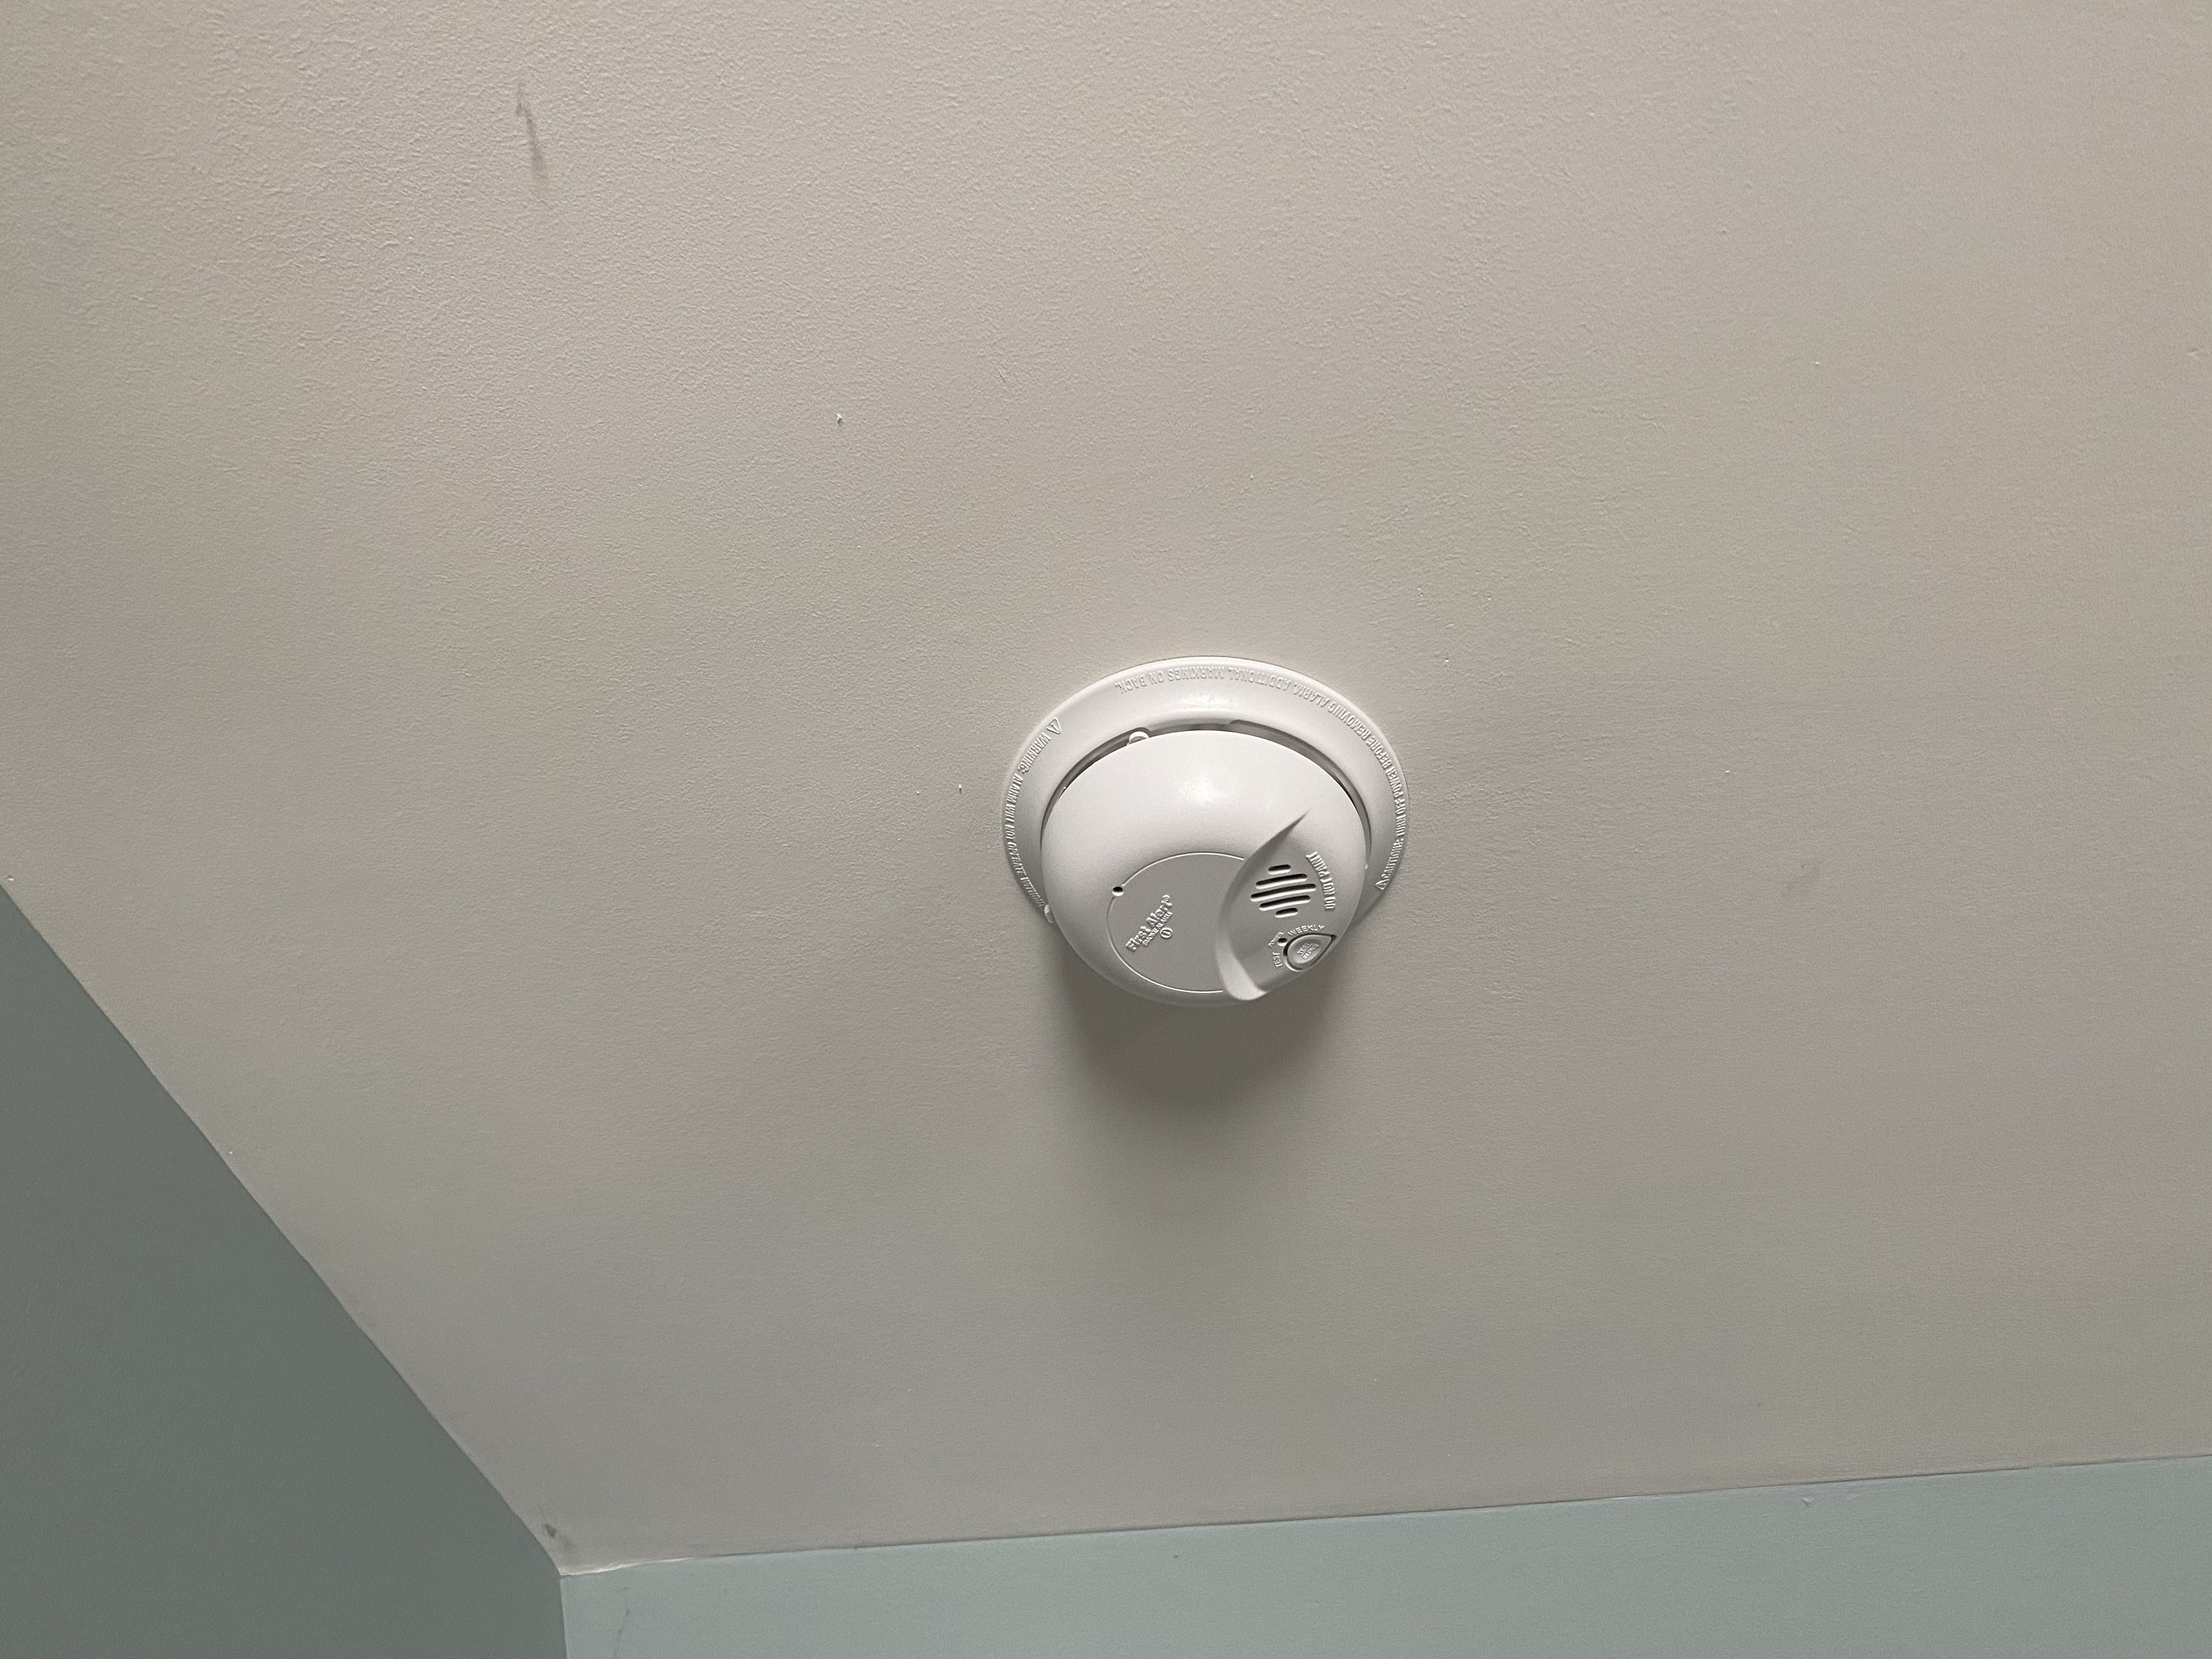
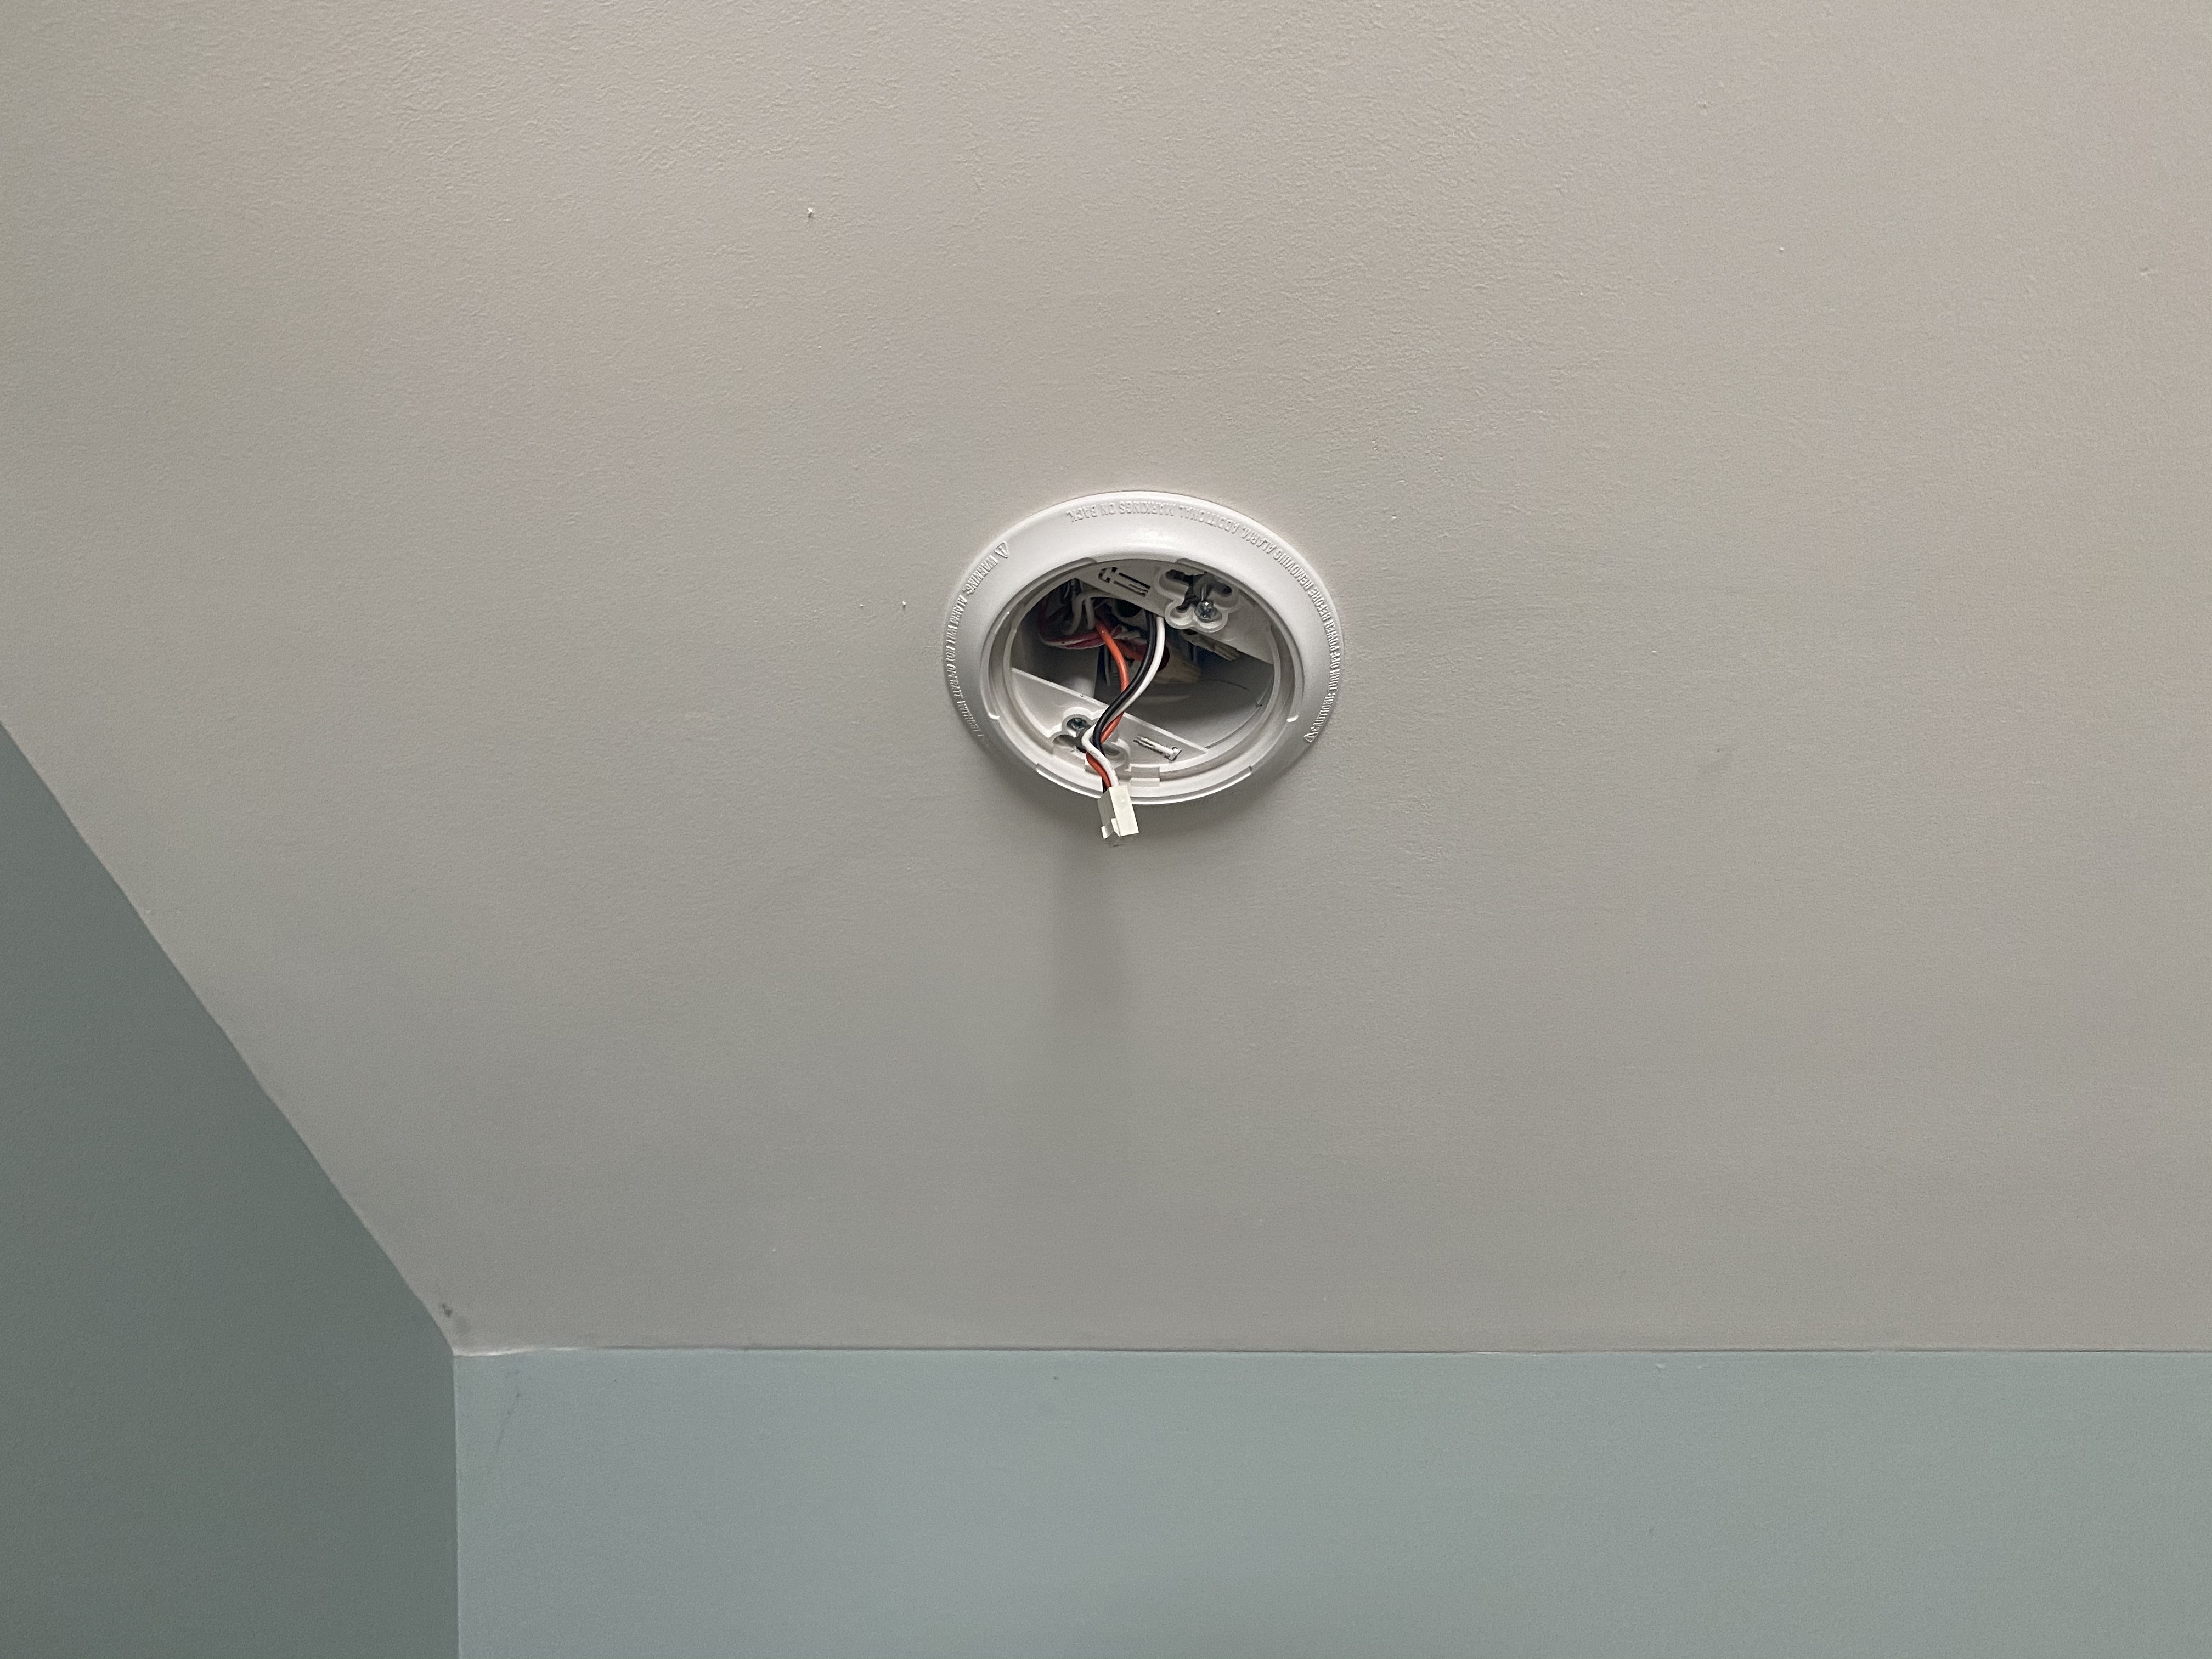
Since everything is prewired with modern wiring, installation is extremely straightforward. The first step is to take the existing smoke detector off the ceiling and unhook it from the electrical wiring. I then used a Philips head screwdriver to remove the current bracket. Next, I screwed in the mounting brack for the OneLink. All that remained hardware-wise was to plug it up and then lock it into the bracket. This process took around 15 minutes from unboxing to when it was mounted on the ceiling. If you have older wiring that needs adaptors, this process will take longer, but all those adaptors are included in the box.

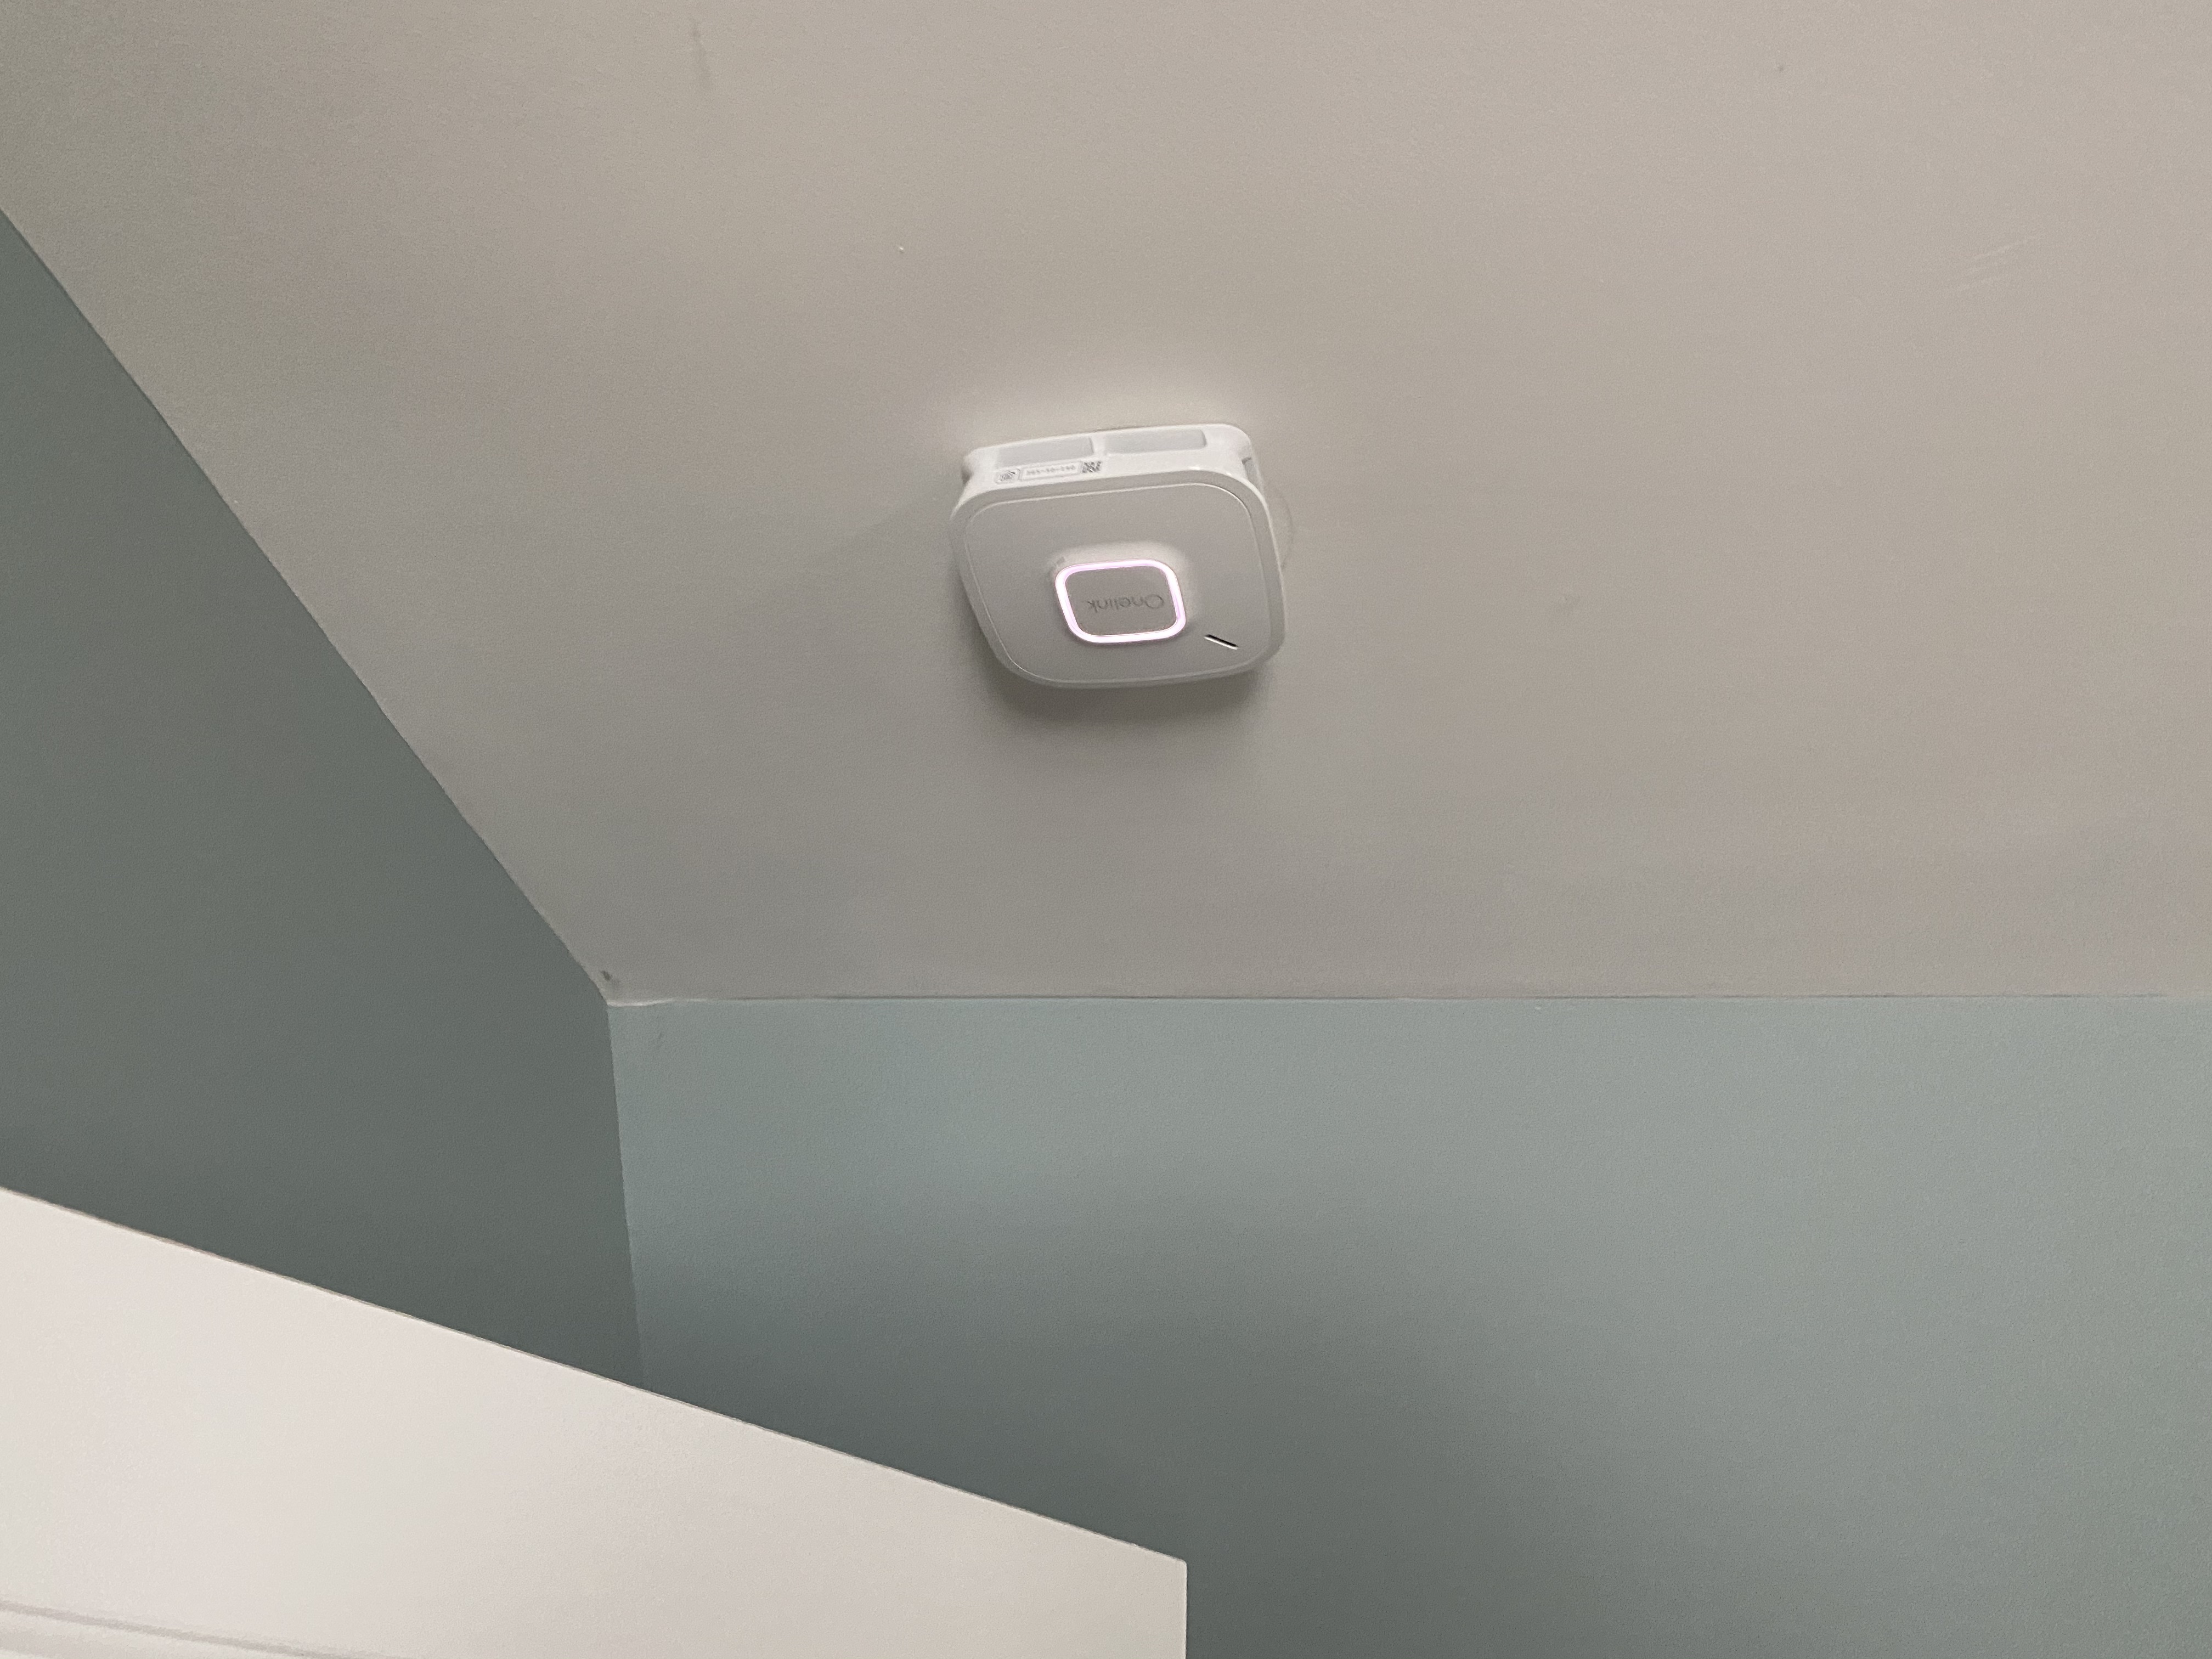
Once the smoke detector was booted up, you’ll use the OneLink iPhone app to begin the pairing process. As the app onboards the smoke detector, it also adds it to the Home app. This process took only around five minutes.
OneLink HomeKit

Now that the smoke detector is online, that room now has a CO alarm on top of a smoke detector. If the device detects either smoke or CO, I’ll get an alert through the Home app and the OneLink app without needing a monthly fee. If I didn’t have the abode security system monitoring, I would rely on this alerting to notify me if I needed to call the fire department or exit the home due to a CO leak.
Since the smoke detector is in HomeKit, you can create automations to turn on all of your lights and activate your HomePod in case either sensor goes off during the night so you’d be more likely to wake up and hear it.
Wrap Up
The first question is the value of this product over a nonconnected one, and I think it’s worth the price. Since I want everything in my house to be on HomeKit, it makes sense to invest in HomeKit compatible smokes. Being able to check in on my home remotely is worth the premium price. The second question is whether to purchase the Safe and Sound over this model. While I’d love to have a Safe and Sound in every room, I don’t think it warrants the cost. I think a mix of the two products will work nicely for most homes.
FTC: We use income earning auto affiliate links. More.


Comments