There are many ways to interact with HomeKit. You can use the Home app on iOS or macOS, you can use Siri on a HomePod or Apple Watch, but another way is with NFC tags, and it’s surprisingly easy and can be done for less than $1 per NFC automation you want to build. Since learning how to use it, it’s been an ideal way to use HomeKit in a way that’s faster than using the Home app but more reliable than Siri. Let’s dive in on how it works and how to configure it.
HomeKit Weekly is a series focused on smart home accessories, automation tips and tricks, and everything to do with Apple’s smart home framework.
NFC tags are an underutilized technology. Like QR codes were underused for a decade, I believe NFC tags will see much higher uses in the coming years.
Create NFC HomeKit automations in Shortcuts
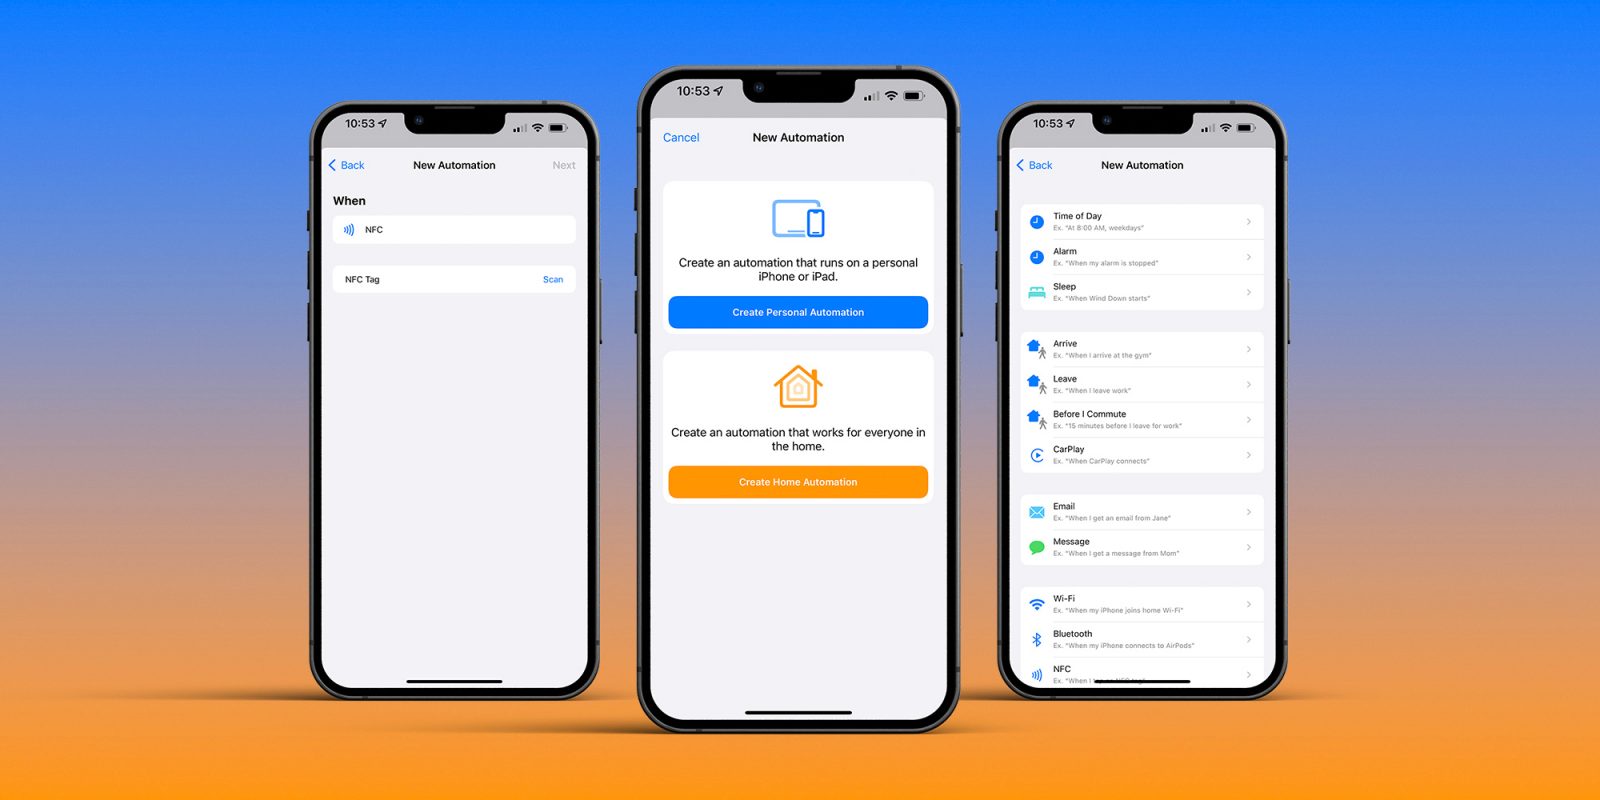
You might be thinking that the Home app is the best place to create NFC automations for HomeKit, but you’ll actually start in the Shortcuts app. To begin, look for the Automation tab at the bottom of the Shortcuts app > Choose Create Personal Automation. Next, look for the option When I tap an NFC tag.
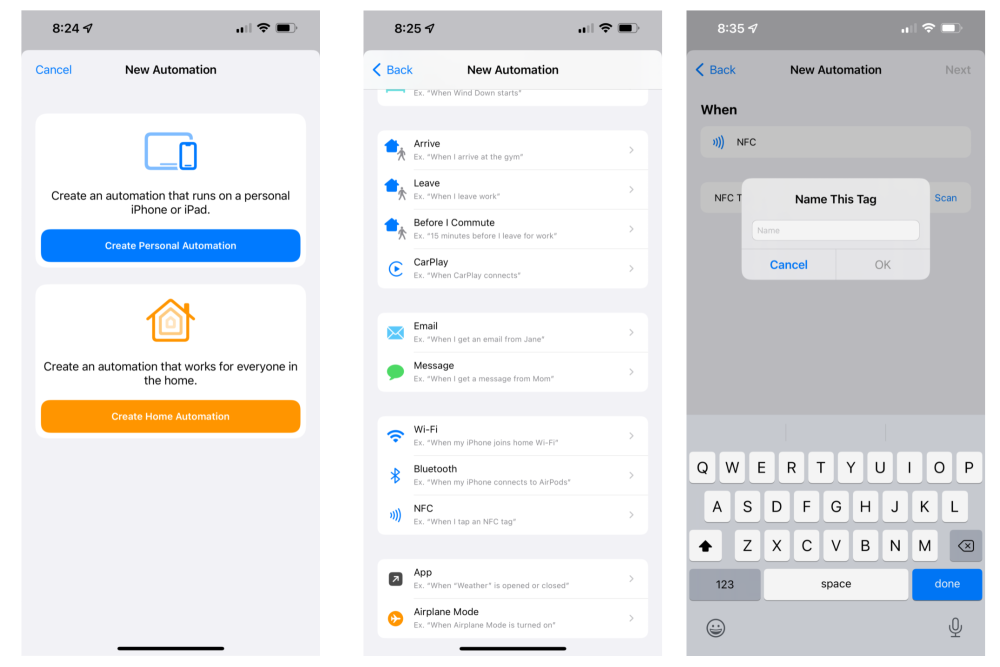
On the next screen, tap on scan. Then take one of your NFC tags, put it up to your iPhone (on iPhone 13, it’s near the camera). You’ll then have the opportunity to name it. I chose the name of the automation I plan to run when I tap on it.
Next, choose Add Action. Next, tap on the Apps tab, and choose Home, choose the Take Control of Your Home option. Next, tap on Set Scenes and Accessories. Find your Accessory/Scene and then set if you want it to come on or off. Then, you can finalize the HomeKit automation with the NFC tag. One thing to note, I would turn off the Ask Before Running for the vast majority of automations.

Potential use cases
So far, I am using it in a couple of places, but I believe I will have additional use cases over time. Right now, I use it to turn on the HomeKit bulb in a lamp where I have my morning coffee. In the past, I’ve used either a motion sensor or turned it on manually, but I like using the NFC tag because I can tap on it as I walk out of my bedroom (it’s on an end table), and it turns on. Since it’s usually early in the morning, this is a quiet way to start the day.
We’re also using it as a silent way to trigger white noise machines plugged up to HomeKit outlet adaptors in our kids’ rooms as they go to bed. I’ve got them placed high up enough where they can’t reach them, so I don’t have to worry about them going missing. When we’re tucking them in, we tap the NFC tag with our iPhones, and they come on. As reliable as Siri can be on HomePod, it sometimes gets confused if we make the command differently. Overall, it’s a full-proof way to make sure you turn on the right accessories without waiting on the Home app to open, sync up, etc.
Summary on NFC tags with HomeKit
In a way, NFC tags are portable switches for HomeKit. Light switches are a reliable way to turn on accessories, and NFC tags allow you to use your iPhone as a “portable switch” without needing to unlock it, open an app, and find an accessory. The great thing about this HomeKit upgrade is all of your existing accessories work. The only thing you need to buy is a pack of NFC tags that will cost you less than $10 for a pack of 12.
HomeKit Gear to automate with NFC Tags
FTC: We use income earning auto affiliate links. More.


Comments