Is Matter going to be a great thing for smart home users? Yes. Is it going to replace Homebridge as a usable solution? Not anytime soon. I’ve been extremely impressed with the Homebridge platform over the years, and it’s done a lot of good for expanding compatibility for products that either don’t support Matter or ever will in terms of onboarding them into HomeKit. It’s now available on the fast-growing Umbrel home server as well.
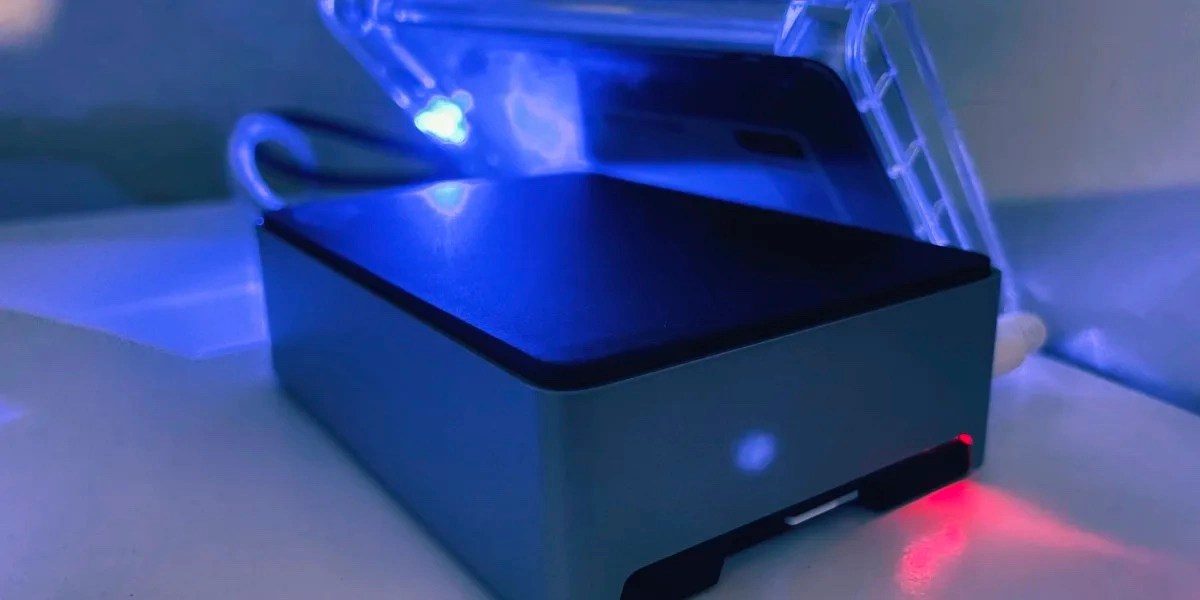
I built an Umbrel server a few years ago using some off-the-shelf products that I’ll list below for the purposes of running a full bitcoin node at my house. You can also buy a prebuilt Umbrel server as well. Let’s run through how to install Homebridge on it. The process is the same whether or not you have Umbrel Home or you built your own.
Required items to build an umbrel server.
How to build an Umbrel server
Now that you have everything you need, grab the microSD card and a microSD card reader (or SD if you have a MicroSD-to-SD converter). Plug that into your Mac or PC.
- Download the latest version of Umbrel from Umbrel’s website. Make sure you download it from Umbrel’s website only! Umbrella’s website is umbrel.com.
- Download the latest version of Balena Etcher. You need this software so you can flash the Umbrel image to your microSD card properly to run it on your Raspberry Pi.
- Run and install Balena Ethcher and run through the steps to flash the previously-downloaded Umbrel release. It should be a .img file.
- You’re done. Your microSD card is correctly configured.
Assemble your hardware
Next, you need to assemble all the parts you bought.
- Put the Raspberry Pi 4 in the case you purchased. Every case will be different, but the one I use above will come with four screws and a heat dissipation pad.
- Stick that heat dissipation pad to the top of the CPU on the Raspberry Pi. Seat the Raspberry Pi board and screw the case closed.
- Insert the flashed microSD card into the Raspberry Pi.
- Put the SSD into the SSD enclosure and plug it into one of the blue full-throttle USB ports on the Raspberry Pi.
- Connect your Raspberry Pi directly to an Ethernet port on your router for maximum internet connection speeds.
- Plug your Raspberry Pi into a power outlet.
Log into Umbrel
After five minutes, you should be able to navigate to umbrel.local on any PC or Mac connected to the same network as your Raspberry Pi hardware. From there, Umbrel will walk you through the setup process.
Setting up Homebridge on Umbrel

Once you’re logged into your Umbrel server, you’ll want to browse to the Umbrel app store and install Homebridge. It’s an open-source application, so it’s completely free to download and use. It’ll take around 60 seconds to install.
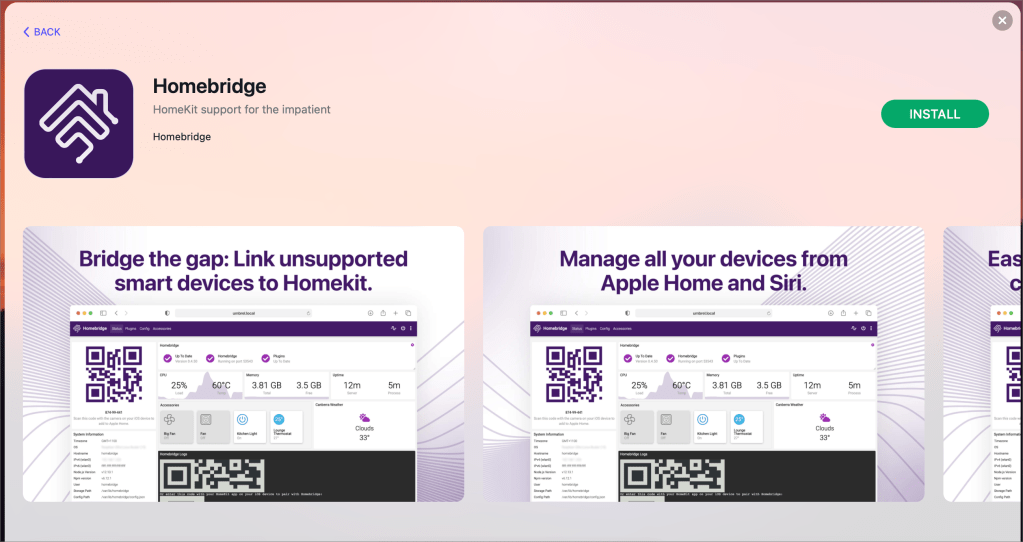
Once it’s installed, you can launch the Homebridge app, and you’ll be taken through the setup wizard of creating an account. Umbrel apps are independent of each other, so even if you’re using other apps, Homebridge requires its own local account.

Once your account is created, you’ll end up at the main Homebridge screen. Your first step should then be adding your Homebridge installation to HomeKit so your other devices show up once you add them. Simply scan the QR code using the Home app, choose a room, and then give it a name.

Your next step will be to browse to the plugins tab and start searching for plugins. Obviously what you add will depend on what devices you have, but some popular ones are UniFi cameras, Nest cameras, and MyQ products. Once you install the plugin and add the device to Homebridge, it’ll generally always appear right away in the Home app so you can use it amongst your Homekit scenes and automations.
Wrap-up
Umbrel is an up-and-coming home server product. I love the movement to take back control of your data, and I hope they keep expanding the app store. I’d love the idea to use it as my main photo backup solution once it adds an option to store an encrypted backup within Backblaze B2 or another cloud product. I don’t want the only copy of my photos to be local. They also support Bitwarden if you want to own your own password database as well. Homebridge is a great product for expanding your HomeKit functionality, and Umbrel makes it easy to get started. I have the full prebuilt Umbrel server on the way to my house that I’ll be doing a full review of soon.
Ready to build your own? Grab the items from the list below.
FTC: We use income earning auto affiliate links. More.


Comments